We remain fully operational. Our teams are working around the clock to ensure your deliveries continue safely.

DOWNLOAD THE APP


Copyright © 2025 Desertcart Holdings Limited
DOWNLOAD THE APP
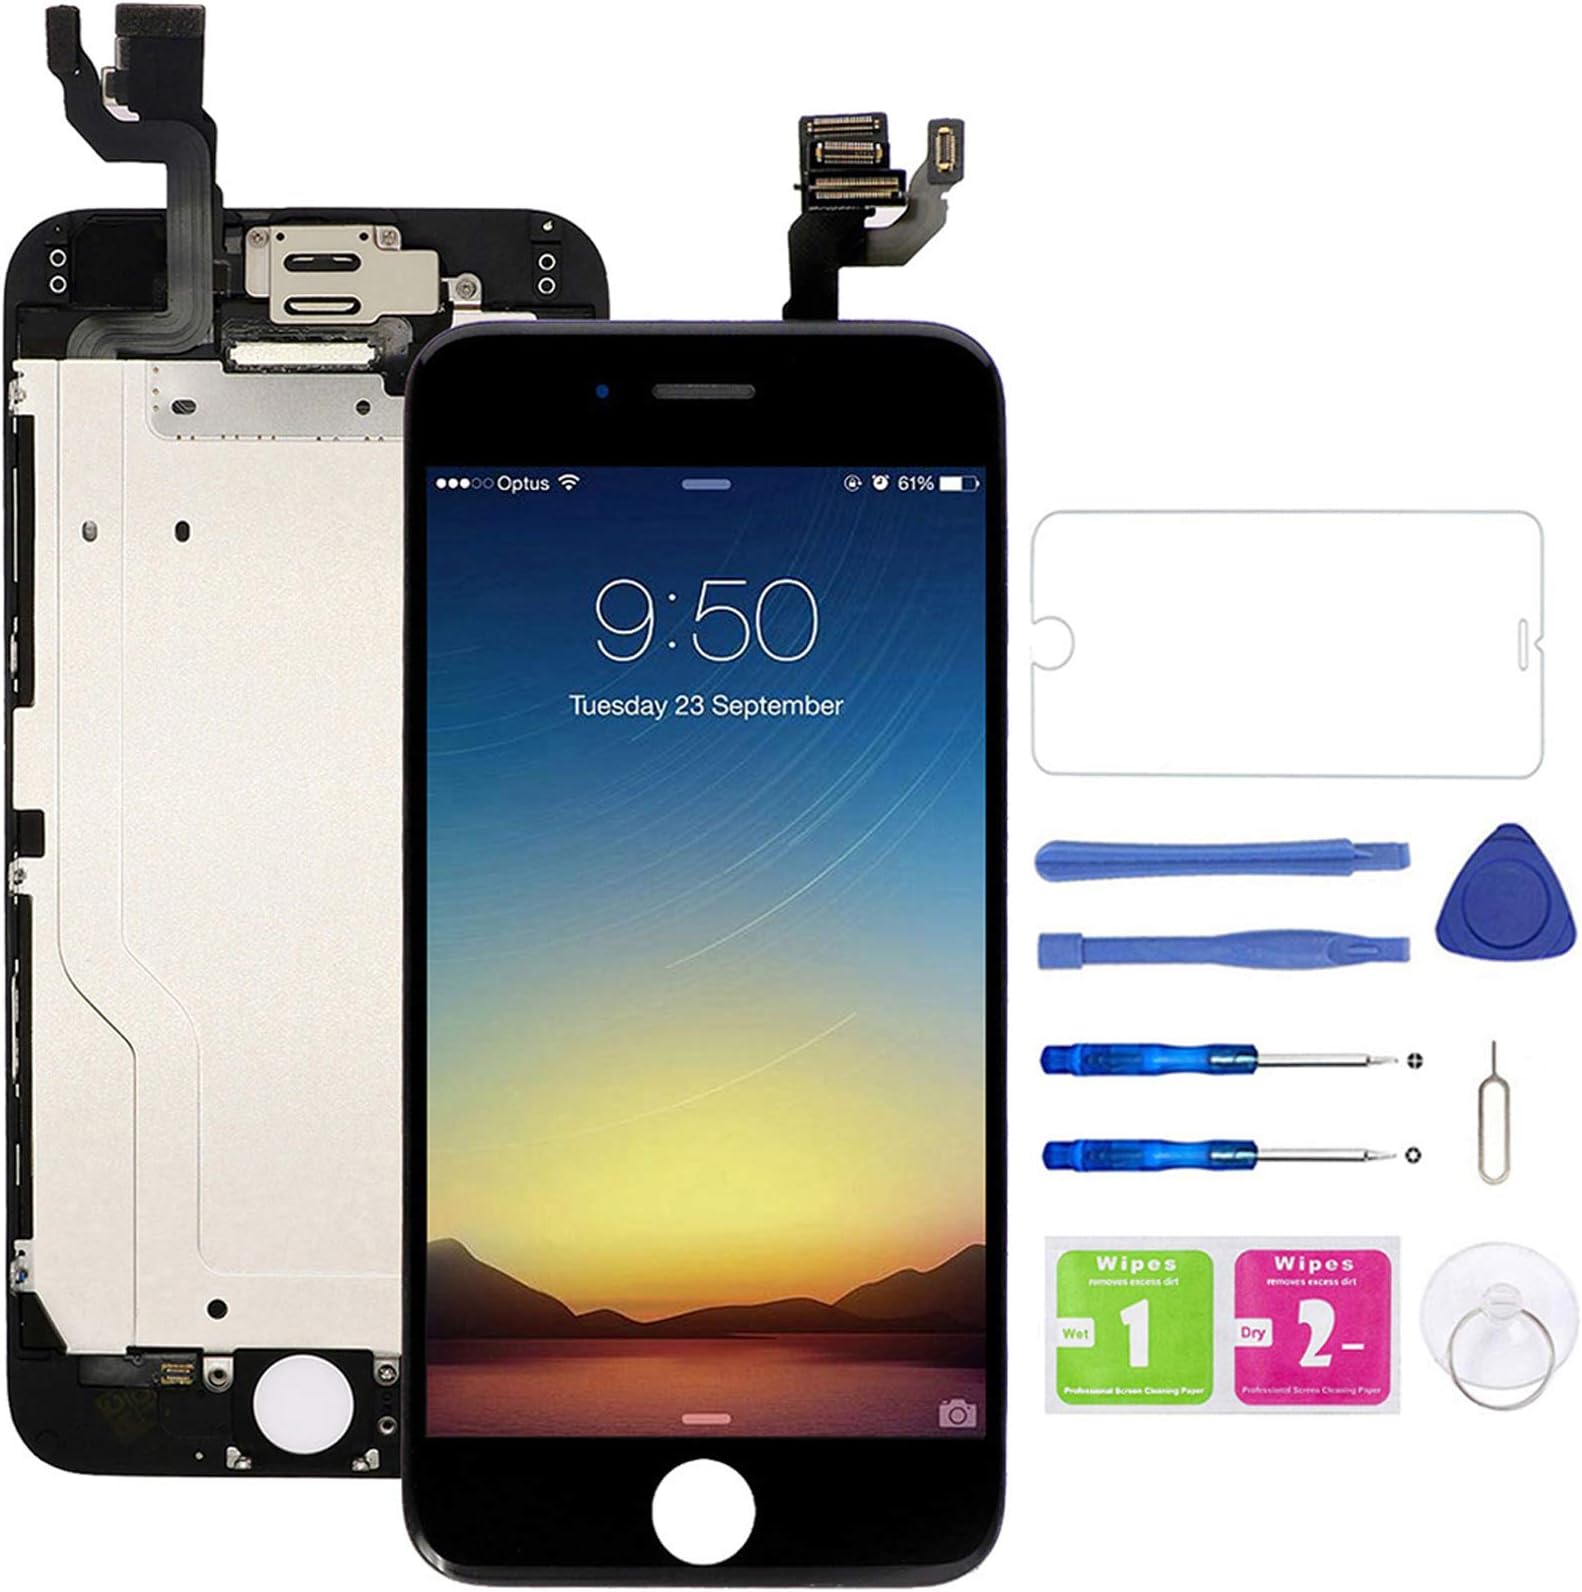


Full description not available
T**S
Brilliant kit! Watch a YouTube.
Bright screen, perfect fit. Very impressive.I missed that they had emailed me a YouTube so browsed for my own. Pick a short one. A 5 minute video is is all it takes when they know what they're doing (I liked Jerry-Rig's version). Hints I figured out:- If your eyes are over 40, you need a good light!- Fingers are better than tools for setting the little connectors back in place so you can feel the alignment and click.- If you can, transfer the tape holding the home button to the new screen. You'll get a little smoother action from it.- Tools are pretty much one kit use. Press in firmly to avoid stripping when loosening, and don't over-tighten.- A less-than-perfect case might need a little finesse to get the screen back in flat. Use an exacto along any edges that won't set easily (like a shoehorn, letting the case slide back up around the screen).- Align the screen saver very carefully before dropping it place. Reference one edge and framing of the home button. A re-align has to be a lift-off, and needs to happen before the screen saver starts to suck onto the screen. A re-lift of just a little bit that has sucked down leaves a bubble that needs to be worked out. The lifting tools in the kit are good smoothing tools.
M**E
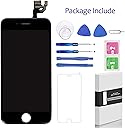
The Kit to get if you don't want to deal with all the inner parts of the screen
I was a little confused by the terms. I thought the touch screen and LCD were separate parts and I didn't want to deal with splitting them. Turns out it's one piece which is great. This nice kit came with most of the tools you need plus some you don't, but it didn't come with a pair of tweezers, which I had from another phone kit. Since everything but the home button, you don't really need the tweezers. It's pretty simple to use their tools to disassemble and unplug the components. The screw drivers are magnetized so they'll hold the screws while you work (don't mix them up, they're different). I found a picture instructions on the web which worked out nice since the kit didn't have any. The job took about 20 min because I was slow and checked everything twice. I ended up taking apart the old screen just to see how much work it was to R&R the camera, sensor, and speaker for the next time. It's not that hard to do but there's always a chance you'll break one of the thin ribbon wires so to me it's worth the extra money for a pre-assembled kit. It's up and running with no problems and the screen looks a lot brighter than my old one so very happy with the kit.
C**H
This is by far - the best quality (pre-assembled) iPhone screen I have ever purchased for ...
this seller has got his stuff together and they're sending out an outstanding product.The reviews say it all - this screen is quality. I repair phones in my area as a hobby and I've done over 10 iPhone 6 screens. This is by far - the best quality (pre-assembled) iPhone screen I have ever purchased for a repair. Normally when you buy pre-assembled screens, they're made with cheap screens because you'd have to take them apart to tell what type of screen the seller used. That is not the case with this replacement, the screen itself is quality. Unlike other aftermarket screens, this screen fits perfectly with no gaps, doesn't stick up above the edge of the phone, and the picture quality is great. I rarely write reviews on products but I felt obligated for this one
M**E
Easy to install and quick delivery with Prime
My delivery arrived on-time, as anticipated. Everything was in the package. AI watched a few videos on Youtube to ensure I was familiar with procedure. I installed a new screen and battery (different manufacturer) in 1-1/2hr. This was my first attempt at these repairs. My only complaint was that the tools that came with the screen assembly, well, I couldn't even undo the screws to open the iphone. Luckily, I had the tools that came with the battery replacement and those worked like a charm. (Battery replacement is no joke, tough. And it wasn't necessary my phone was at 89% battery health and I've had it 3-1/2 years. Just felt like doing it since I was into the phone anyway. ) Screen works great. I moved over the "Home" button as that doesn't come with the replacement and everything is peachy-keen. I would buy again.
R**R
It's okay....
The screen is good enough... Not perfect, but good enough. However... Neither the ear speaker or front camera worked on it. Yes, the screen is only $20... I wound up getting a new ear piece and camera for around $12... Everything is good... And ultimately, I spent way less than I would have on other screens... But still... I shouldn't have had to do the extra work.
M**R
Blue Screen of Death - LCD crystals were fried
Ordered this in September 2020 but only now got around to replacing it (for my kid) after recently getting my new phone. It had all the parts as listed, but when it was installed and turned on it had a bright blue line down the center of the screen under the Apple logo. When it loaded the home screen, it was nothing but streaks of blue lines through the home screen wallpaper, you couldn't see the photo. Because it is over 30 days since purchase there is nothing I can do to get a replacement or a refund. So I'm writing this review. I have ordered dozens of screen from dozens of places, this was the only one I have had problems with. Will not use this vendor again.
A**R
Fantastic kit, need a bit of fiddling to install
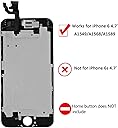
Awesome kit, comes with everything needed, easy to install and top quality, no more paying for screen repairs for me :)I recommend installing this side-by-side with a video showing you how to do it (you can easily find these on youtube), it will require some unscrewing and disconnecting the old screen's wire before connecting the new one, work carefully and it's basically foolproof.A couple of things to note;1- the iphone models differ between 6/6s/plus, make sure you're buying the right one for you and following the right video.2- clear a good area for this, you don't want to knock over a screw and have to go comb
Trustpilot
1 month ago
2 months ago