

❄️ Keep Your Cool, Game On!
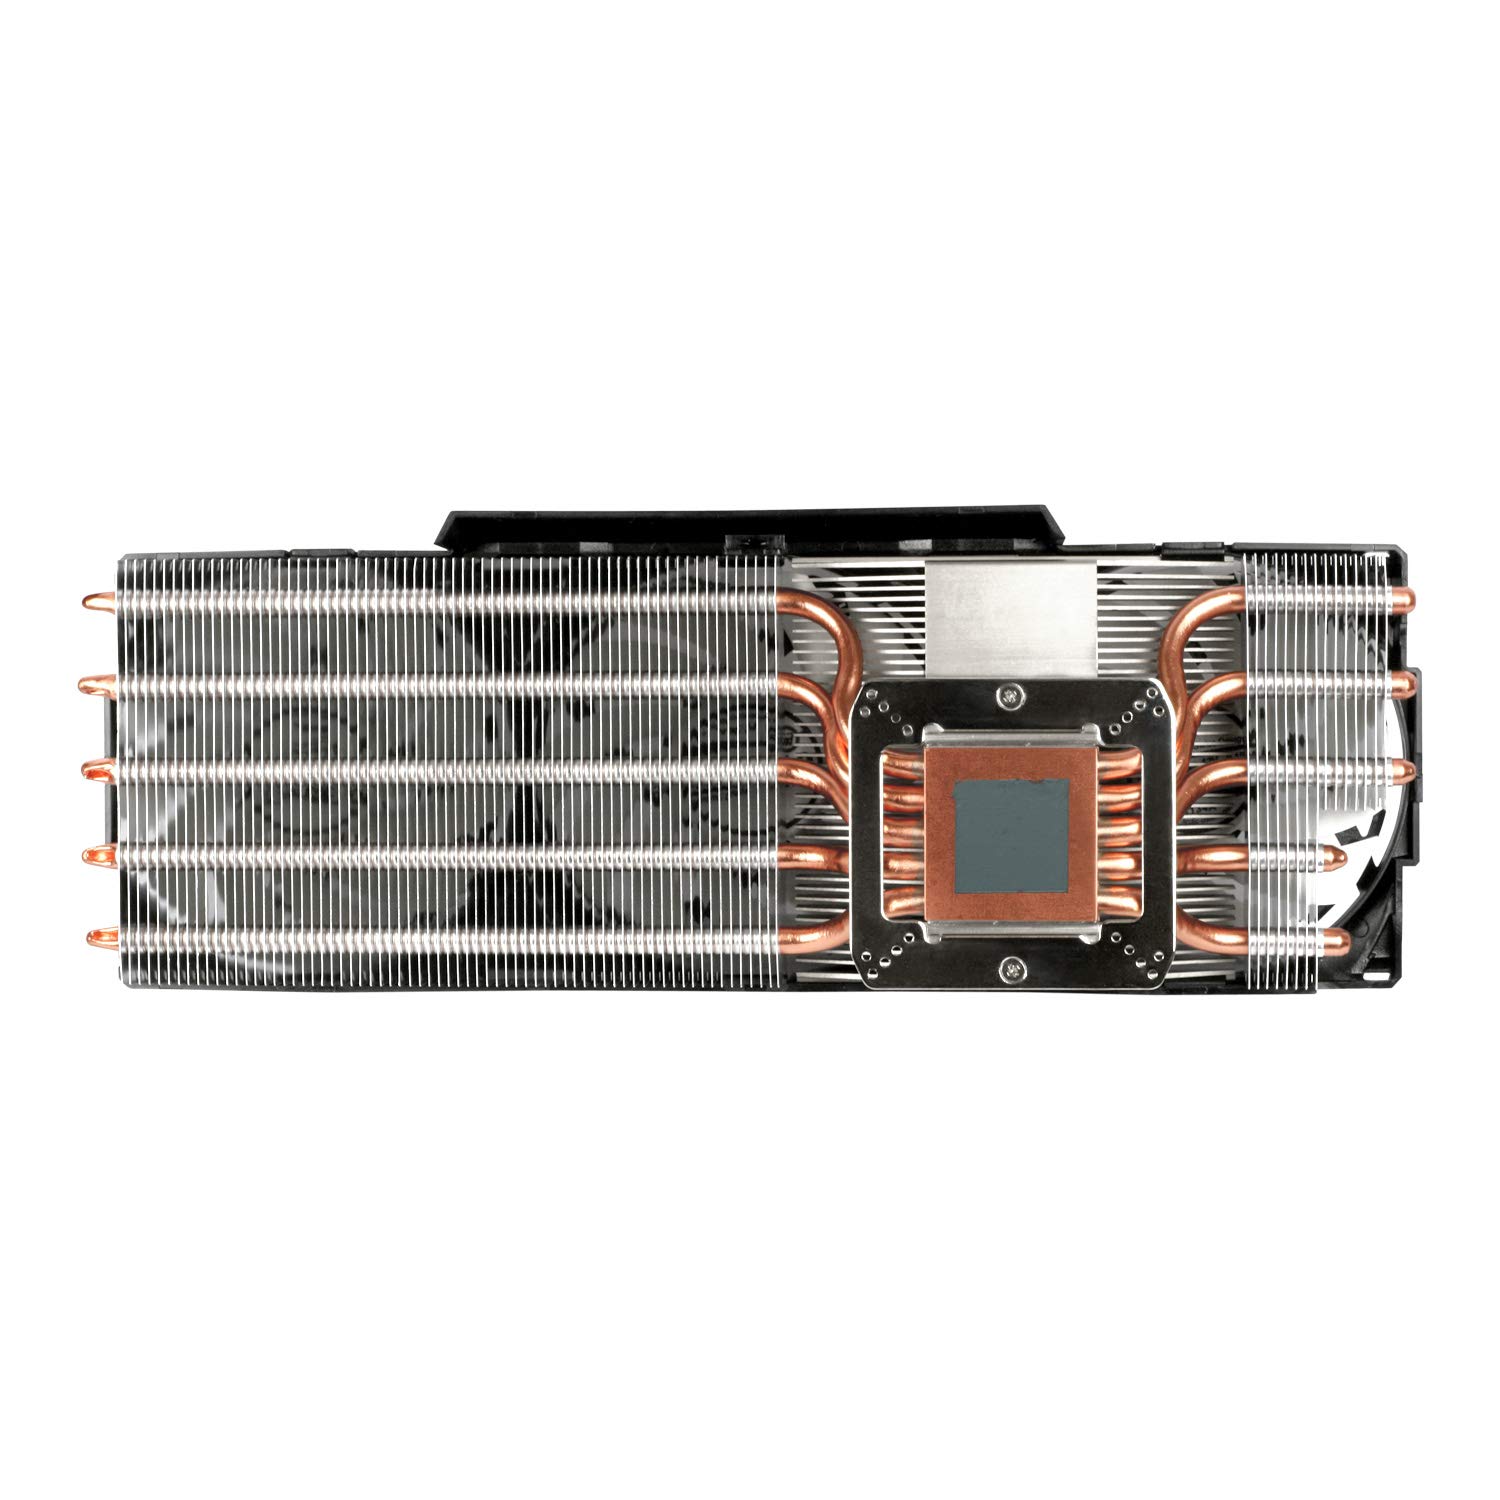
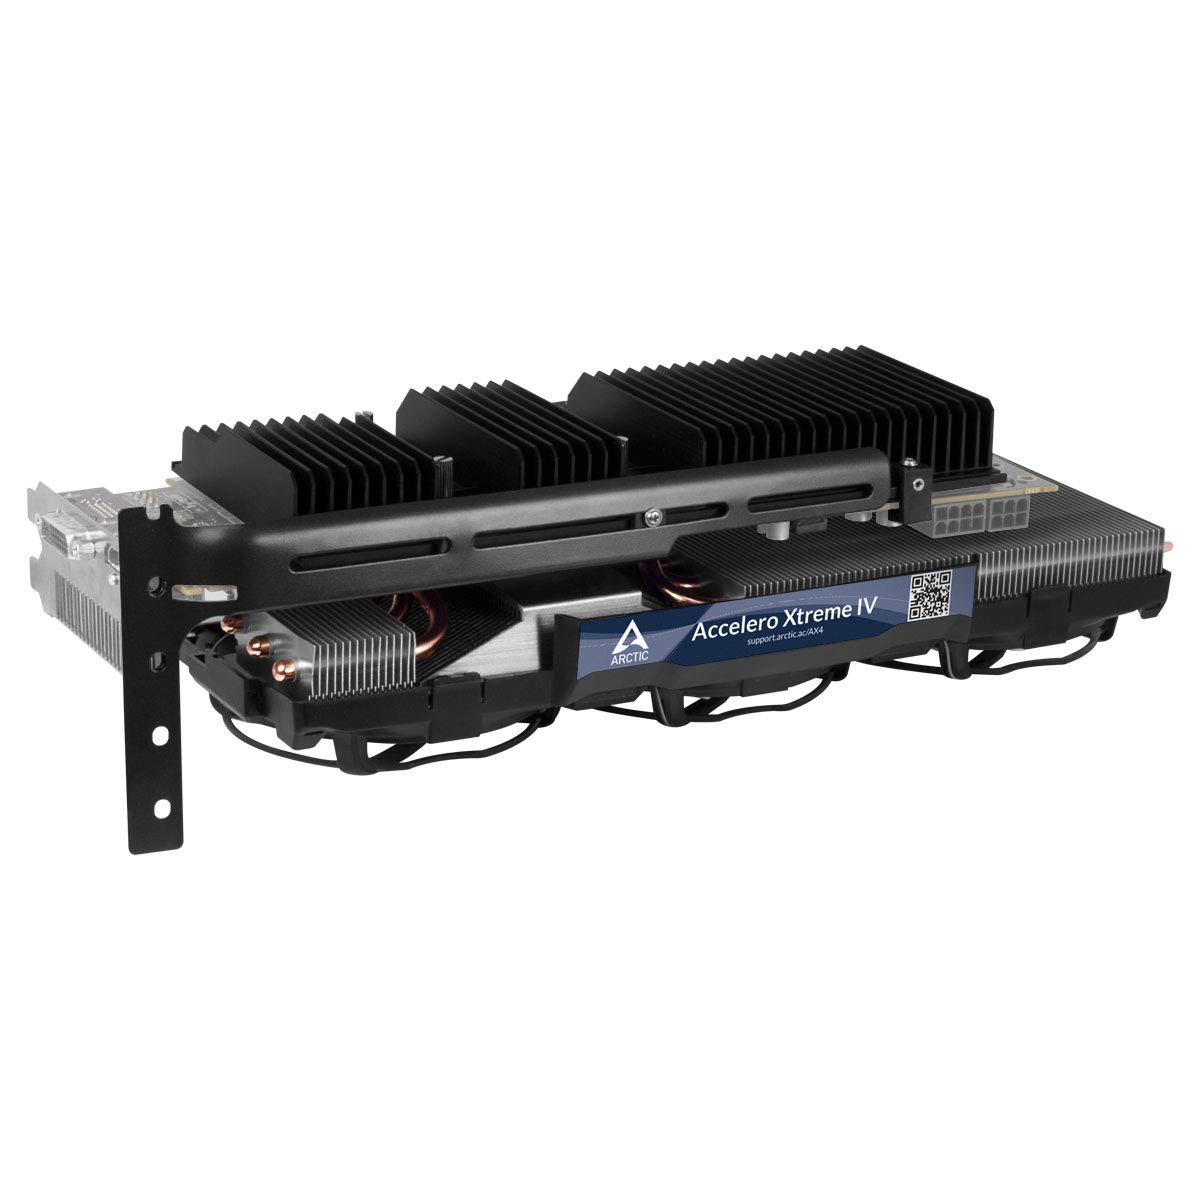
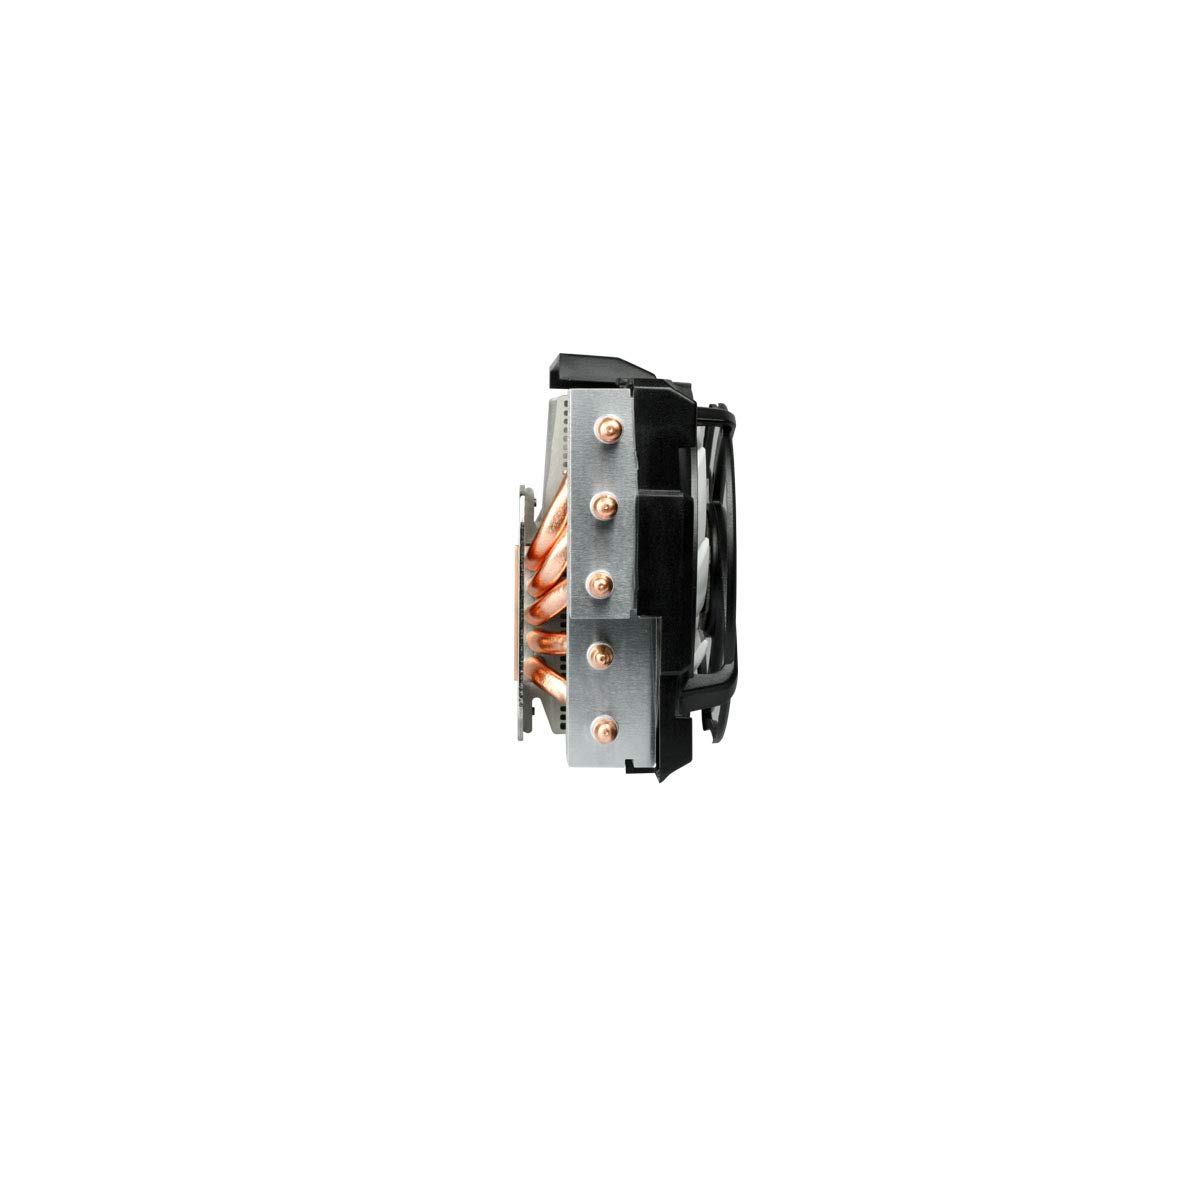
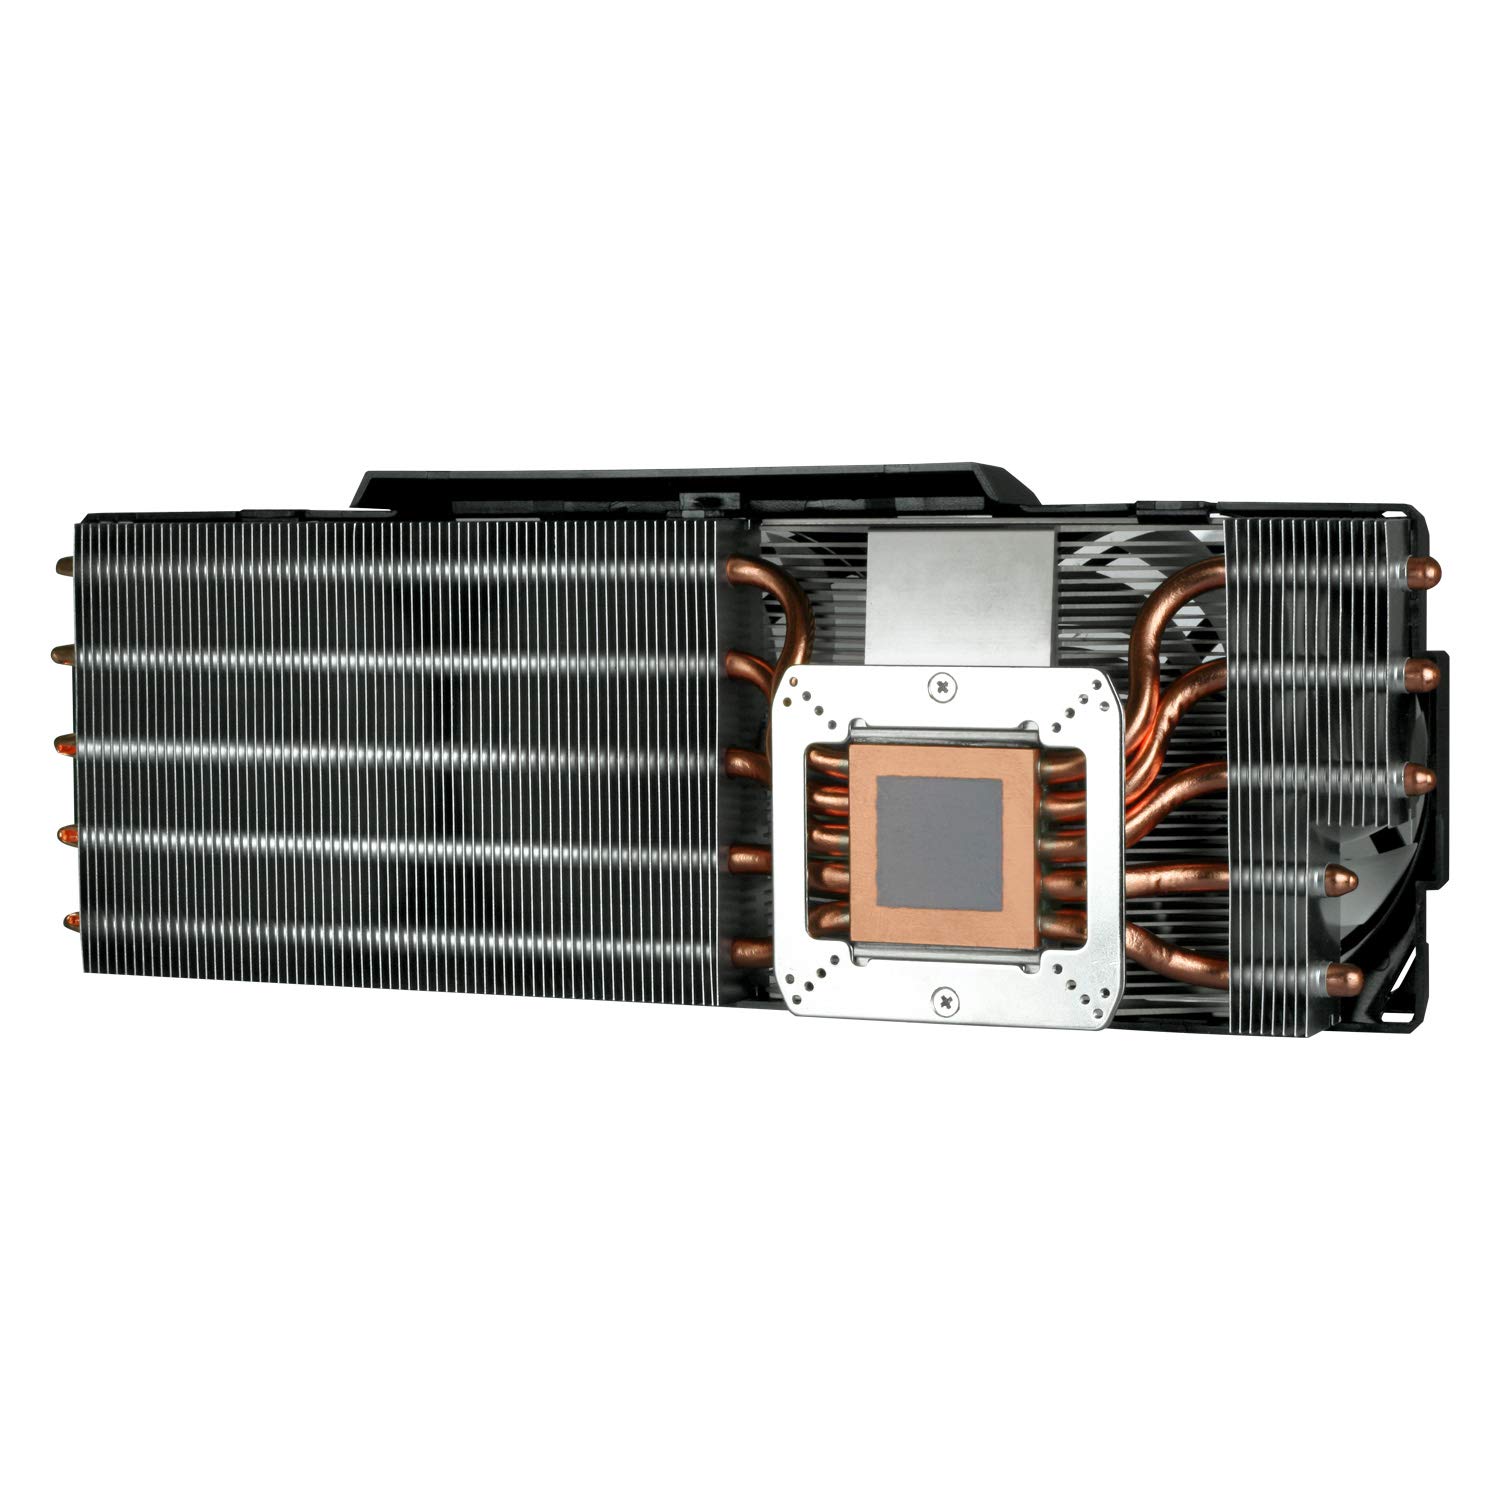
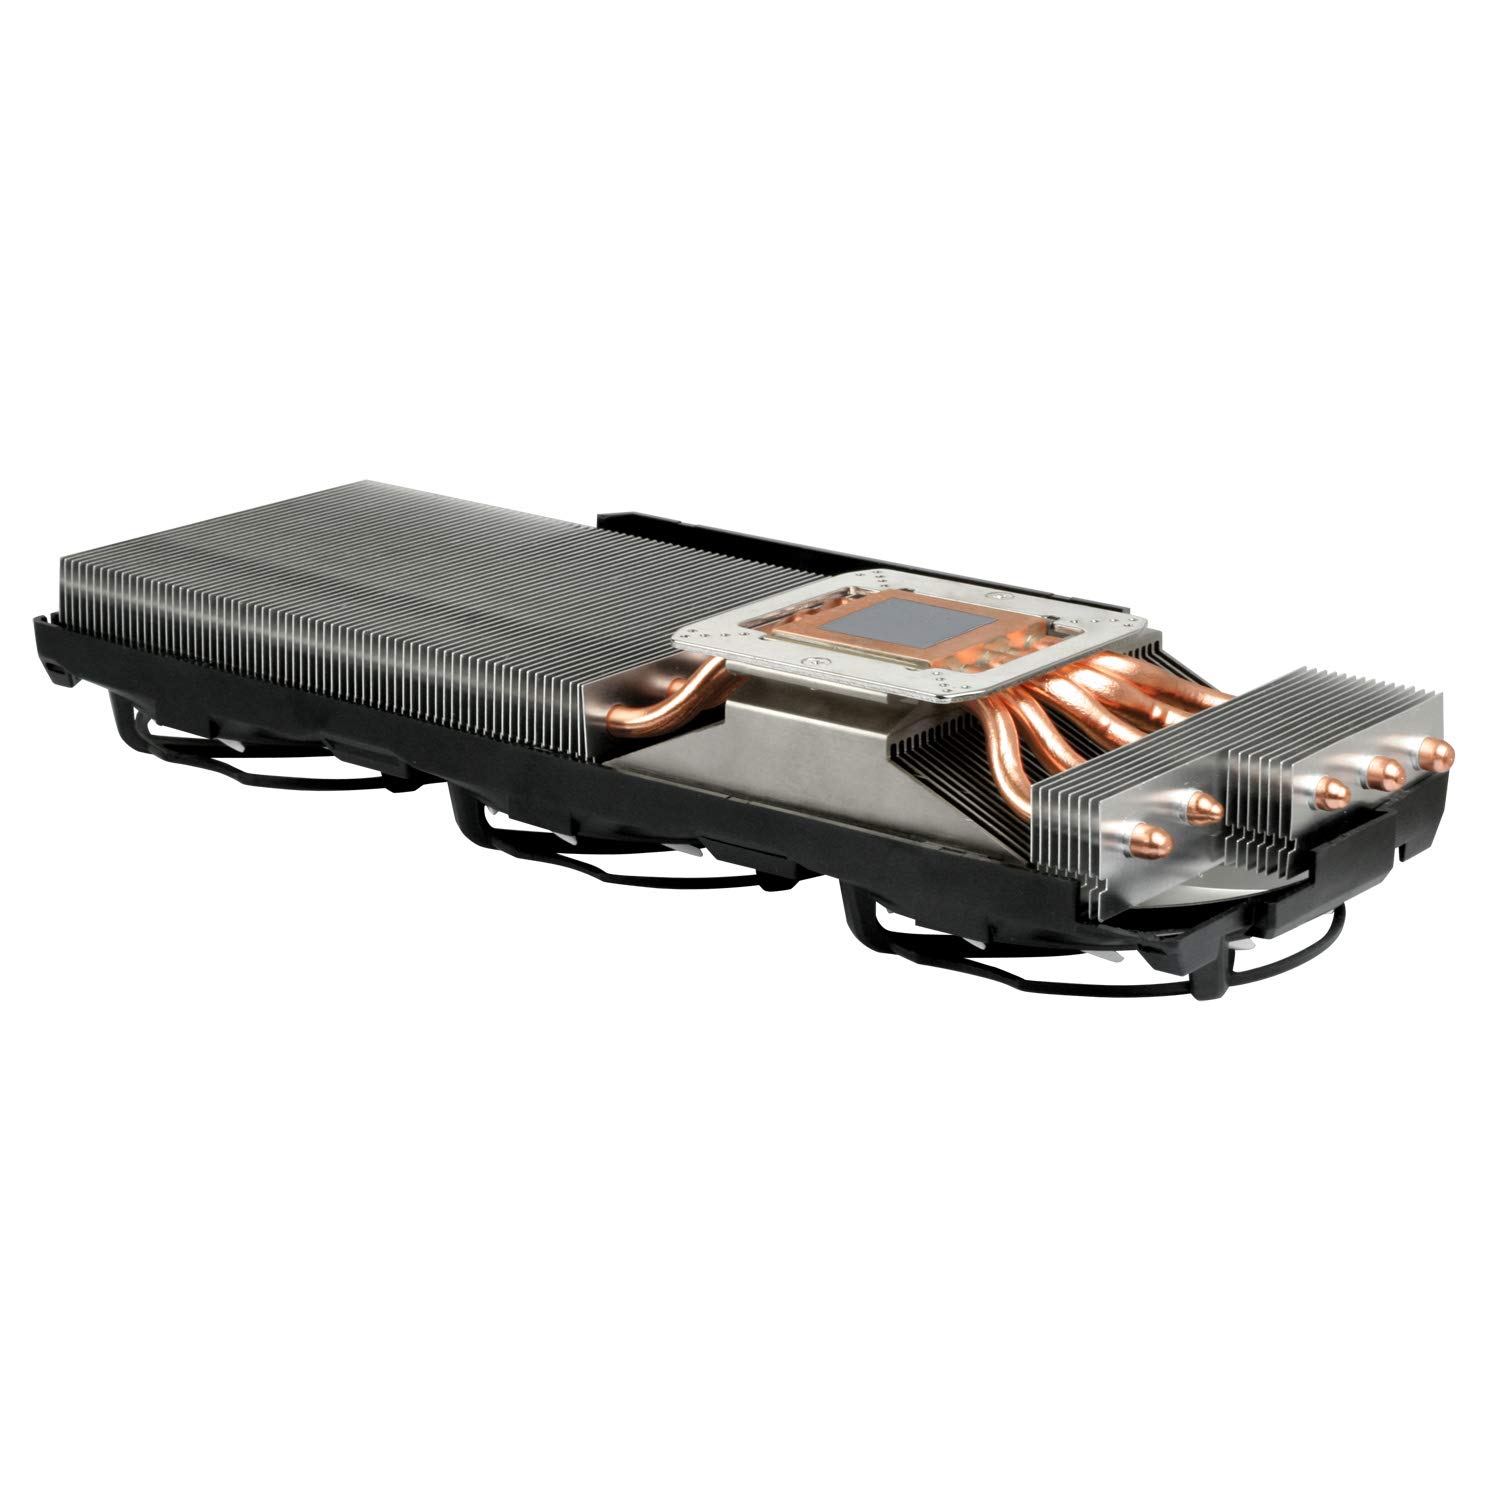
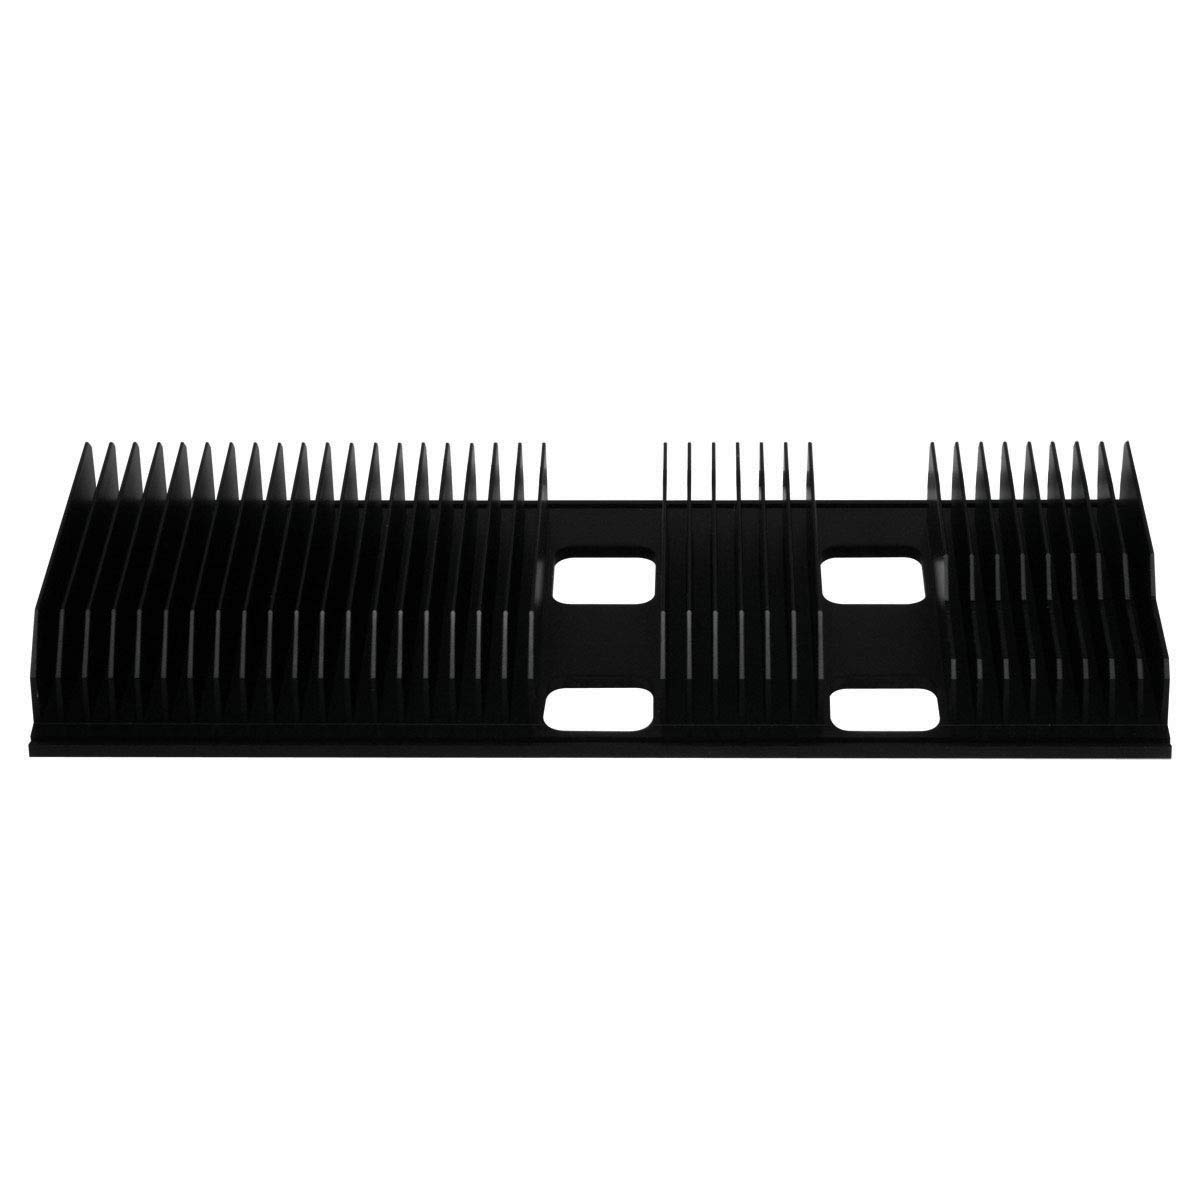
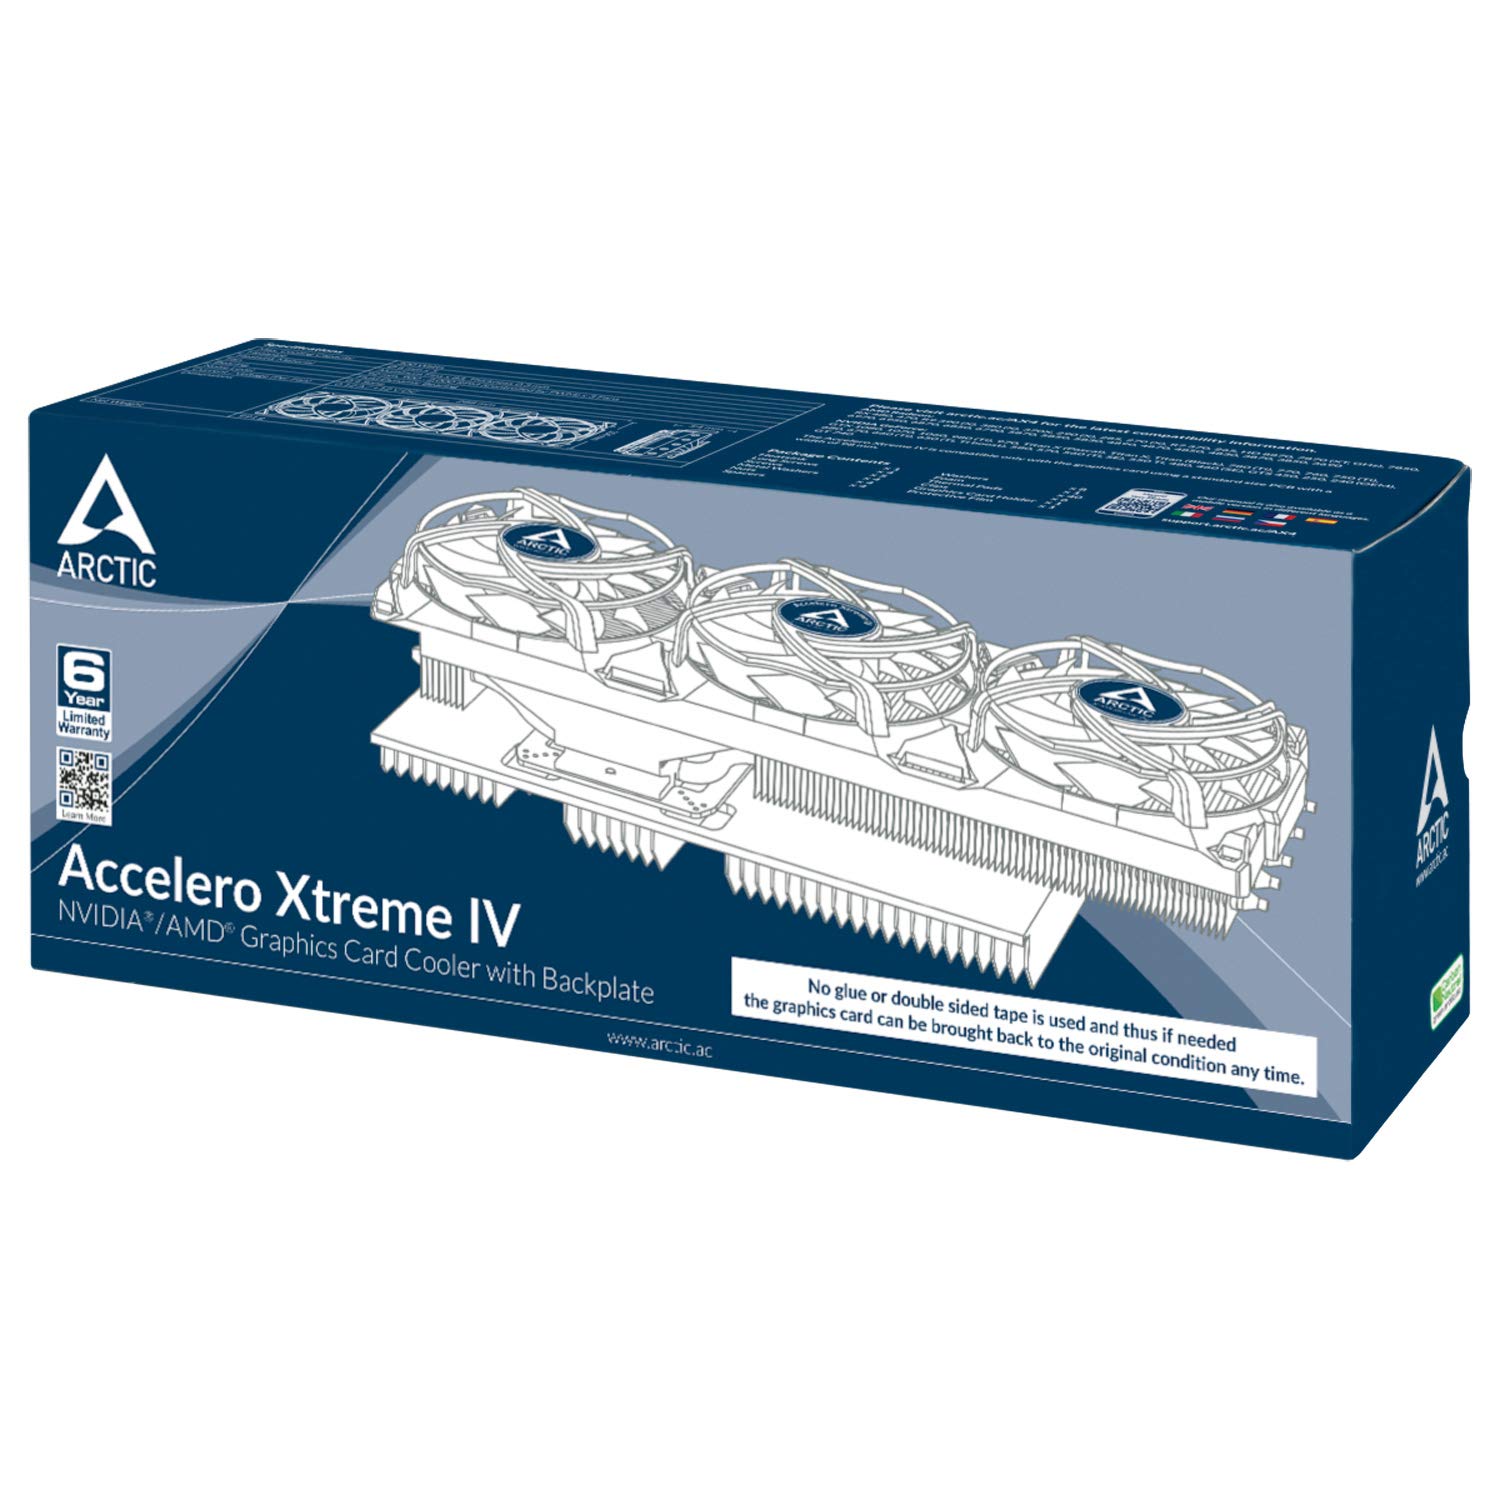
The ARCTIC Accelero Xtreme IV is a high-end graphics card cooler featuring a remarkable 300 Watts cooling capacity, three 92 mm PWM fans, and a patented backside cooler for optimal VRM and RAM performance. Its innovative design allows for easy installation without thermal glue, while maintaining ultra-quiet operation at just 0.4 Sone. Compatible with a variety of graphics cards, this cooler is engineered for both performance and longevity.


| Product Dimensions | 11.34"L x 4.09"W x 2.13"H |
| Brand | ARCTIC |
| Power Connector Type | 3 and 4 pin Combo |
| Voltage | 12 Volts |
| Wattage | 4.32 watts |
| Cooling Method | Fan |
| Compatible Devices | Radiator |
| Noise Level | 0.4 dB |
| Material | Metal |
| Maximum Rotational Speed | 2000 RPM |
| UPC | 012304359883 863190002922 846829809529 872767006942 809394270613 |
| Global Trade Identification Number | 00872767006942 |
| Manufacturer | ARCTIC |
| Number of Items | 1 |
| Item model number | DCACO-V800001-GBA01 |
| Item Weight | 2.17 pounds |
| Item Dimensions LxWxH | 11.34 x 4.09 x 2.13 inches |
| ASIN | B00HHMJIIO |
| Is Discontinued By Manufacturer | No |
| Date First Available | February 4, 2014 |
M**W
Accelero Xtreme ***IV*** review
*FIRST THING EVERYONE MUST REALIZE*:Amazon has conveniently combined the Arctic high-end graphics card coolers all into one page here. The only downside is that you are seeing reviews for all four of them that are available right now.*Overview*:This review is for the latest one, the Accelero Xtreme IV. This is the one that requires no gluing, and even advertises that you can return your card back to stock if you ever choose to do so (I'm not sure why you would ever do this. It's probably worth more on ebay with this on it, but that's your choice to make). When buying it, I took comfort in knowing that had I messed something up or lost courage during the installation, then I could still choose to revert back to stock if I chose to do so. The installation was rather easy though if you go slow and take your time to realize things. This is coming from someone who has never put on a custom cooler before too.I would like to mention that when installing this, the thermal pads go on the back of the card (which I found odd, but I followed along with the instructions despite that). They give you 40 of them each roughly .75cm I would say. You can stretch them if need be so there should be plenty of them. I have the R9 290 and found that 40 of them was the perfect amount. Since they had to make this compatible with multiple cards, I had to take special care in not clamping a capacitor or other major component. There was one modification I had to make where on one of the clamps I had to cut half of the rubber adhesive on it to confirm I would not be pinching a capacitor (go to Arctic's website and look at the parts list if you are interested in what these notorious clamps look like). After screwing everything tight- not too tight, just tight enough so nothing would fall apart, I threw it into my computer and to my excitement, it worked.*Temperatures*:This thing did more than just work. Before my GPU temperature was hitting 95 Celcius and would actually throttle down to avoid things blowing up. I did not, sadly, record what each of the VRM temperatures were on stock. However, with the arctic cooling while gaming, it sits around 62 Celcius for the GPU, and 40-65 Celcius for both of the VRMs. DO NOTE that I have set up a custom fan profile with Asus GPU Tweak which helps in keeping them this low. Those temperatures mentioned were from running Battlefield 4 on ultra settings.I also stress tested it in Furmark for 15 minutes to tweak the fan profile to my liking (I will share the fan profile in a bit as well). In Furmark, GPU stress that you will never actually experience while gaming, recorded about 63 Celcius for GPU peak, and 94 Celcius peak for VRM1, 64 peak for VRM2. I would consider all of these within perfectly acceptable parameters. Again, I never recorded the stock VRM temps but they were probably ready to spontaneously combust.Idle temps sit around 42 Celcius for GPU, 39 for VRM1, and 51 for VRM2.*Noise*:The stock cooler was incredibly loud. That was probably the main push toward getting this aftermarket cooler. That plus the extended life I've granted the card thanks to the improved cooling made it worth $90. Within the mixture of two chassis fans and the CPU fan, I can barely make out which fan tone belongs to the GPU fans. People complaining about the 'fan noise' from these fans are either related to superman, or should just be eliminated from the gene pool.*Size*:This thing is massive. You'd have to look at the website for the exact size to see if it'll fit your case. But I had to remove a hard drive cage in my case to allow space for it to fit. And yes, this will take up four PCI slots. If you happen to have a smaller device that does not extend downward, it is possible you could use the second slot above the GPU's slot. I would not rely on that being the case though. Just keep that in mind.*Fan speeds*:This part isn't particularly relevant to the review. I just wanted to provide this part to ease the installation. To get the decent temperatures recorded above, I used Asus GPU Tweak and created a custom fan profile. I'm sure you could use the software even if you do not have an Asus card, or you could use your own program that allows you to modify the fan speeds-doesn't matter. Anyway, I set the idle fan speed to be 20%. When it reaches 50 Celcius I have it jump up to 50%. At 53 it goes to 75% (53 and higher is intended for gaming and intensive tasks, thus the quick jump). And at 60 degrees C it goes up to 85% fan speed. On the off chance that the GPU reaches 100, I have the fan speed hit 100%. But since Furmark did not come close to hitting that, I do not think it ever will, even with some overclocking.So for more basic games, such as Minecraft, it should be sitting around 75%. And for intensive games/tasks it'll go up to 85% fan speed. This is working very well for me so far, and is a good starting location for both me and you if you choose to follow this instruction. I would imagine that a similar fan profile would benefit any card even if it is not the 290.*Conclusion*:Decent temps for such a hot card, quiet fans, gigantic fan/heatsink combo, and rather easy but time consuming installation. I cannot think of any other major points nor hints that one may find helpful. If anyone has any questions then please drop a question in a comment below and I will try to get back to you. In the meantime, I will be attempting to sell Boeing my stock fan, hoping that they mistake it for a jet turbine and accept a ridiculous offer for it.
J**N
The ARCTIC Accelero Xtreme IV is a fantastic cooler! It keeps my R9 290 at about ...
The ARCTIC Accelero Xtreme IV is a fantastic cooler! It keeps my R9 290 at about 37oC and it is very quiet.Pros:- Displaces a lot of heat- Low noise- Solid construction- Installation bracket that supports the weight of the card+cooler- Fairly easy to installCons:- The instruction manual could be a lot better- QC on the electronics is poor (see below)- Takes a while to install- At this price point, it should come with thermal grease remover and VRAM heat sinks- Contrary to the instructions, you should use thermal paste. Why would you want to return the card back to stock? And if you do, just use some thermal paste remover.VERY IMPORTANT! - - - MAKE SURE YOU TEST THE FANS WITH THE 4 PIN ADAPTER BEFORE INSTALLING - - -Other:Don't be intimidated by the installation - it is not that hard. The instructions stink, but once you get going, it is pretty obvious what to do (and there's not a lot to do anyway - you just use four screws to mount the heat sink, put thermal pads on the back, cut and install the plastic guard, and screw down the clips to hold it together.) To me, the hardest part about this installation was the removal of the stock cooler. They really tightened those mounting screws down! There was also a lot of thermal paste that is tough to get off. I trued using some isopropyl alcohol, but it didn't really do anything, so i ordered a kit. After 20 minutes of scrubbing, I got it off. Final install tips: use thermal paste (ARCTIC makes a good one), and if you are going to use heat sinks on the VRAM (not included) make sure you leave enough room on the bottom VRAM module so that the heat sink bracket will fit (see picture).Be careful which Amazon vendor you purchase this from. I got mine from Platinum Micro Inc. It was missing the thermal pads, and the fans did not spin. I contacted them and they tried to tell me that it did not come with any thermal pads and they made me copy and paste the picture from the Amazon product page before they would believe me. Then, they tried to send me thermal paste instead of thermal pads and it got to the point where I realized they they didn't know what they were doing, so I contacted ARCTIC and they sorted me out immediately without any hassle. I would recommend that you just order directly from ARCTIC.I made the mistake of installing the card without testing the fans. Make sure you don't repeat my mistake. Use the molex adapter to test the fans, or else it will make the return more complicated. Again, ARCTIC took care of me right away and send me a replacement fan module. I just had to snap the old one off and put the new one on. It works great now!Okay, so overall it was kind of a pain, so why the 5 star rating? The stock cooler is that bad. It is loud and hot! This was my best option and once the project was finally finished, I was extremely pleased with the results. I would go through it all again.
Trustpilot
1 month ago
1 week ago
