

N**N
A well designed and beautifully made solution,
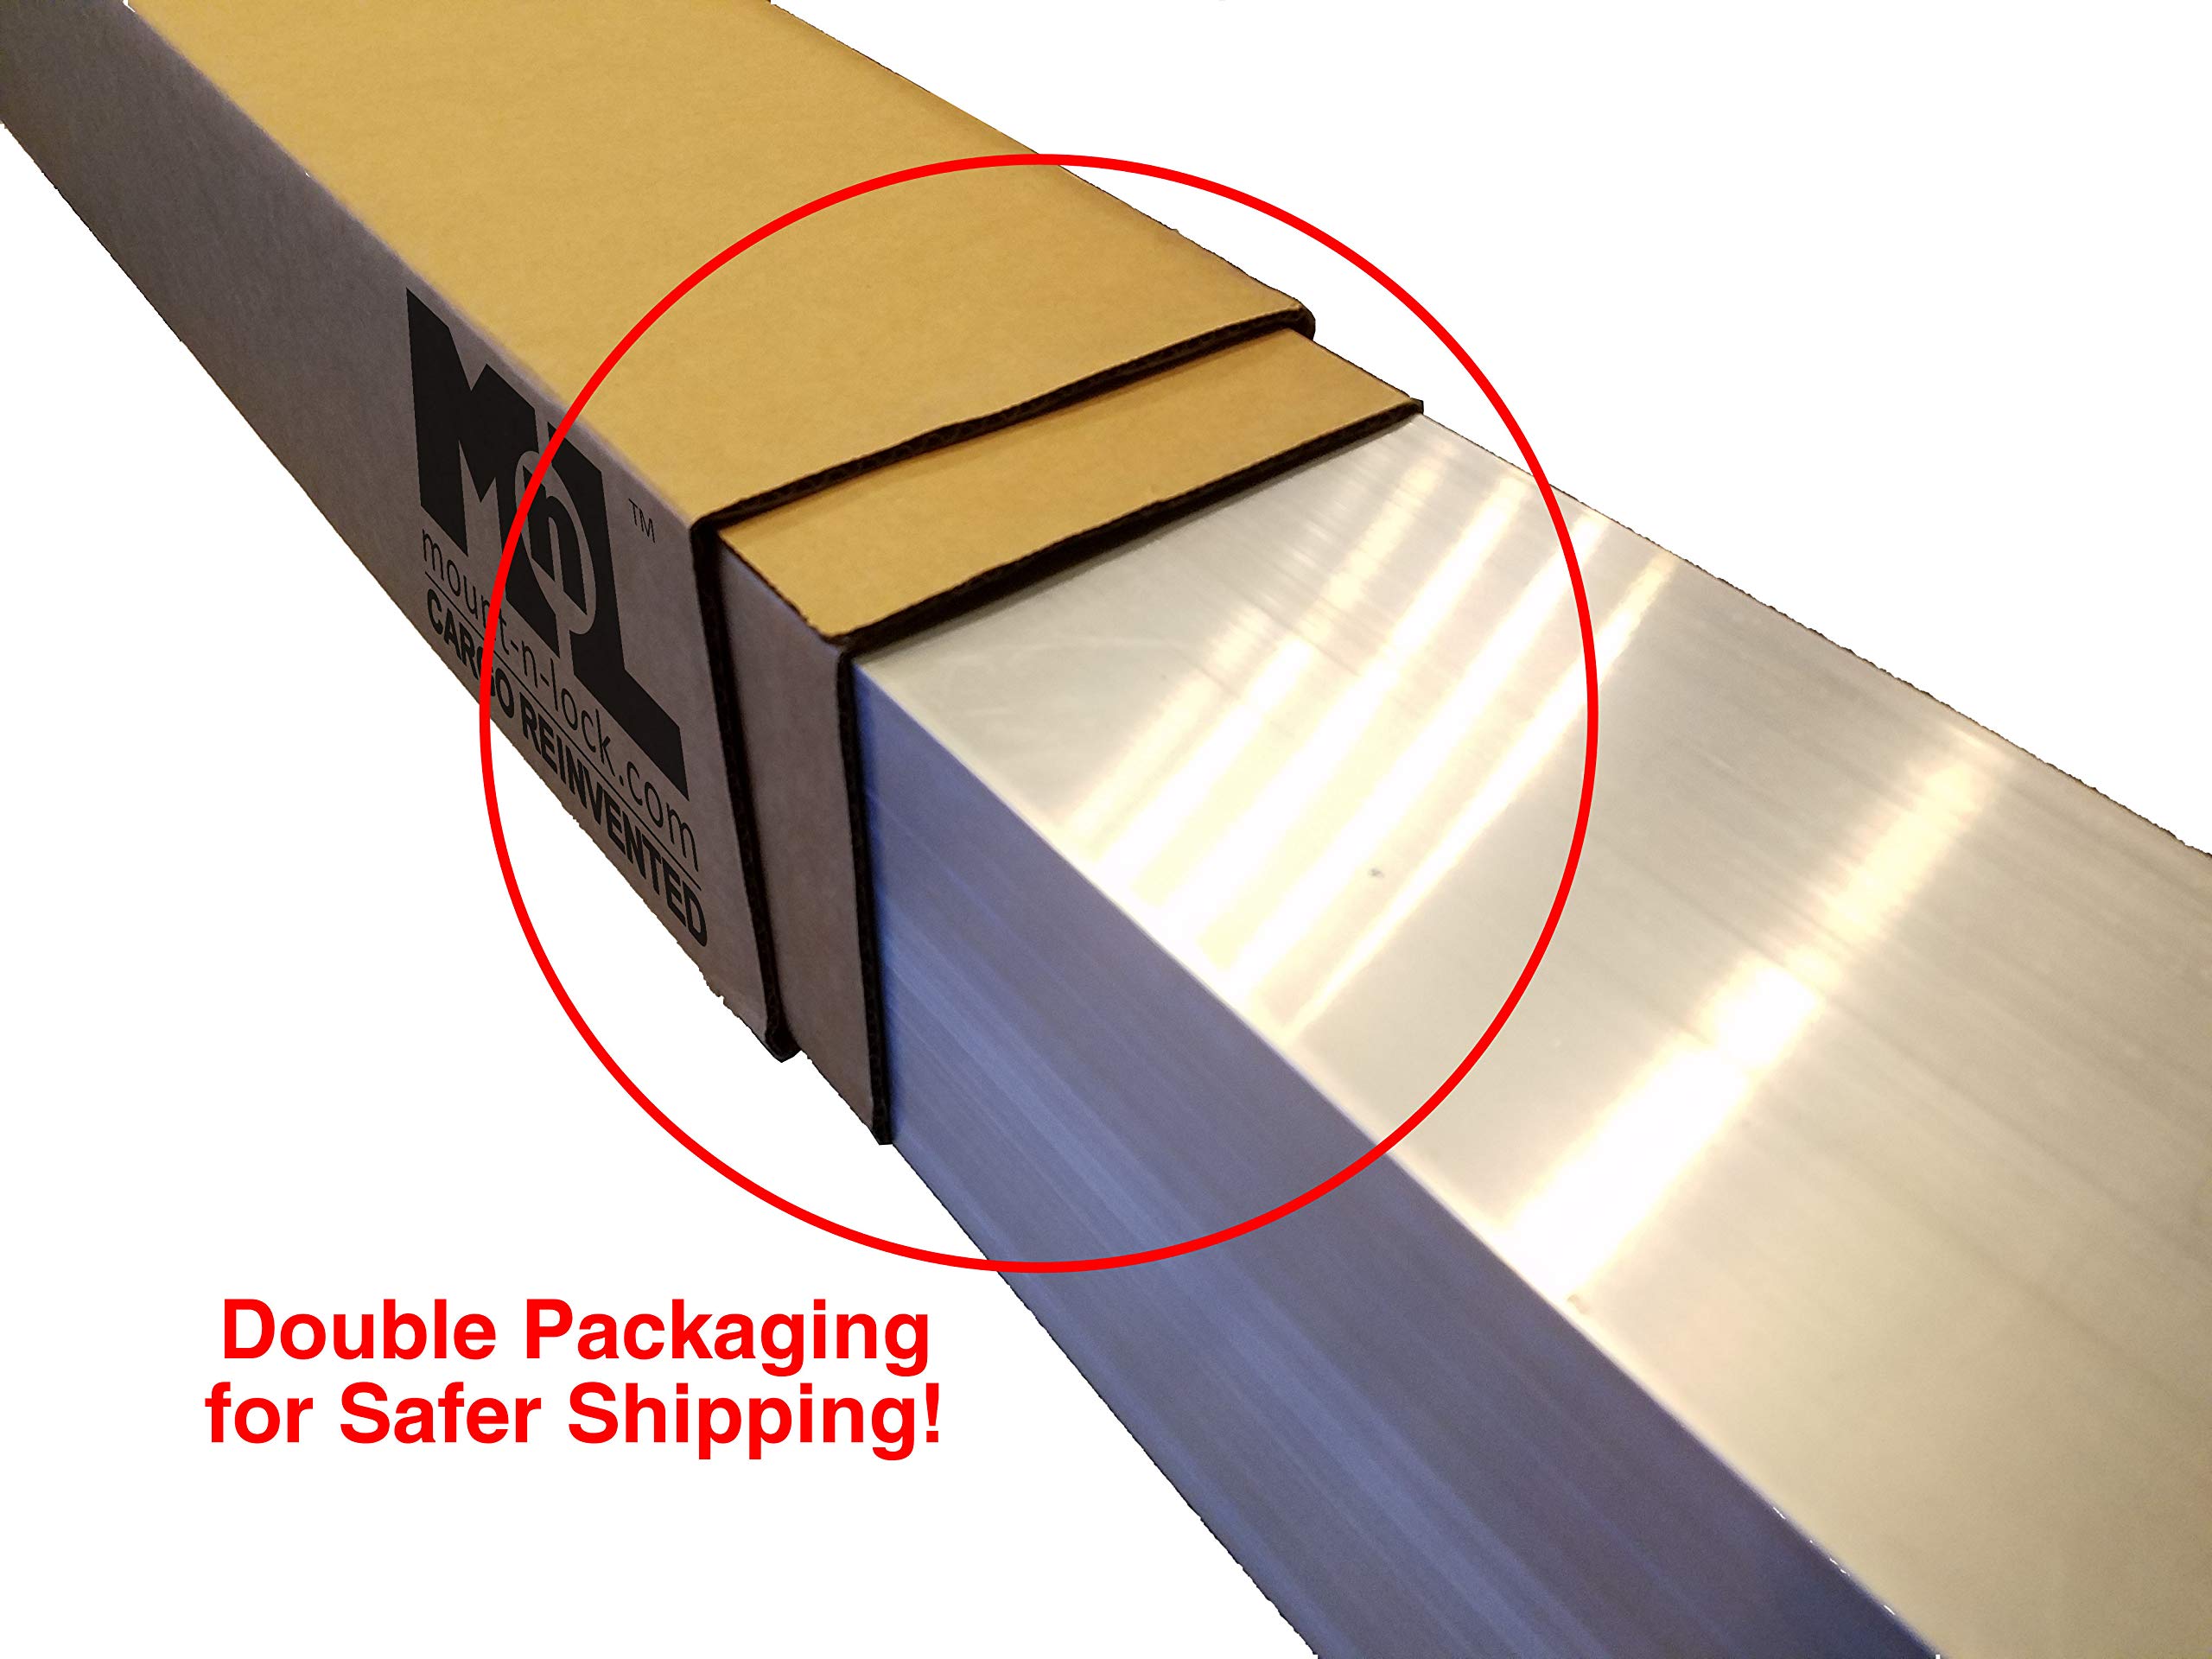
Great product, absolutely beautifully manufactured, real nice engineering and finish, and unlike China-made crap, this was finished and deburred, packaged well and then overpacked again in card tube, so no dings. All the parts were sealed in plastic, all made with excellent tolerances and basically I liked the design and the fact they specified the load rating, and cycled the load dynamically 1,000,000 Times.There’s a couple of parts that make this hard to assemble.. the removal of your old welded bumper MIGHT be difficult.. I couldn’t get to the welds with a grinder so I cold chiseled it off (ouch..took an hour or so). Then again, mine was an I-Beam chassis frame, so need to grind the old welds off so the brackets sat flat on that beam.The hardest part was setting the brackets up and clamping them on the aluminum bumper.. they are an interference fit, the instruction suggest using a G Clamp, but I had to use a bench vise to get them closed..once on, there is no sliding them to adjust to the rails, so you have to center and measure the width between the rails very accurately..the instructions suggest a method that was close but not right..I had a couple of try’s and finally got it. Love the product, now will fit a 4 bike rack and fingers crossed it holds up. The old one was super thin and the steel tore under load. One ‘bad’ thing..my sewer pipe won’t fit inside the new bumper it’s aabout 1/8” too wide..I might saw a few bits of the plastic collar off, then it would fit probably.
B**G
Get a cobalt drill bit
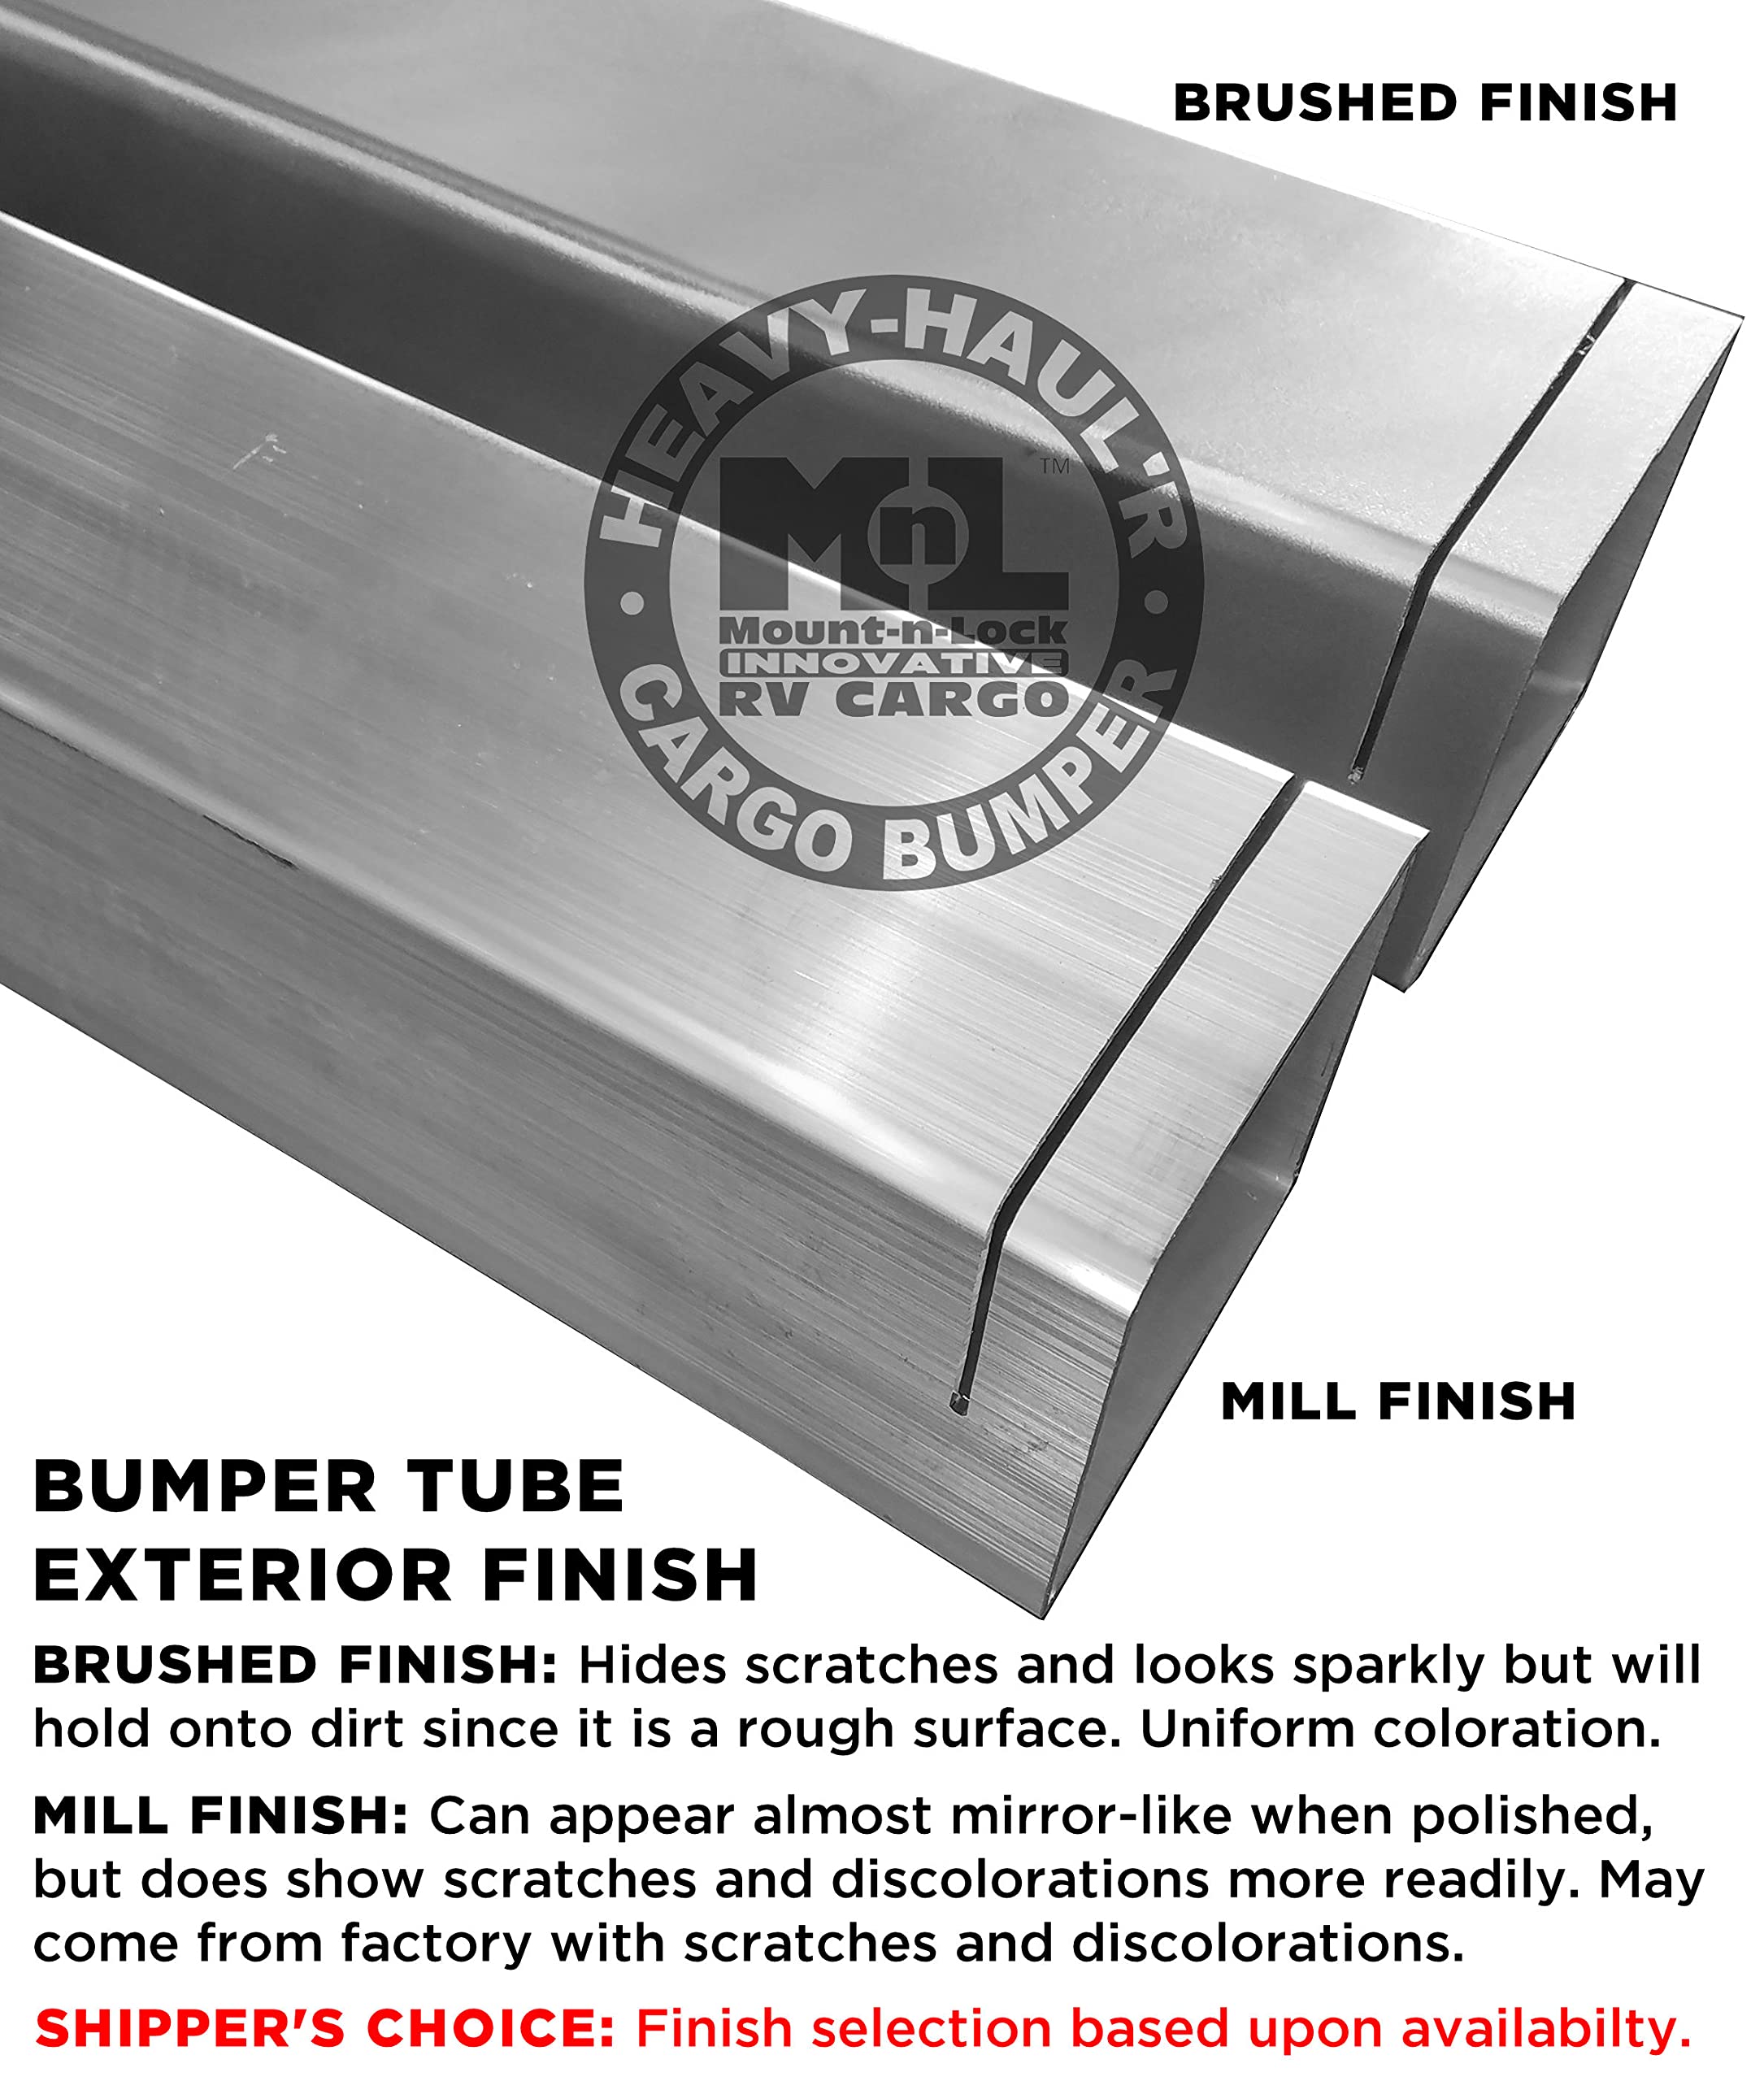
My original factory steel bump literally ripped off when I put too much weight on the bumper. I decided I could either weld a new bumper onto the camper or try one of these bolt-on bumpers. Since I don't know how to weld I went for the bolt-on. I found the install pretty time consuming and difficult, but that was only because drilling into my steel struts was a real pain. Do yourself a favor and get some cobalt drill bits before you start this job. The nut and bolt installation needs a 3/8 and the self tapping install needs an 11/32. I didn't have an 11/32 cobalt bit and neither did any store in my entire city. Having that on hand would have made the job much easier. The best I could do was use a smaller cobalt bit and then switch to a titanium 11/32. I burned several titanium bits and even broke my drill. Anyway, the results were pretty good. The spare tire went back on without any issues. Unfortunately the trailer has been in storage since I put the bumper on so I haven't tested it on the open road yet. The aluminum does tend to scratch but you'd have to get close to notice it. I think it looks good but you can judge for yourself.
M**.
Very Happy
So far, I am very happy with the bumper. Haven't had a chance to go out and bump into something!! Good looking unit with excellent workmanship of the parts. It does not install itself, but by taking your time and following the instructions, all will go well. You will need some sturdy clamps. Removed my old bumper (Sawsall) and installed the new one in one afternoon. One negative. Apparently my trailer frame is thicker than what the designer accounted for and I had to go buy some longer mount bolts. No real problem. I now have a set of shorter bolts to throw in the bin.
R**T
It's Bare Aluminum
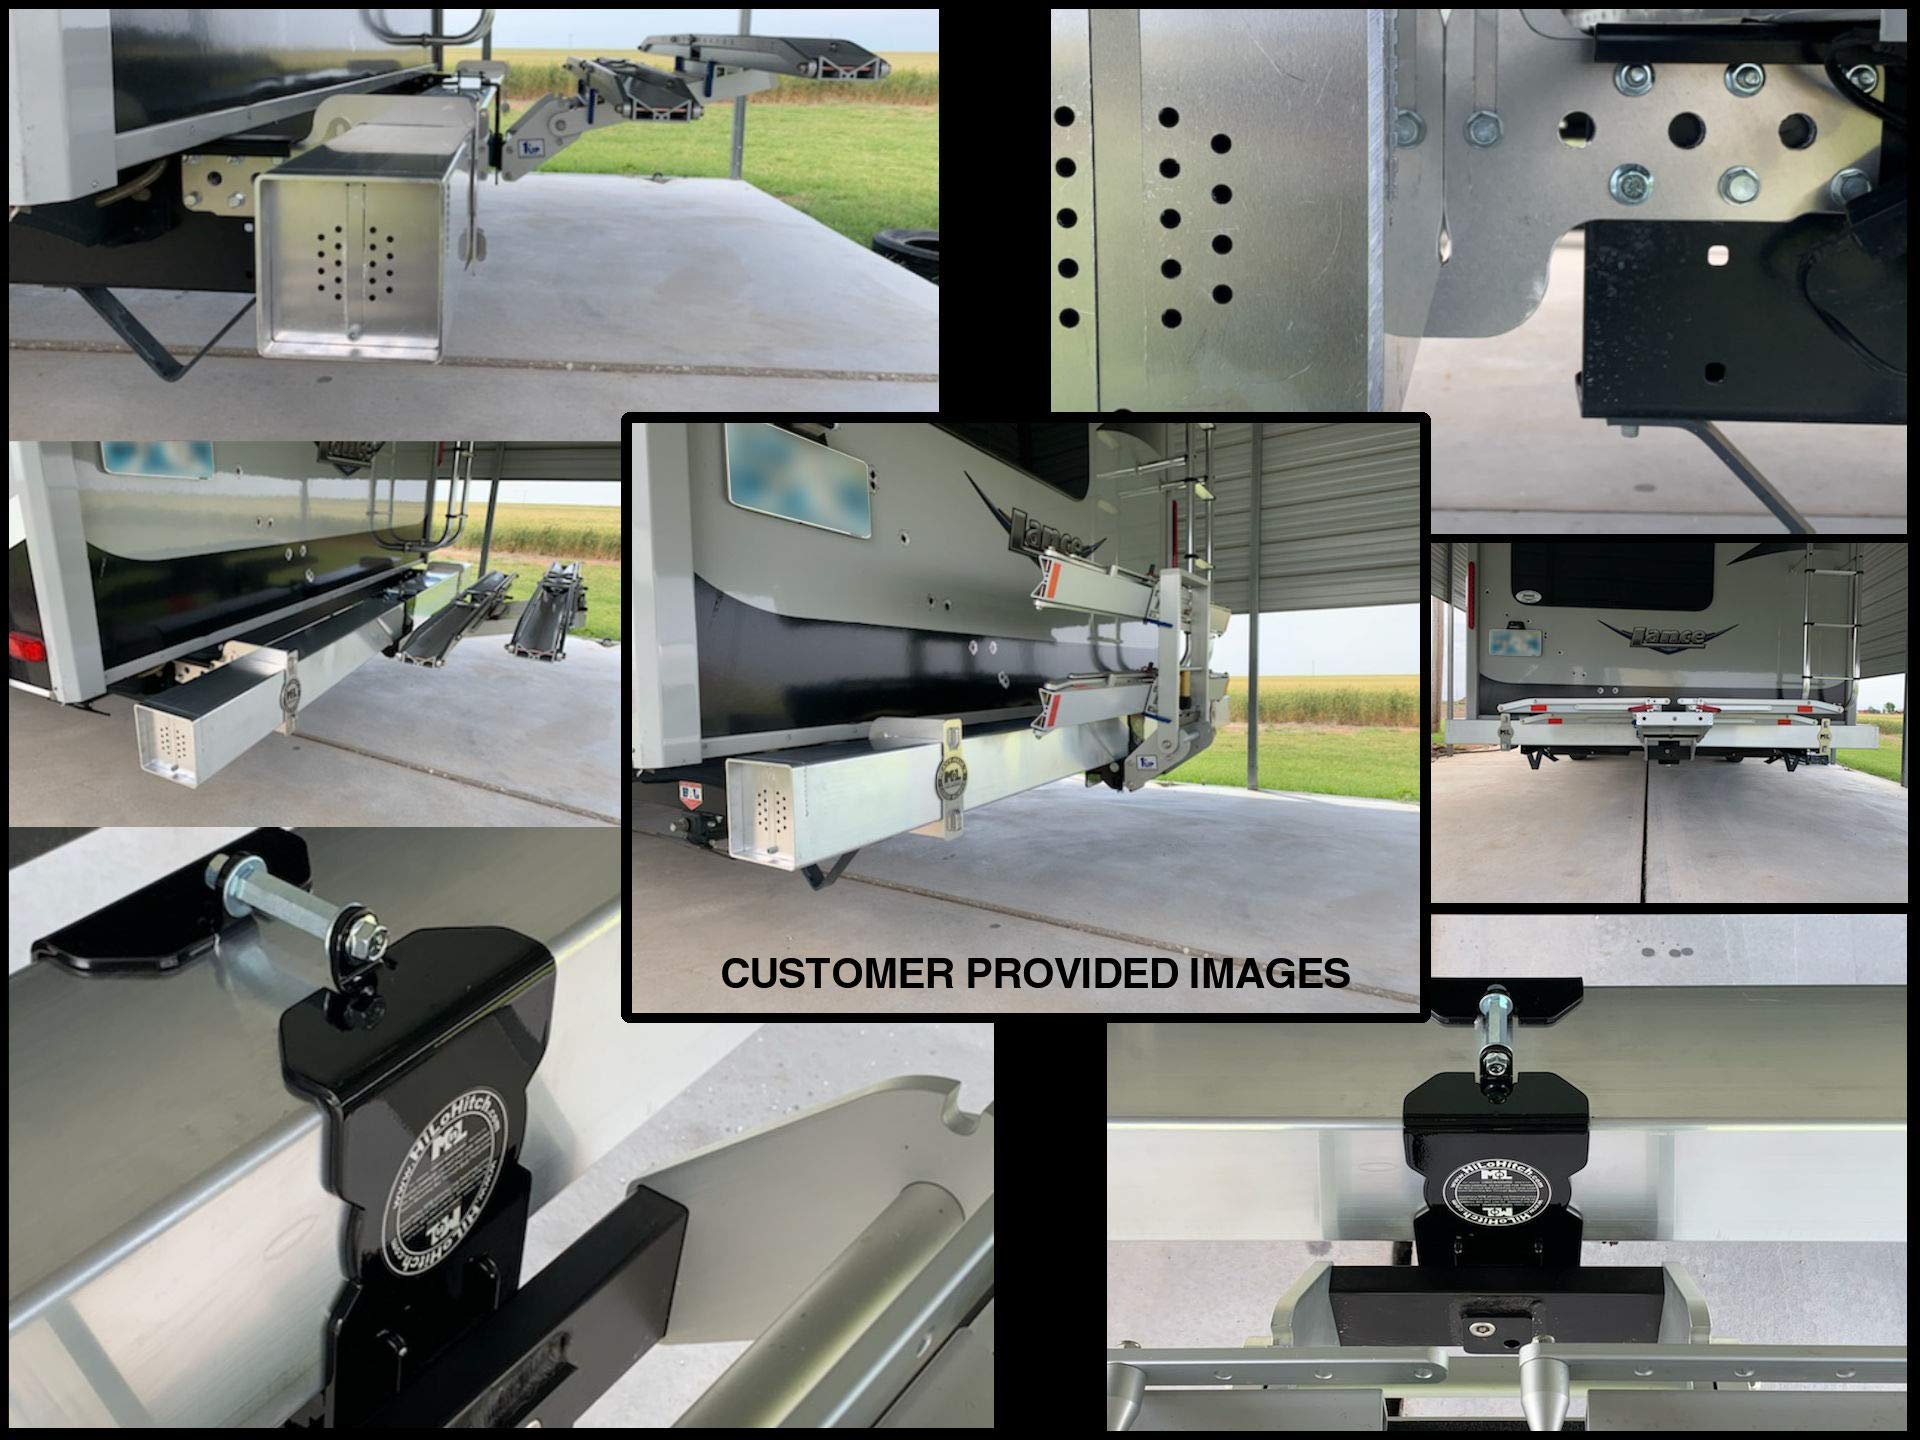
The brackets, while ingeniously designed, are weird looking once installed. Would be better if powder coated or painted black. Seems very strong and does not deflect. The end cap plates have a "stopper" bolt to keep them from getting lost (I guess), however I had to leave my stopper bolts off because the stopper prevents the cap from opening enough to get your 4" sewer hose end fittings past it, even at an angle. There is a tab on the cap plate that I bent out ever-so-slightly and that provides friction to keep the cap from bouncing out on the road, though there is ZERO information about the cap in the instructions so I have no idea if that is the intended use of the tab I bent.Overall its a pretty neat and strong design but the brackets look odd and get in the way of some bumper bolt-on accouterments. For example I have a swing out BBQ bracket that I wish could go inboard just two more inches but the bumper bracket prevents that (see picture).So consider where your spare tire and other favorite bolt-on bumper ornamentation will go and not block your tail lights or stick out beyond the trailer walls before you purchase this bumper.
A**R
bumber holds 750 lbs on your RV
I love it easy to install and exceptionally made
A**R
Best option for a catastrophic bumper failure!
The only quick and quality way to replace a RV bumper! Couldn't be more pleased with the final results, the overall design, and the durability of the bumper.
R**A
Quality bumper replacement
Pretty easy to install. Instructions were clear and easy to follow. Feels very sturdy after installation and will easily support the spare tire mount I installed. Nice quality material.
A**A
RV replacement Bumper
Looks great, hardest part was removal of old bumper, fitting the new one was straight forward.
Trustpilot
1 month ago
3 days ago
