

Geiger Counter Kit Bundle
Product ID: 272988625
💻USB-serial data logging & Arduino/RPi expansion
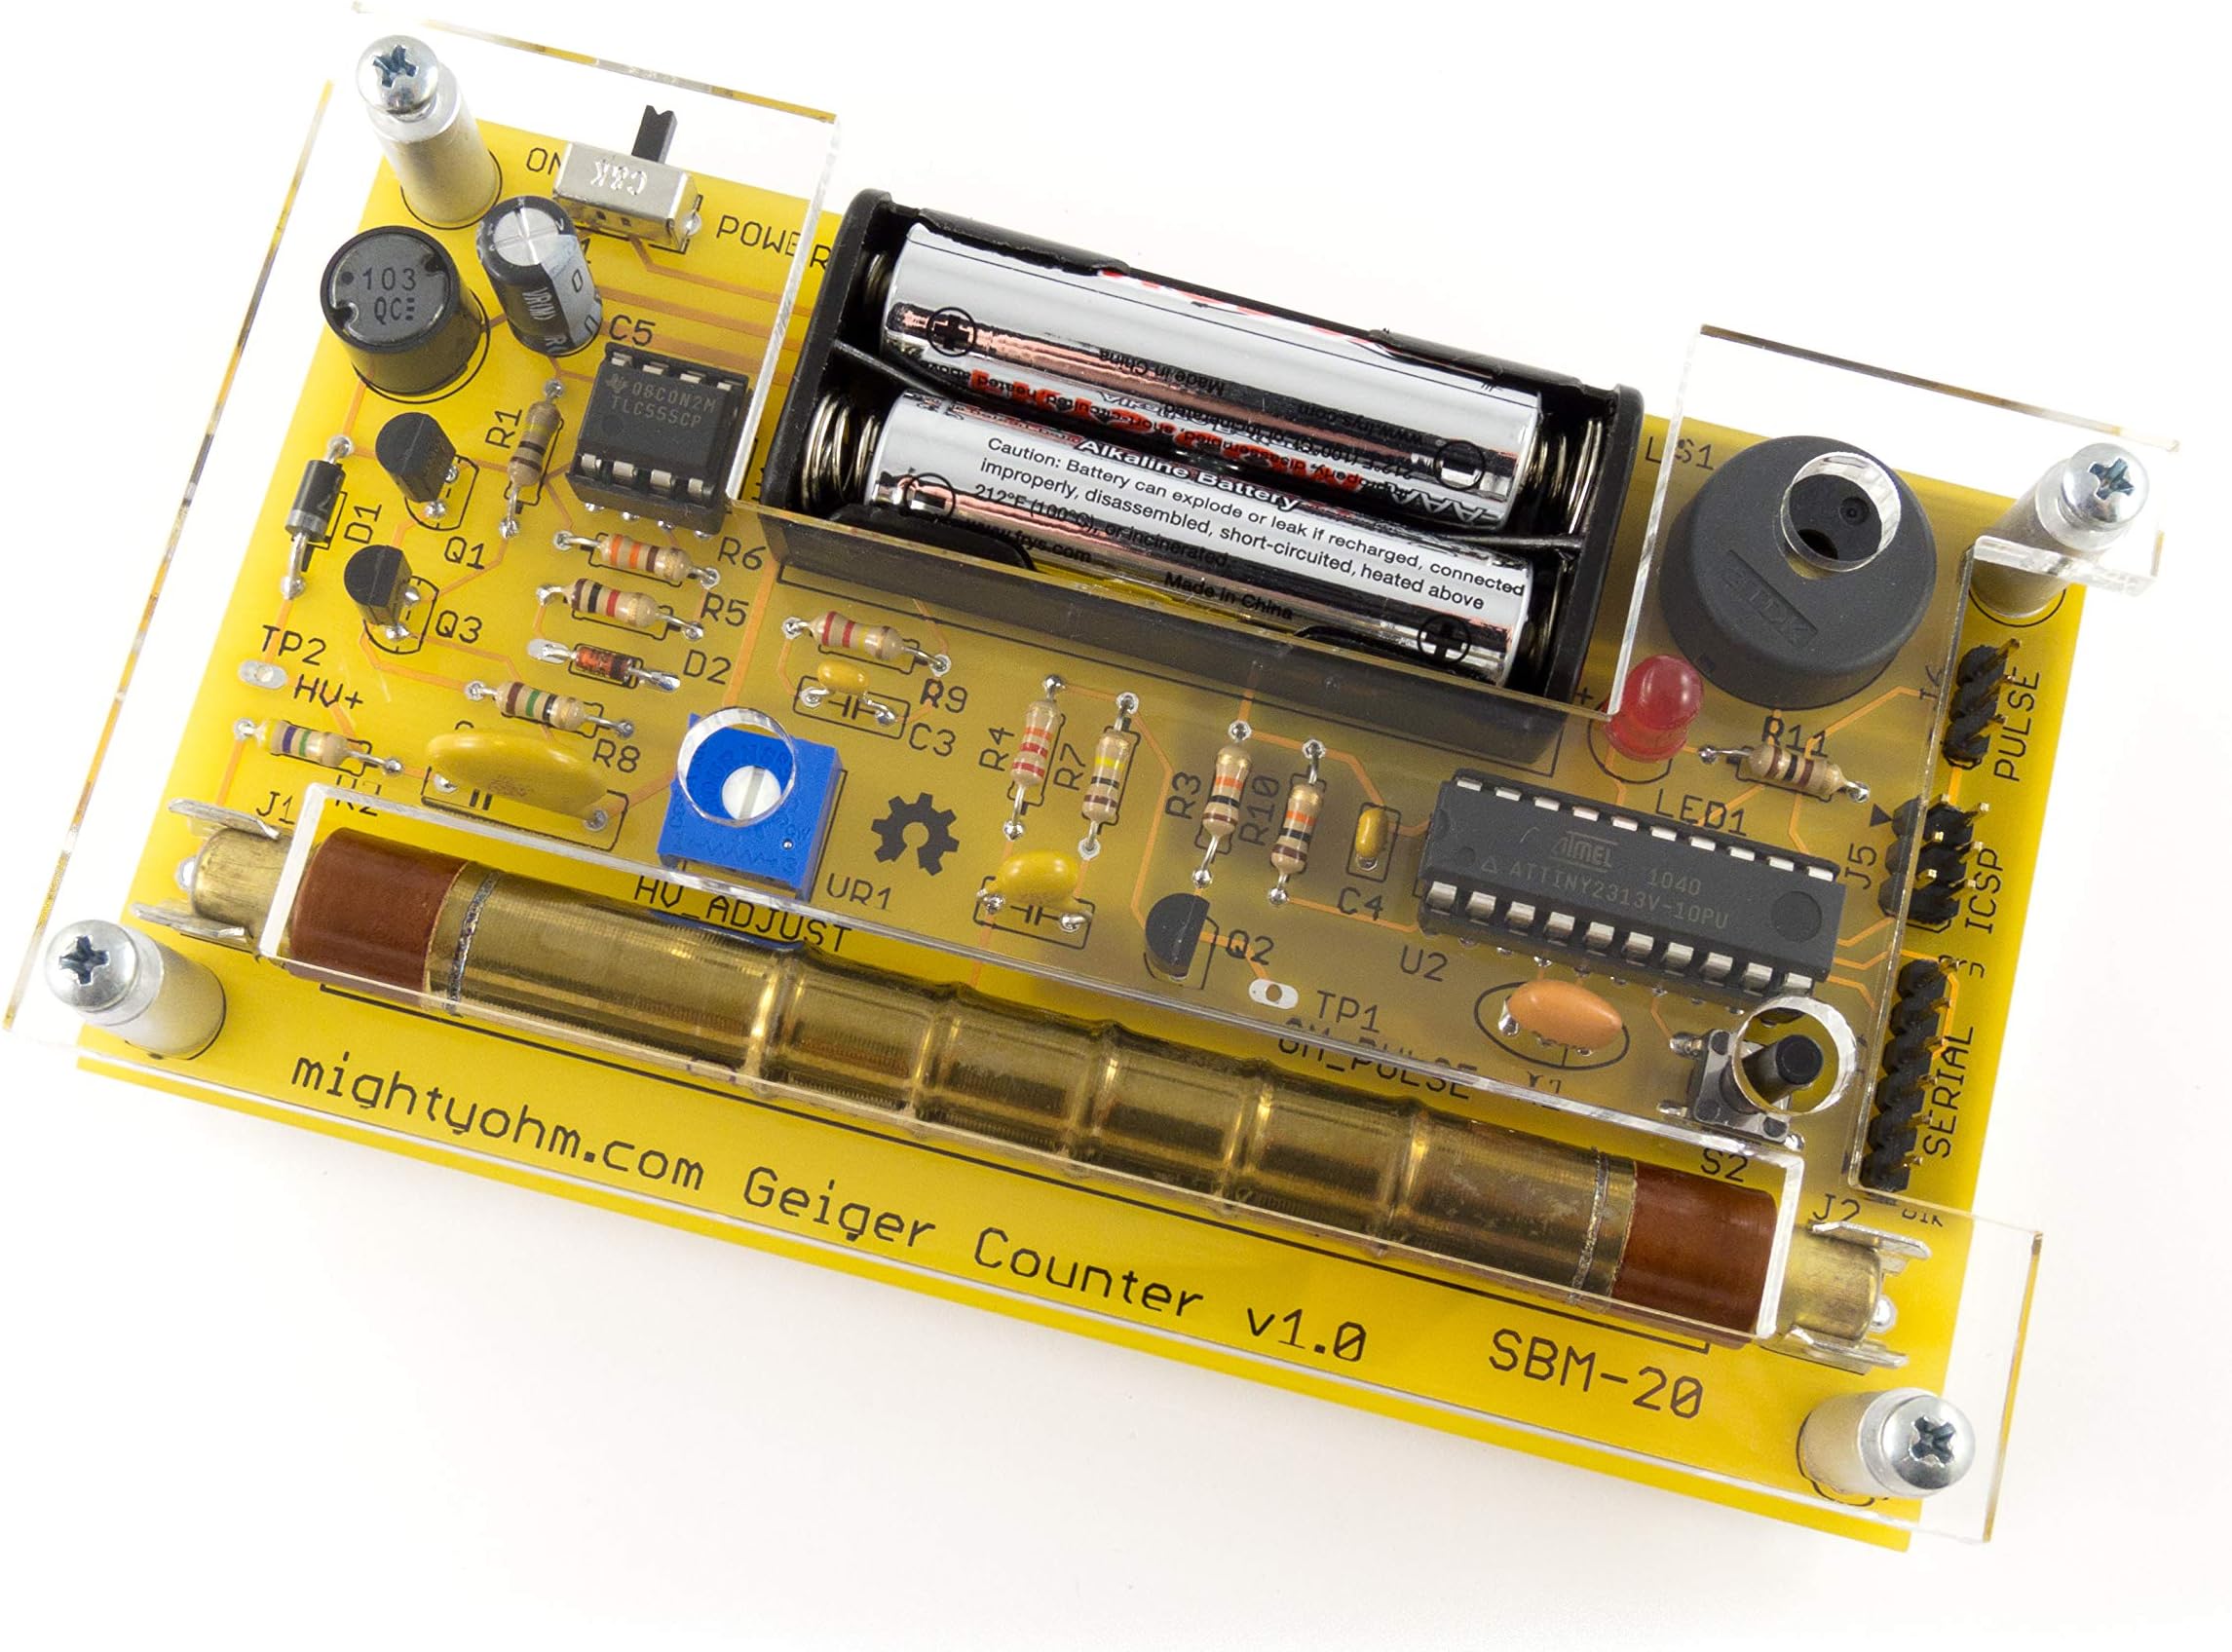
📡SBM-20 Geiger-Muller tube detects beta & gamma
🔋Powered by 2xAAA long-life alkaline batteries
Buy anything from 5,000+ international stores. One checkout price. No surprise fees. Join 2M+ shoppers on Desertcart.
Desertcart purchases this item on your behalf and handles shipping, customs, and support to Seychelles.
⚡ Detect the unseen. Own the future of radiation sensing.
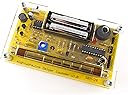
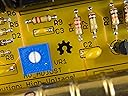
The MightyOhm Geiger Counter Kit Bundle is a professional-grade DIY radiation detector featuring a sensitive SBM-20 Geiger-Muller tube, high-quality PCB, and laser-cut acrylic case. Powered by 2xAAA batteries, it offers LED and piezo alerts with a mute option. Fully open source, it supports USB-serial data logging and expansion with Arduino or Raspberry Pi, making it ideal for STEM enthusiasts and professionals seeking hands-on radiation monitoring and customization.
| ASIN | B08L8FM1H6 |
| Age Range Description | Adult |
| Battery Description | Alkaline |
| Best Sellers Rank | #290,941 in Toys & Games ( See Top 100 in Toys & Games ) #2,586 in Educational Science Kits |
| Brand Name | MightyOhm |
| Customer Reviews | 4.8 out of 5 stars 60 Reviews |
| Educational Objective | soldering skills |
| Global Trade Identification Number | 00860005573202 |
| Is Assembly Required | Yes |
| Item Dimensions | 4.75 x 2.75 x 1.25 inches |
| Item Weight | 209 Grams |
| Manufacturer | MightyOhm LLC |
| Manufacturer Minimum Age (MONTHS) | 144.00 |
| Manufacturer Part Number | 1010 |
| Material Type | Acrylic |
| Model Number | 1010 |
| Set Name | 1 |
| Size | 2.75 x 4.75 x 1.25 inches |
| Theme | Physics |
| Unit Count | 1.0 Count |
A**D
Super-easy build, well engineered software, and a good case
I bought this primarily so I could keep a running graph, and so this product's serial-port support is what appealed to me. It's a simple build, with pretty much everything through-hole, and aside from the usual misery of identifying resistors, it was a quick, straight-forward build that just worked. I was somewhat disappointed in a lack of any debugging documentation. I've done other kits that would require you to test portions of the project before cutting a trace or installing an expensive IC, and this one didn't have that. You just stuck it all together and only after it didn't make ticking noises would you know something was wrong, and then you'd have few indications of where the problems were. Are you able to check TP2 before installing the tube? (I think you could test with just the 555 installed.) What should it read? Are you able to check TP1 before installing the ucontroller? (I think so, but I'm not sure you could do it with just a multimeter.) What should the blue pot actually be set TO? (Mine puts 202VDC on the TP2.) Despite that, I'm quite happy with the result. I especially recommend hooking it up to a serial port, where it keeps track of actual numbers -- uSieverts/min if I recall correctly. Also, the entire project is open source and open hardware. I was able to answer a number of my own questions just from the documents provided on their site. For the curious: You can power it off a 3v3 FTDI usb serial adaptor. Run power and ground to pins 1 and 3 of the 'pulse' header, and run the TX/RX wires to pins 4 and 5 of the 'serial' header. You're going around the power switch, so it will power up regardless of where it is set, although you should leave it turned OFF since it will otherwise be feeding power to the batteries. Or better, remove them entirely. It defaults to ticking for pulses on power-up, but you can probably reprogram the ATTINY with Arduino tools, although the code is raw AVR.
A**X
Great for my continuous radiation monitor project
This worked great. I modified it to run on 5v and added an LCD screen and put it into a box. I made a YouTube video on it (called “Desktop radiation meter with mighty mohm kit & arduino” and “Modify MightyOhm Geiger counter kit to operate with arduino & I2C lcd screen” Been running for a few weeks now and seems fine.
P**H
Great assembly instructions (1 hr) worked right out of the box
Was too excited to get to soldering, it took me about an hour. I normally expect kits to be missing parts, but this had every last one of them. Pros: * it's open source, AND has programming pins * It has serial port pins (outputs clicks-per-second and a rolling uS/hr) * Has a button to mute the speaker (only the LED will flash) * Instructions are perfectly clear, great hobby project for kids * also has a "pulse output" pin for attaching your own logic Cons: * some might want printed instruction, but it was easy enough to find them online * would like to see the case be a full enclosure, but this is pretty good
H**5
Geiger counter kit
Easy kit that is a good tool for hobbyists.
A**F
A super fun kit with seemingly great accuracy
This is a super fun little kit to put together. While you can download the BOM from MightyOhm and source the parts yourself (I've done both), the pre-selected kit makes it a bit easier to avoid parts that won't fit, or other small issues. The sensitivity of the SBM-20 tube speaks for itself, and easily outperforms may other tubes. If you're starting from scratch with a blank ATTiny 2313V (not the pre-programmed unit that comes in the kit), you'll need a simple debugger and Microchip (formerly Atmel) Studio. The simple firmware can easily be modified, as there are a few improvements off the bat that can be made. Regardless, this is a great kit that you'll enjoy putting together, and if you want to take it a few steps further by modifying the firmware, you'll have fun with that too. I've connected mine to an ESP8266 for an internet-connected counter, with integrated level alarm. It's fun, works well, and allows for IFTTT integration. Yes, this kit is more expensive than pre-built kits on eBay that do the same thing, but you'll have more fun and get a better tube. Highly recommended!
D**R
Excellent instructions
I am very experienced building electronic things, so I could've built this with no instructions just using the schematic. But I used the instructions anyway, and thought they were excellent. There should be no difficulty for kit builders of any experience level, as long as you have the right tools. And it worked great! I used a test card I bought on Amazon, and it set the counter off full tilt. I also tried some Nu-Salt from the grocery store, which is a potassium chloride salt substitute. Some of the potassium is K40, which is radioactive. The KCl measured about 3 times the background radiation level. I am going to use this as part of my EuroRack electronic music synthesizer, to trigger random events.
C**N
What a great project! It works!
This was a very fun project. And it works! I actually bought a second one (wife stole the first one) and added a new video review. Be sure to print out the directions and read them thoroughly several times. Be very careful with the Geiger tube. And watch the orientation of the parts!!! Don't ask, but unsoldering a three-prong part is a nightmare. The only real issue I had was when I went to build the Plexiglas case, the red LED sat too far off the PCB, so I had to desolder and lower it. Second kit, I fitted the top case first, but the LED sat perfect. Maybe a different component. Oh, and a good solder station with a magnifier is nice, such as X-Tronic 3090-PRO-X – 75 W... https://www.amazon.com/dp/B09VVBJ8GH?ref=ppx_pop_mob_ap_share. Enjoy!
M**K
I Always Wanted a Gieger-counter!
I use it with my Fiestaware plate, a truly radioactive dinner plate. What a stitch! ;^) Wink-wink-nudge-nudge-say no more! I really enjoyed assembling the kit. It took me back to my Heathkit days.
Trustpilot
1 month ago
2 days ago