
🚗 Drive with Confidence: Your Fuel System's Best Friend!
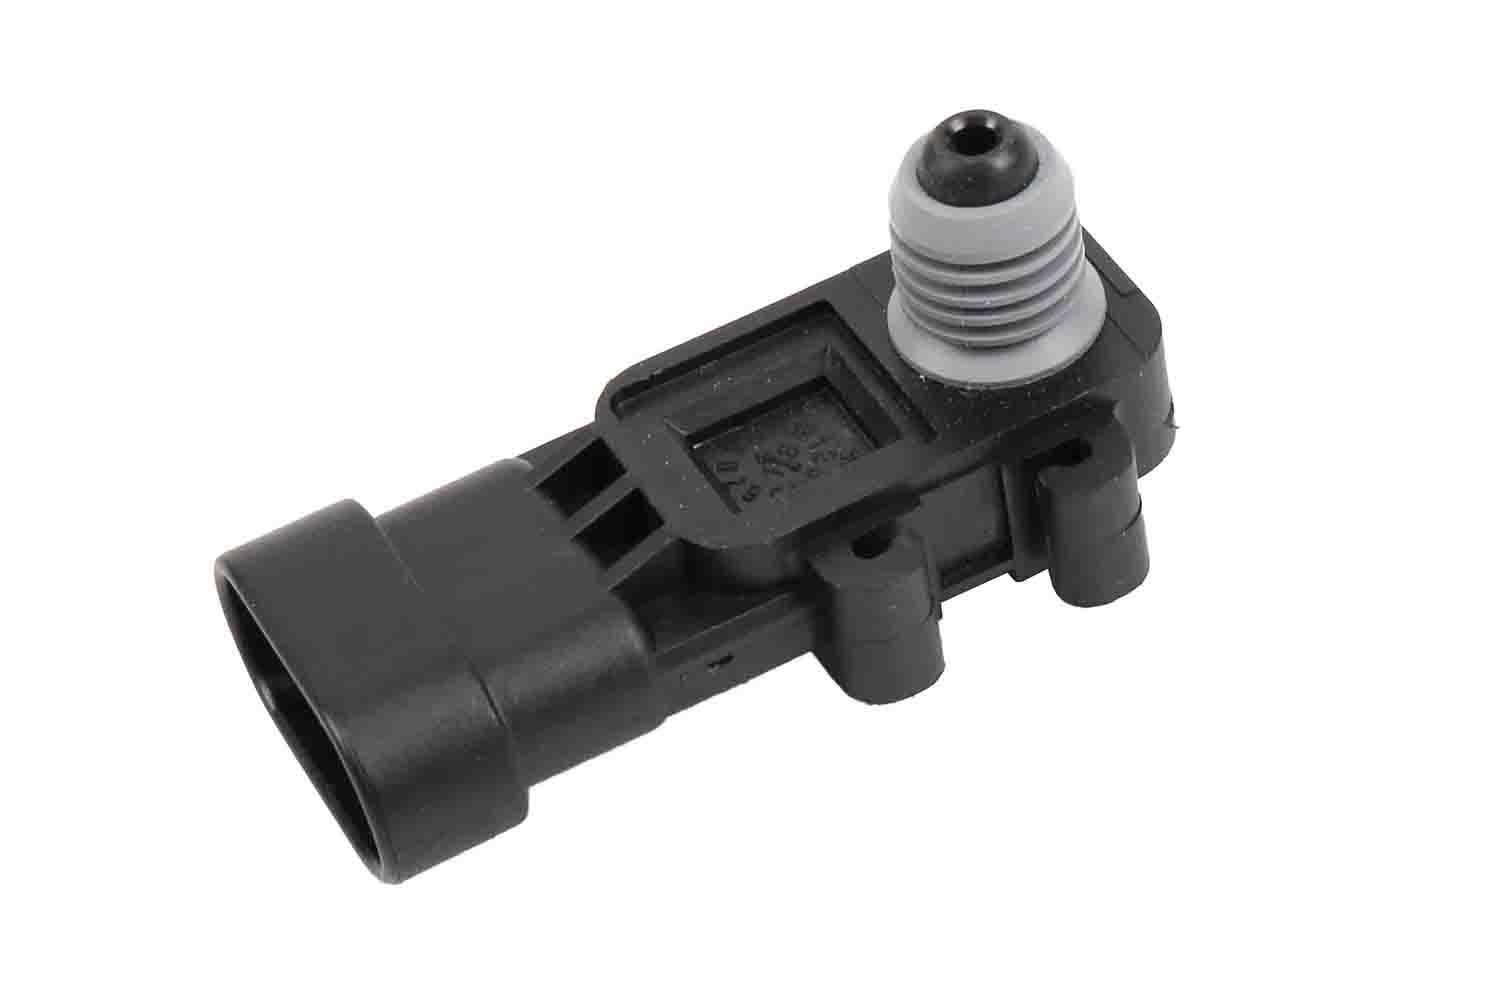
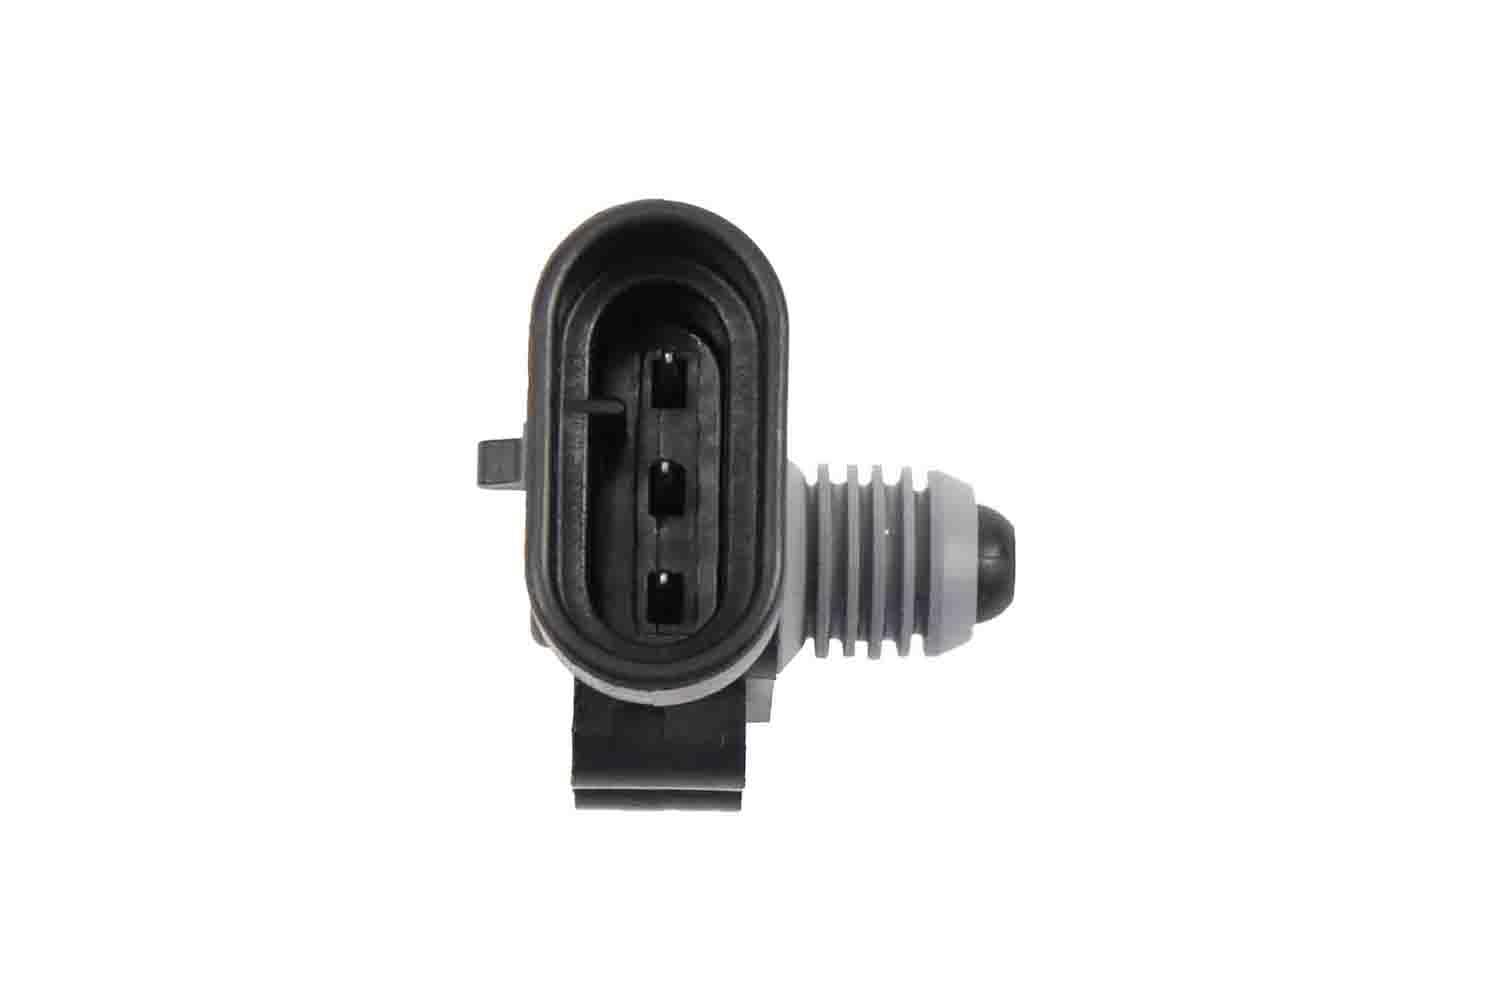
The ACDelco GM Original Equipment 16238399 Fuel Tank Pressure Sensor is a high-quality, reliable component designed to monitor pressure changes in your vehicle's fuel tank. This direct mount sensor is engineered to meet or exceed GM's strict quality standards, ensuring optimal performance and durability. With a compact design and seamless integration into your GM vehicle, it provides essential leak detection alerts to keep your engine running smoothly.
| Brand | ACDelco |
| Item dimensions L x W x H | 3.1 x 2.1 x 2 inches |
| Item Weight | 18.14 g |
| Style | Modern |
| Maximum Supply Voltage | 5 Volts |
| Mounting Type | Flange Mount |
| Output Type | Push Button |
| Specific Uses For Product | Pressure |
| UPC | 021625878256 |
| Global Trade Identification Number | 00021625878256 |
| Manufacturer | ACDelco |
| Model | Fuel Tank Pressure Sensor |
| Item Weight | 0.64 ounces |
| Product Dimensions | 3.1 x 2.1 x 2 inches |
| Item model number | 16238399 |
| Is Discontinued By Manufacturer | No |
| Exterior | Machined |
| Manufacturer Part Number | 16238399 |
| OEM Part Number | 16238399 |
R**D
Great, no more check engine light
It had a cheap no name installed, once we took that out we knew there was probably no problem with wiring. Installed this, scanned it, tested it, all good. Stay away from the cheap no name stuff.
D**C
Fixed P0446 on 03 suburban GMT800
This fuel tank pressure sensor fixed my P0446 Evap system vent control circuit check engine code.Yes you can replace this without completely dropping the tank.1. Raise vehicle and support on jack stands.2. Put a floor jack under the tank, especially the rear on burb and tahoe since the front of tank will rest on crossmember.3. Remove both tank straps with tank supported by floor jack.4. Lower floor jack 4 - 6” so you can reach on top of tank.5. Fuel pump located in middle of tank on burb and tahoe. Look at a pic of a new pump so you know where sensor is located.6. I was able to find pressure sensor by feel, right next to fuel pump harness plug.7. I removed plug from pressure sensor while sensor was still stuck in tank.8. Grab pressure sensor by the front where it sticks in tank not by the rear where the plug was. Twisted a bit and it pulled out fairly easy.9. Installed new sensor dry no lube and it pressed right in no problem. Kinda tricky to find the hole by feel.10. Connect wire harness plug to new sensor Abe ensure sensor is still pushed all the way in tank.11. Put tank straps back on and tighten.12. Start engine and check for any leaks, especially near middle and front of tank to make sure you didn’t disturb a push lock fuel line.13. Clear check engine code and hopefully it doesn’t come back :-)How to test purge and vent solenoid:purge solenoid which is under the hood, pull engine beauty cover and with the engine at operating temp, the purge solenoid should be clicking. Pull the green cap or the plastic line and it should cycle between vacuum and off with engine warm and idling.Vent solenoid which is above the rear axle by the end of fuel tank on suburban and tahoe or near where the truck cab and bed meet. Remove vent solenoid and you should be able to blow through it when it has no power. Give it 12v and you shouldn’t be able to blow through it.You can tap vent solenoid on ground to see if dirt falls out. Mine had some dust but not bad at all, I even rinsed it out with water and it still works just fine.You need a expensive mechanic grade scan tool to test fuel pressure sensor and view the raw data and voltage to test fuel pressure sensor. I narrowed mine down to the fuel pressure sensor by testing purge and vent solenoid and replacing gas cap. Still was getting p0446.These fuel pressure sensors are well known to fail. Lots of videos on YouTube how to test solenoids.Hope this helps!
V**Y
chevy 2018
good replacement part. clears the OBII code
G**S
Worked perfectly for 2006 Silverado classic.
Have a EVAP code? This is a must replace item if working on any component of that system. No need to drop tank or remove bed of truck if Silverado Classic or a bit earlier. Simply disconnect driveshaft at differential creating enough space to reach up to remove and replace. Blow off area with air first to prevent dirt falling into tank.
J**R
Fixed my EVAP purge code
This was an exact replacement for my 2001 Buick LeSabre. Fixed my EVAP code. Apparently the EVAP ready has to set before the catalyst ready will set on this car so I couldn't pass inspection in Texas with 2 not ready.
Z**P
Exact replacement
Was easy to replace and did not have to lift truck bed off of frame or drop fuel tank. I used a mechanic glove and was able to firmly pull the old sensor out of fuel pump by feel. Replacing was even easier. Carefully remove the wire clip and then reinsert wire into new sensor. Took less than 20 minutes.
F**R
GM OEM Part! Don't cheap out!
Everything was great about this item I replaced my old one and the CEL went off. $35 cheaper than the parts stores that won't have it in stock. This the the OEM replacement for a 2005 Saturn Ion fuel tank pressure sensor setting a P0446 code. Same year Chevy Cobalts has the same sensor. On these year Ion's you have to take the fuel tank out to replace it as it is mounted to the top of the fuel pump assembly. Cheaper ones can be bought for $10. Don't buy them and buy this one. Because if the cheap one doesn't read around 22.5 volts when you back probe the gray wire with red stripe with your meter. That means the sensor is bad and the evap CEL code won't go off. It's not worth saving $30 if you have to pull the full tank again. Very happy.
V**.
10 minute installation - READ
This was one of those rare times when a car repair went fast and easy without a hitch. I was prepared by reading and watching instructions online first. You do NOT need to drop the fuel tank or lift the truck bed, at least not for mid 2000s pickups, mine is a 2005 2500 4x4 extended. Here is how to install this part.You can reach above the gas tank, even when laying on the ground. There is enough room above the tank to do the job by feel.Feel around and find the part and wires connected to it.Disconnect the electrical connector by lifting up on the locking tab and pulling the connector off. The lock is easy, there is no slider lock or anything complicated, just bend the plastic up and it comes free.Rotate the sensor body around and tilt SLIGHTLY to break the seal.Use a small pry tool and pry the sensor straight up and it will pop out of the hole. I had a mini nail puller that worked, a screwdriver might work but you may not be able to get enough vertical travel by tilting in that confined space. Rotating a large flat tip may work. Otherwise make a pry tool by bending the end of a 4 inch piece of metal.The sensor tip can break off easily! Pry only right around the tip area so the force is straight up. Don't tilt the sensor body up by the long free end or try to pull it up by hand. Pry in a few spots if necessary. Once it pops out of the hole you will know it, the whole thing is free then.If the tip breaks and stays in the hole you have two choices. Push it in and it will float in the tank for ever, or use a construction wood screw. Thread it in by hand as much as possible and use needle nose pliers to leverage the screw straight up. Mine didn't break because I was careful to put my pry tool against the tip before pushing so the force is mostly straight up.Install the new one by just pushing it into the hole. It snaps in with a not very obvious feel. I just pushed down directly ABOVE the tip as hard as I could and assumed it must be all the way in.Reconnect the connector gently. It took a minute to get it lined up by feel but then it went right on.Clear the check engine light and you are done!
Trustpilot
2 months ago
1 month ago


