🛡️ Elevate your Jeep’s style and defense—because your ride deserves the best!
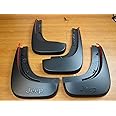
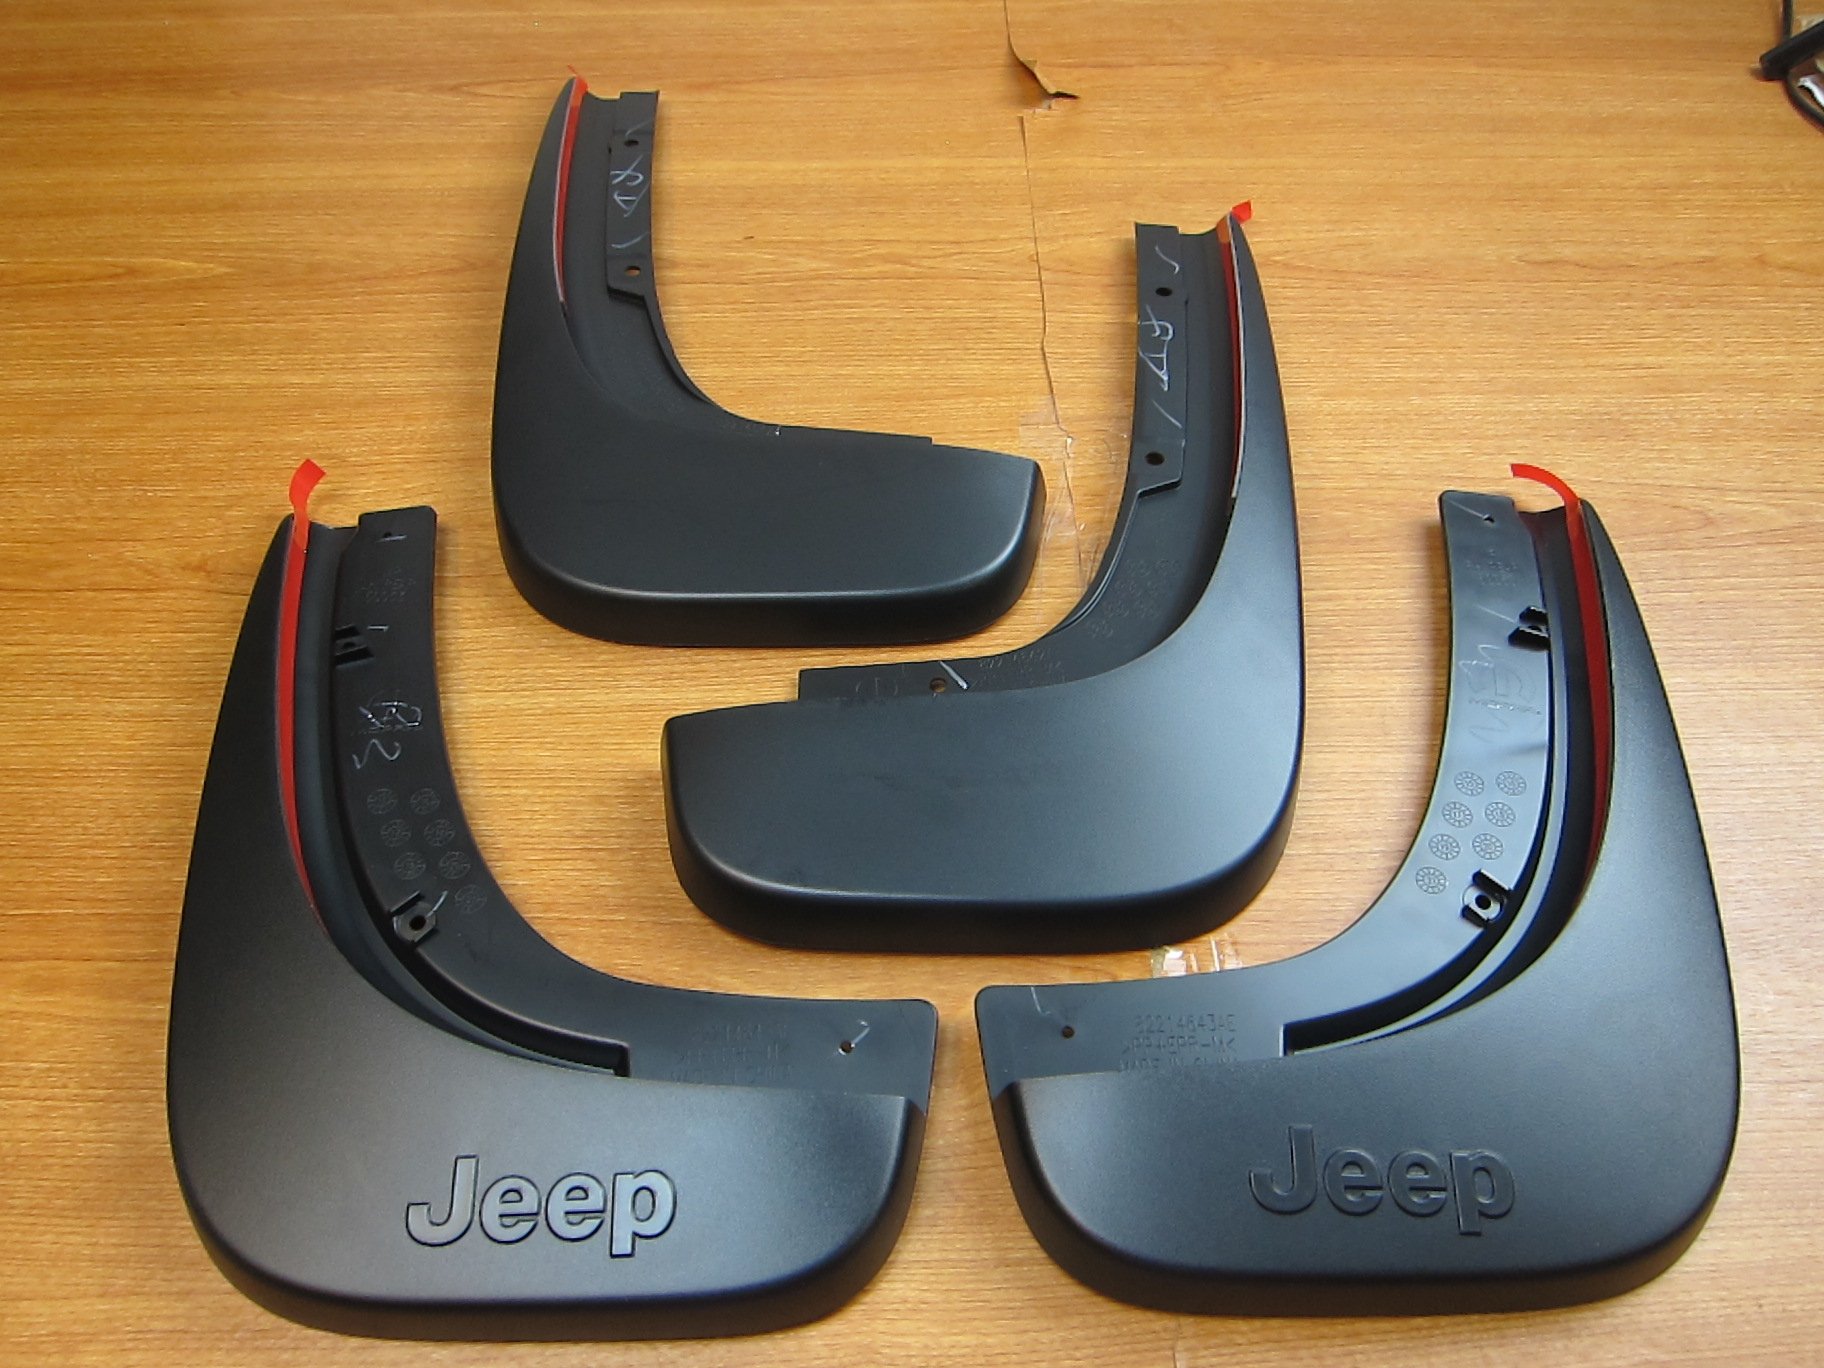
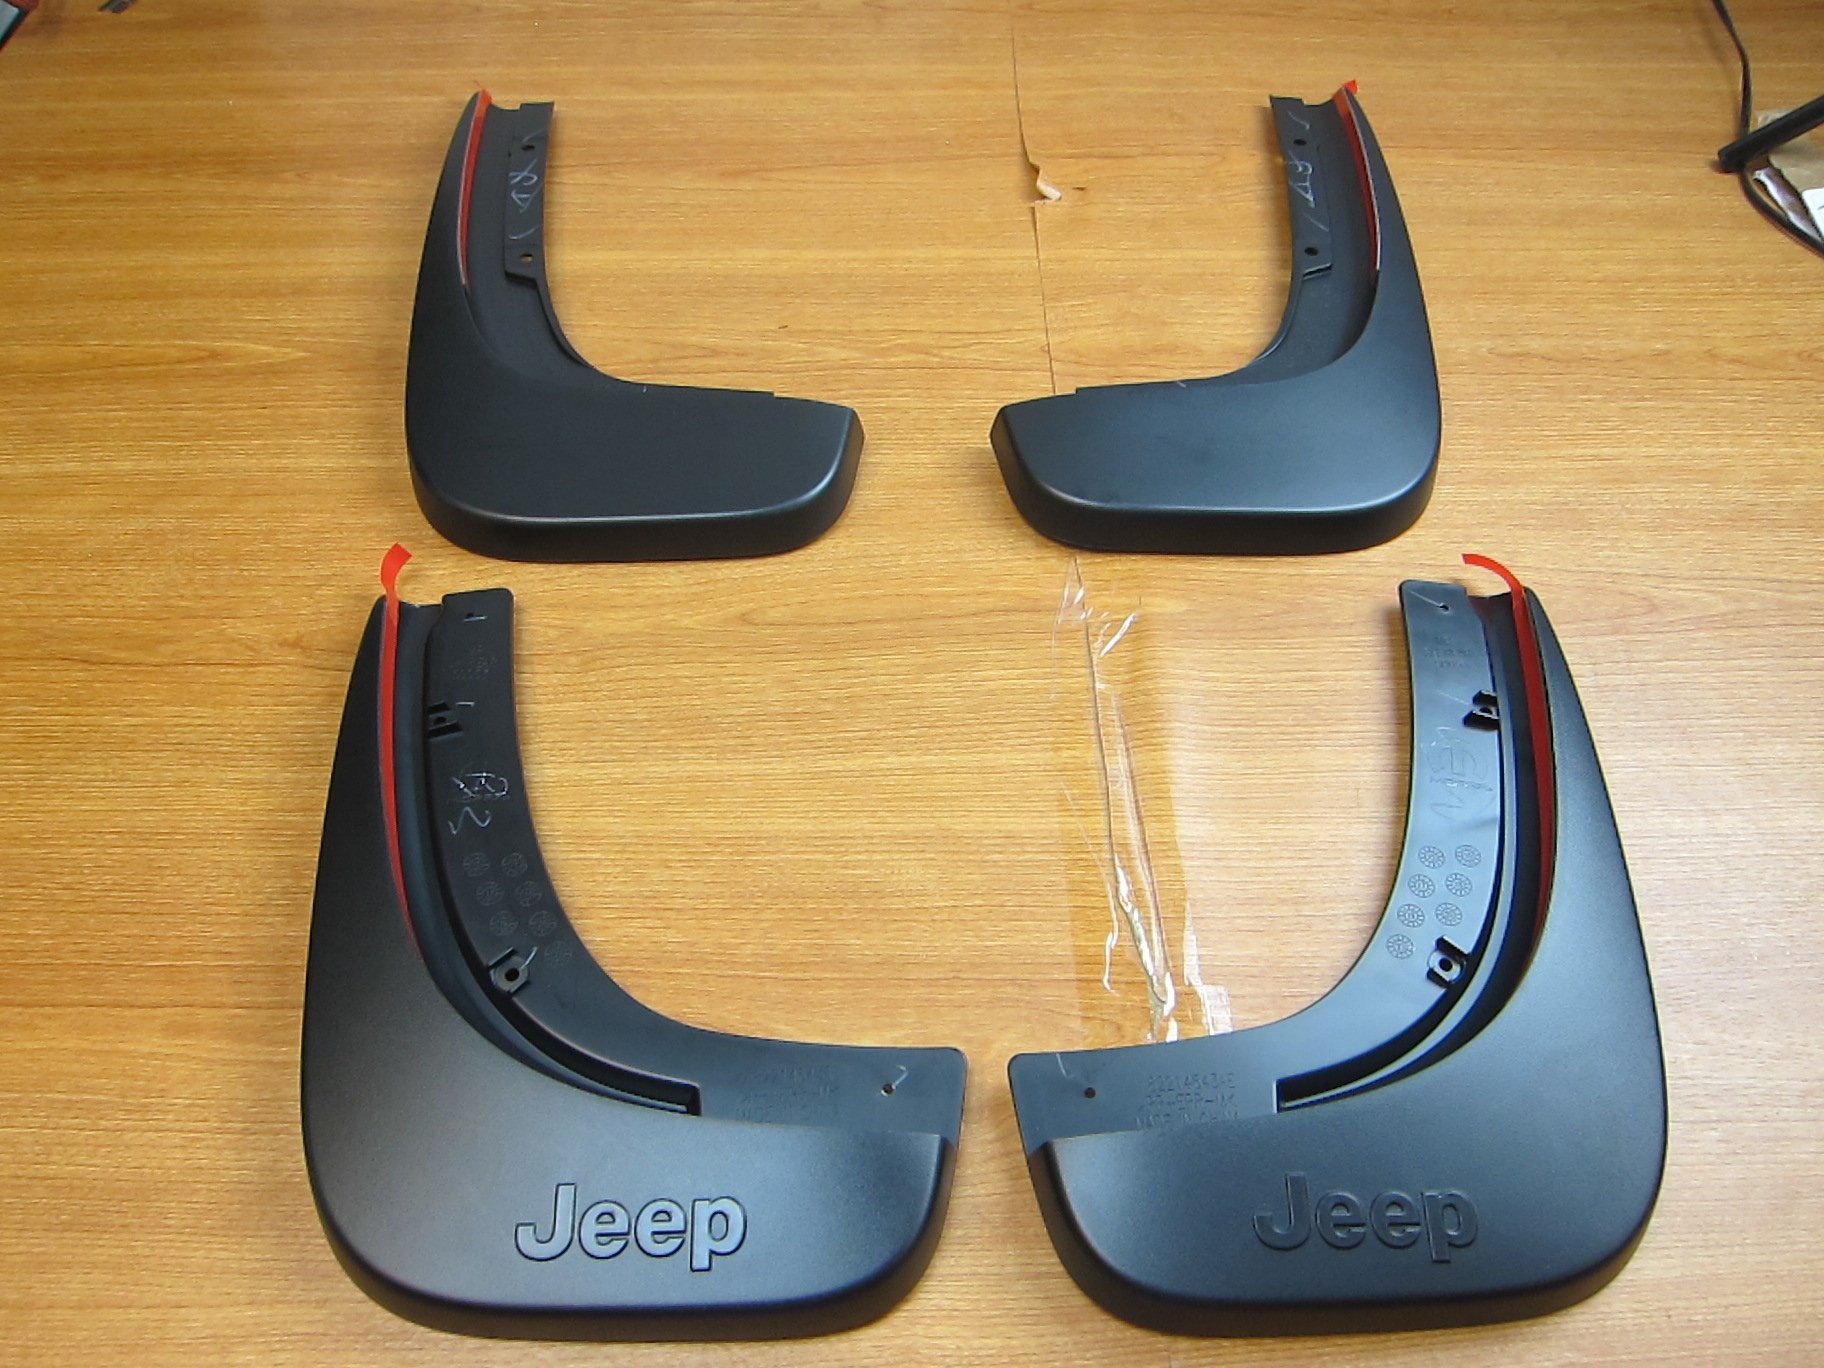
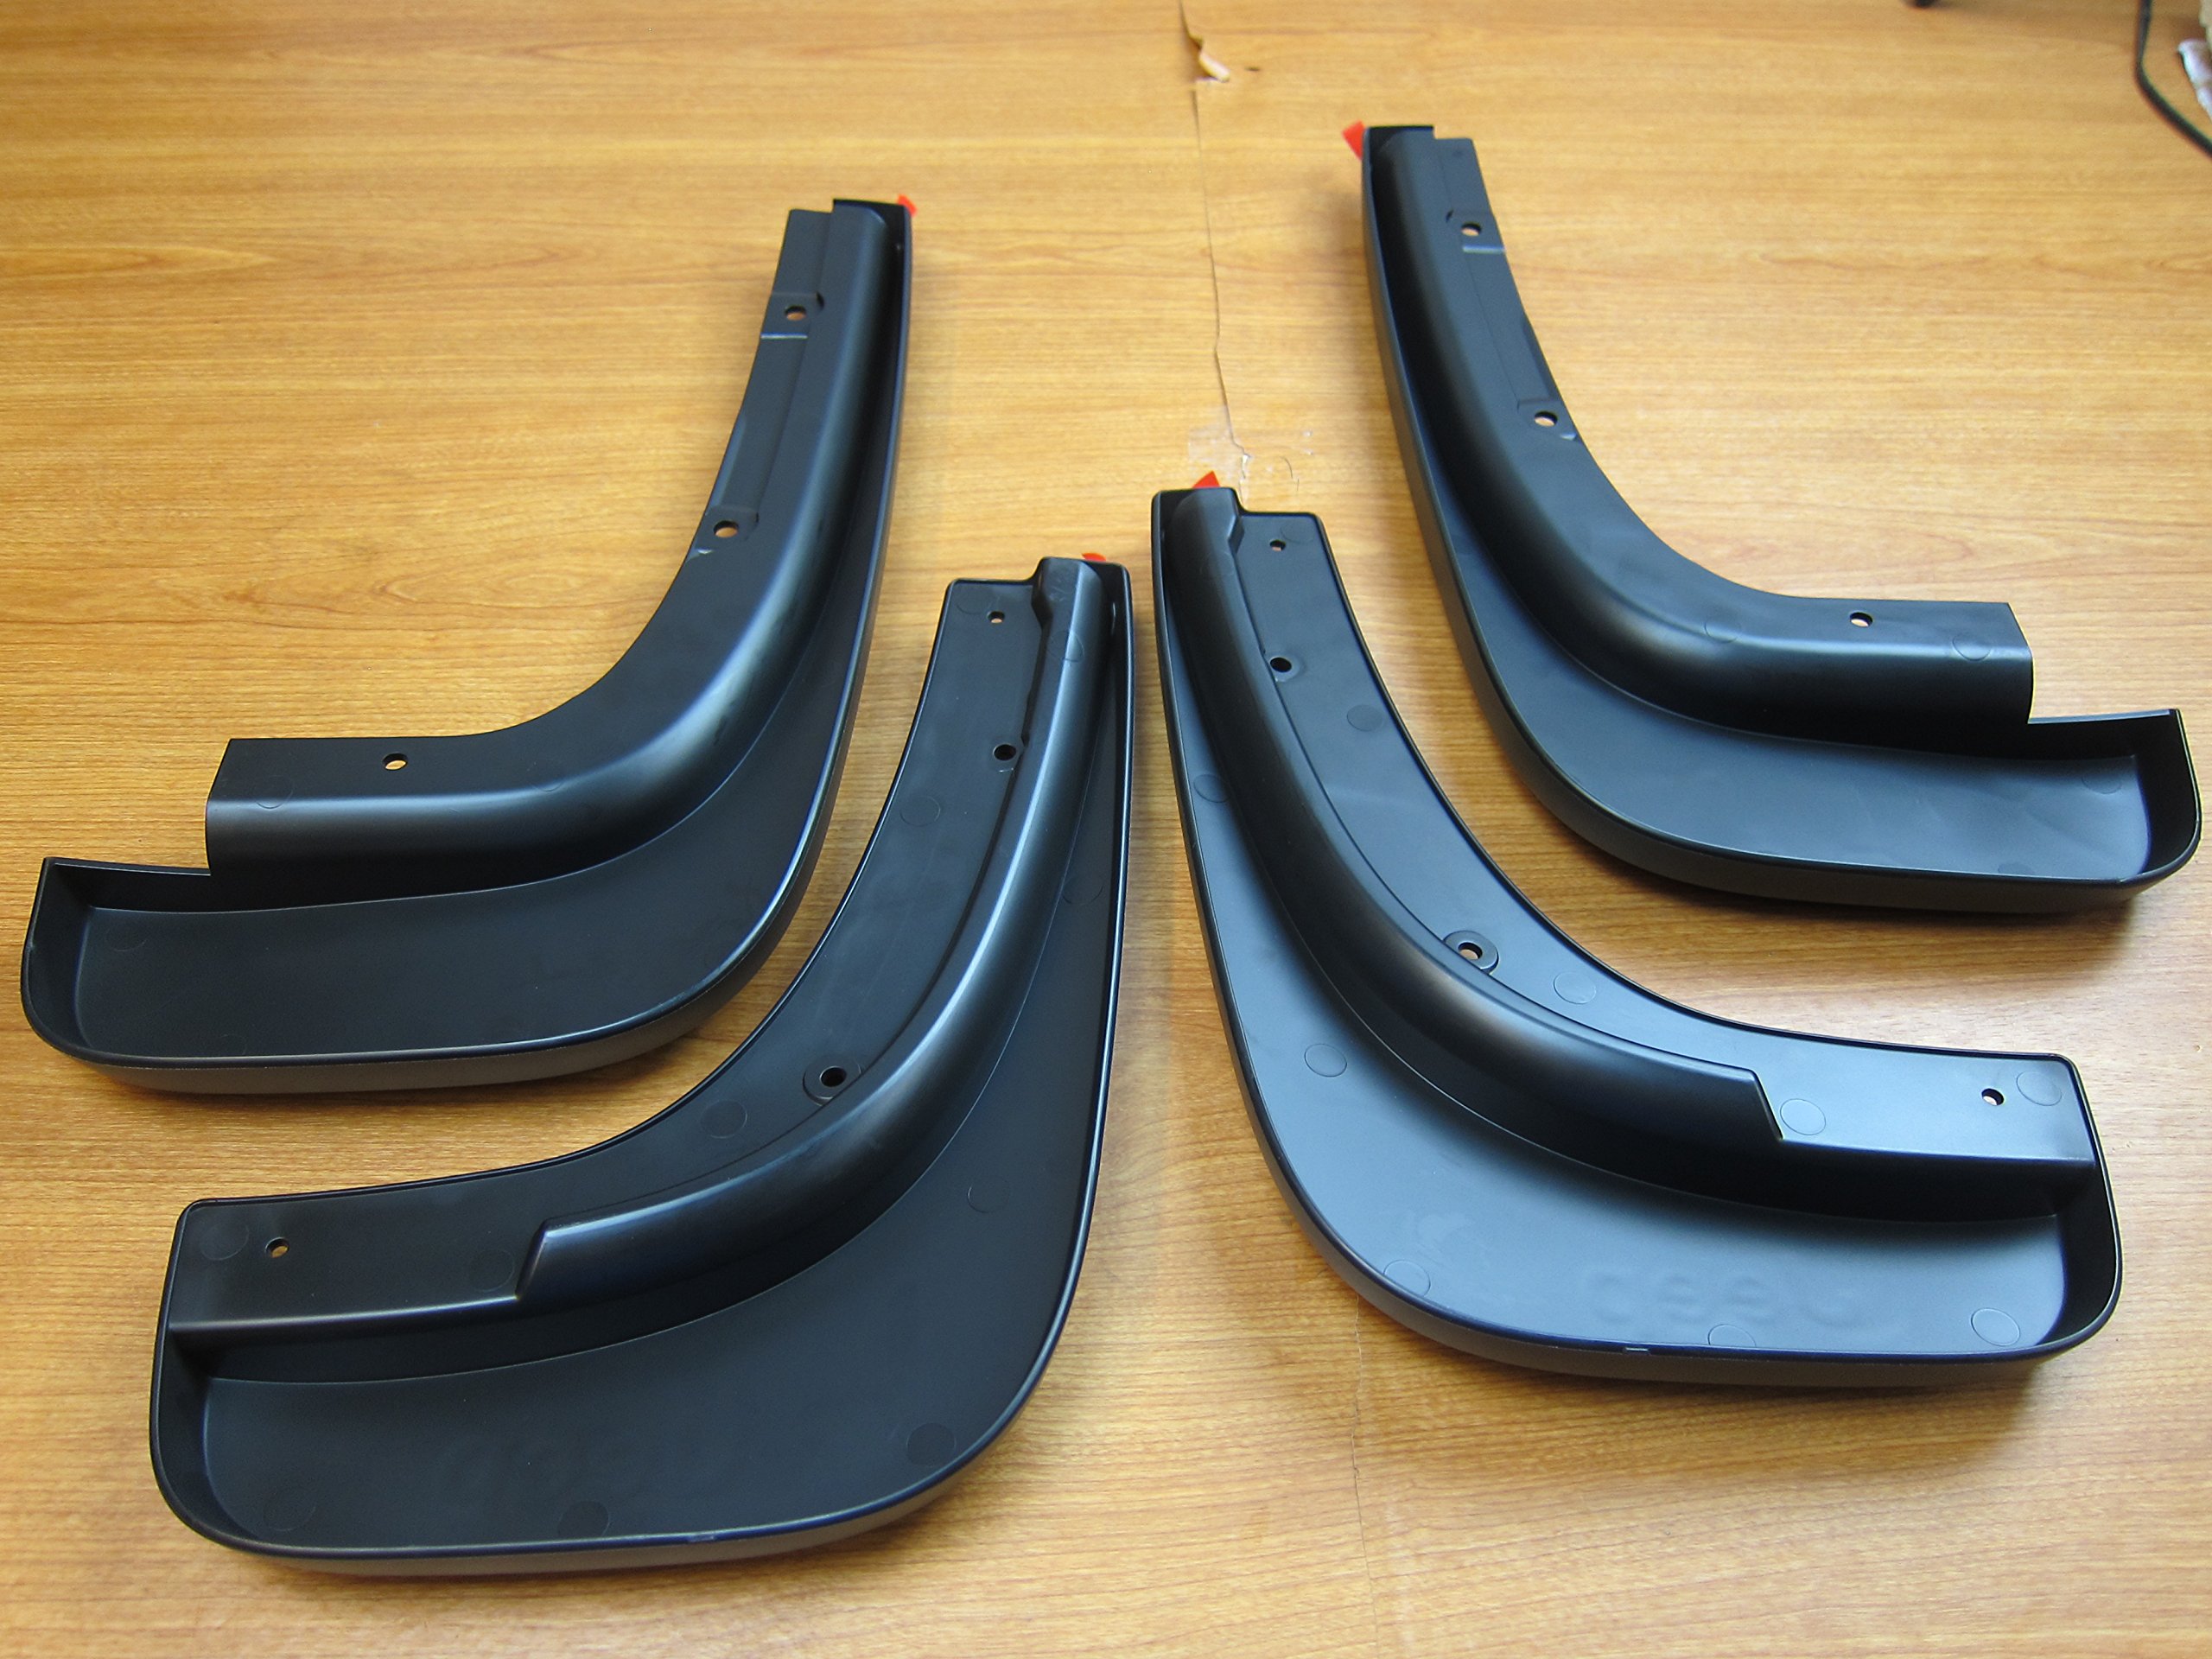
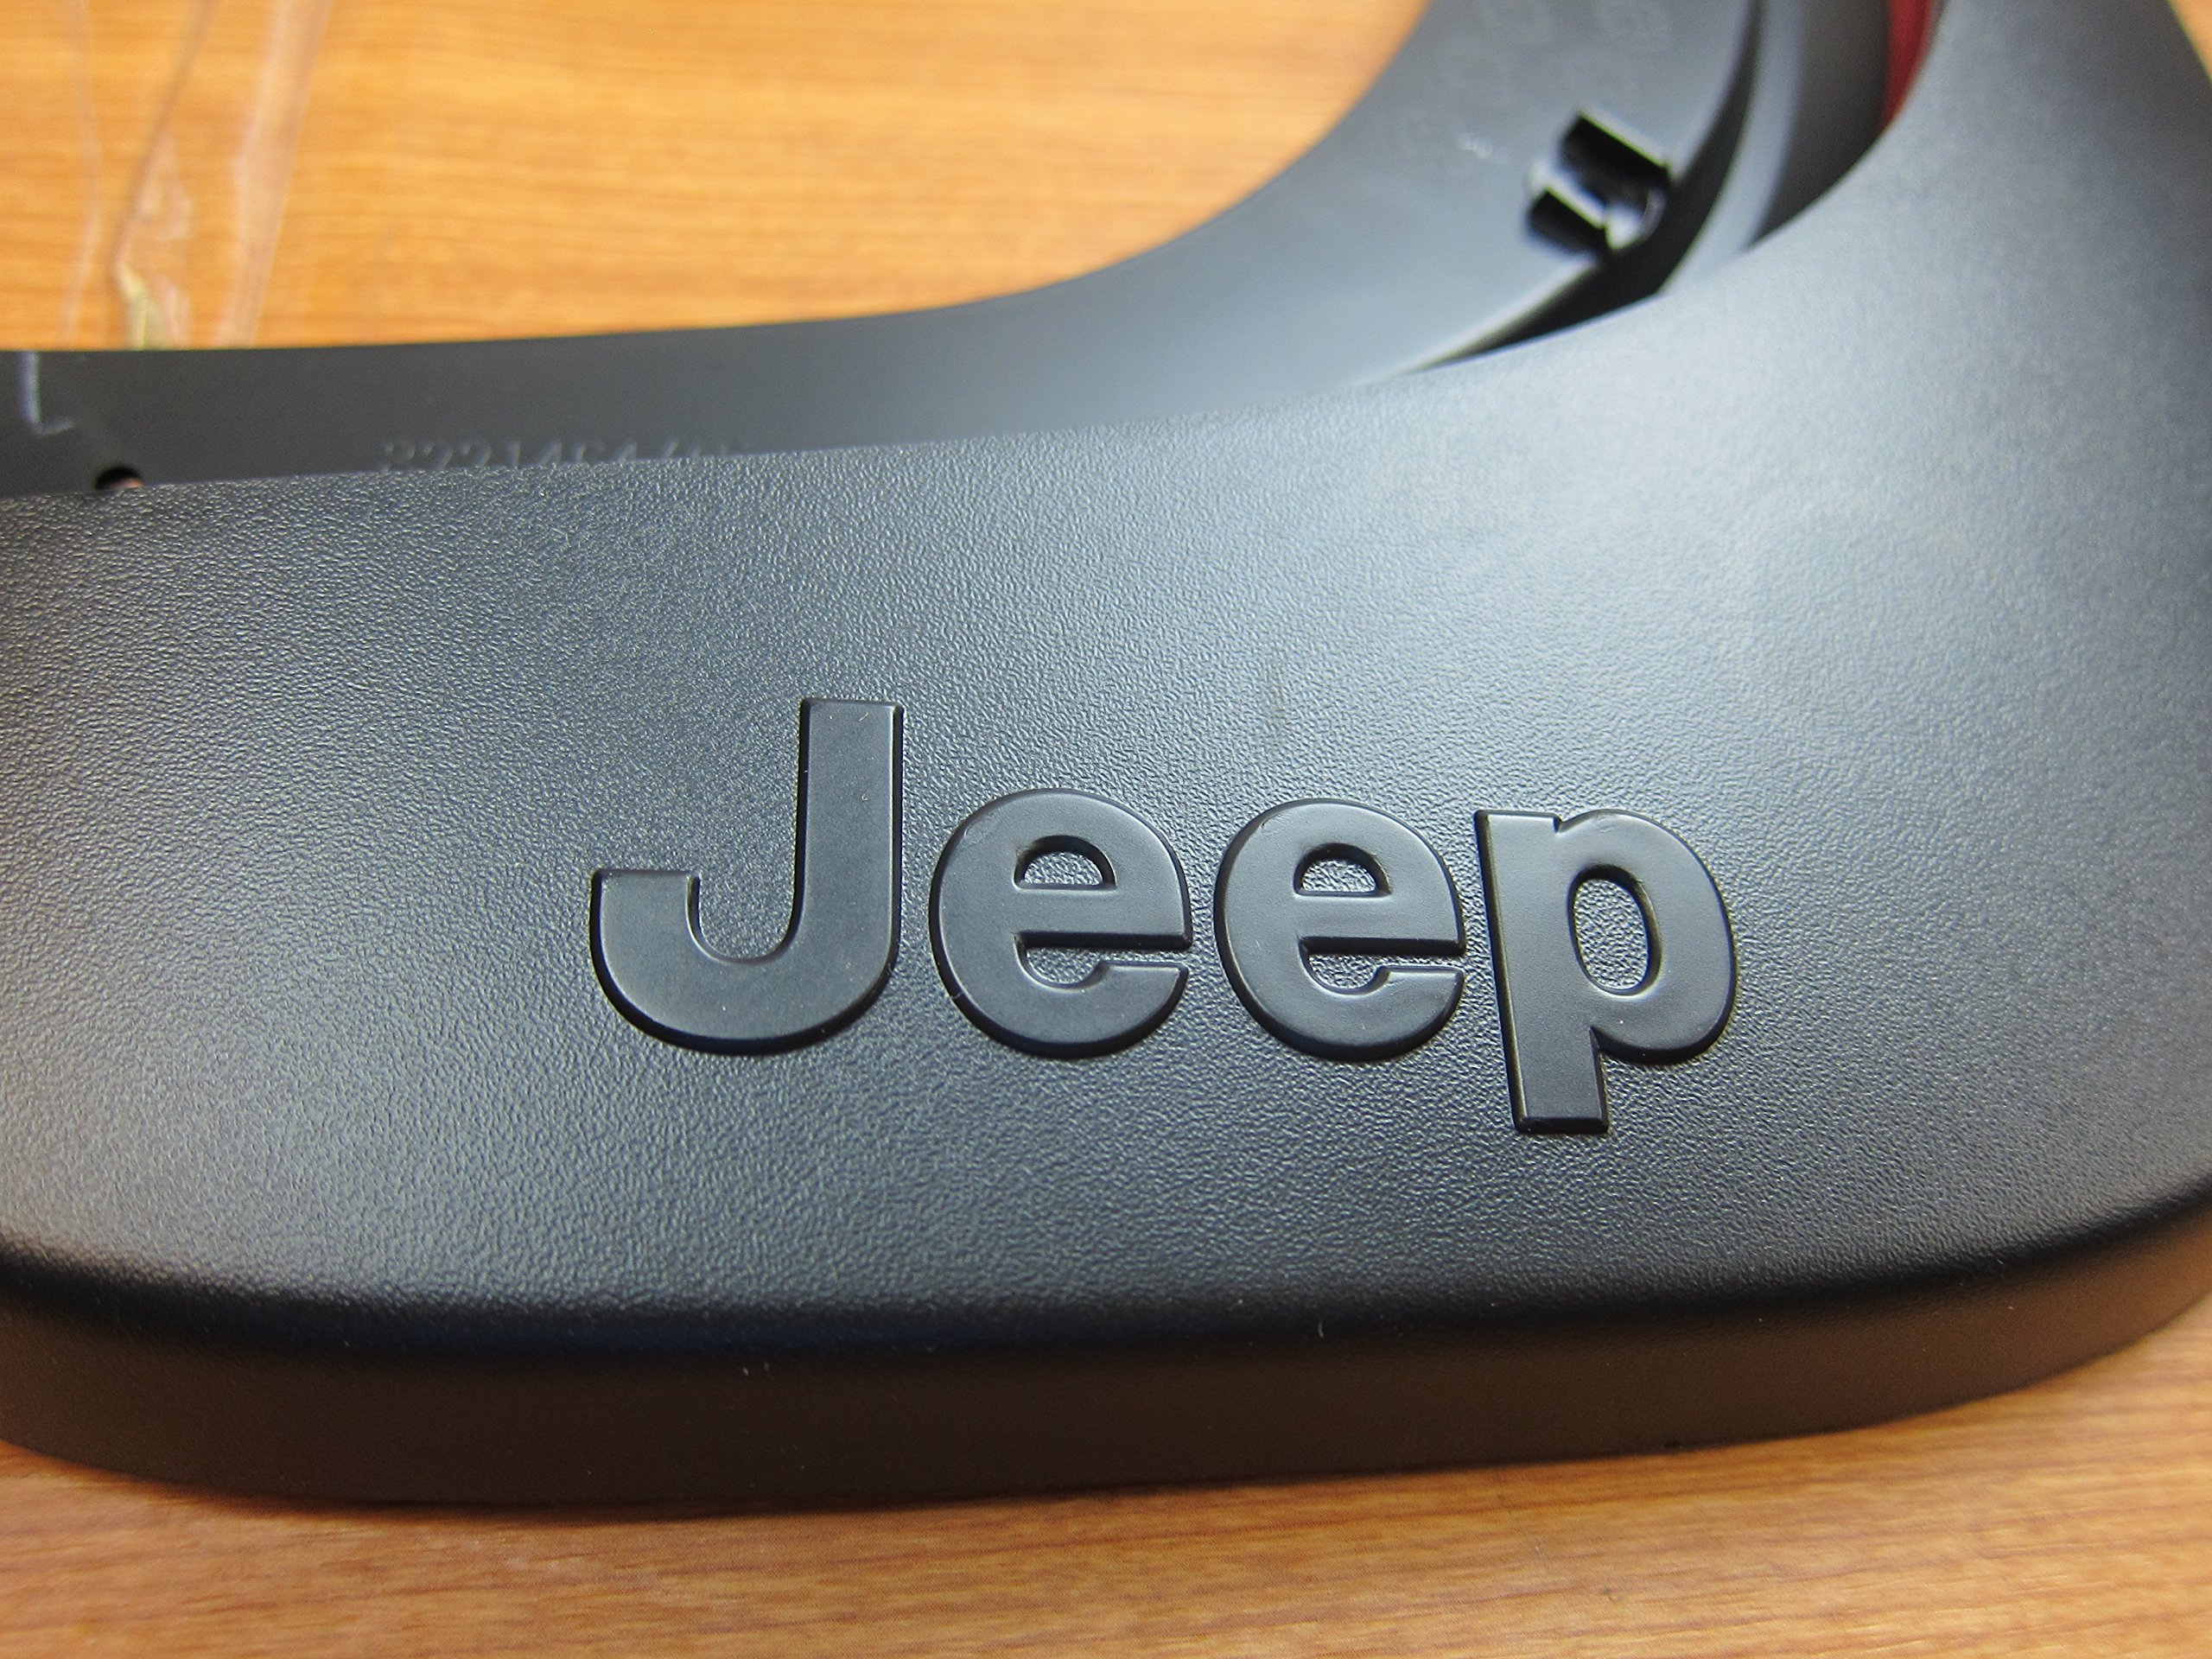
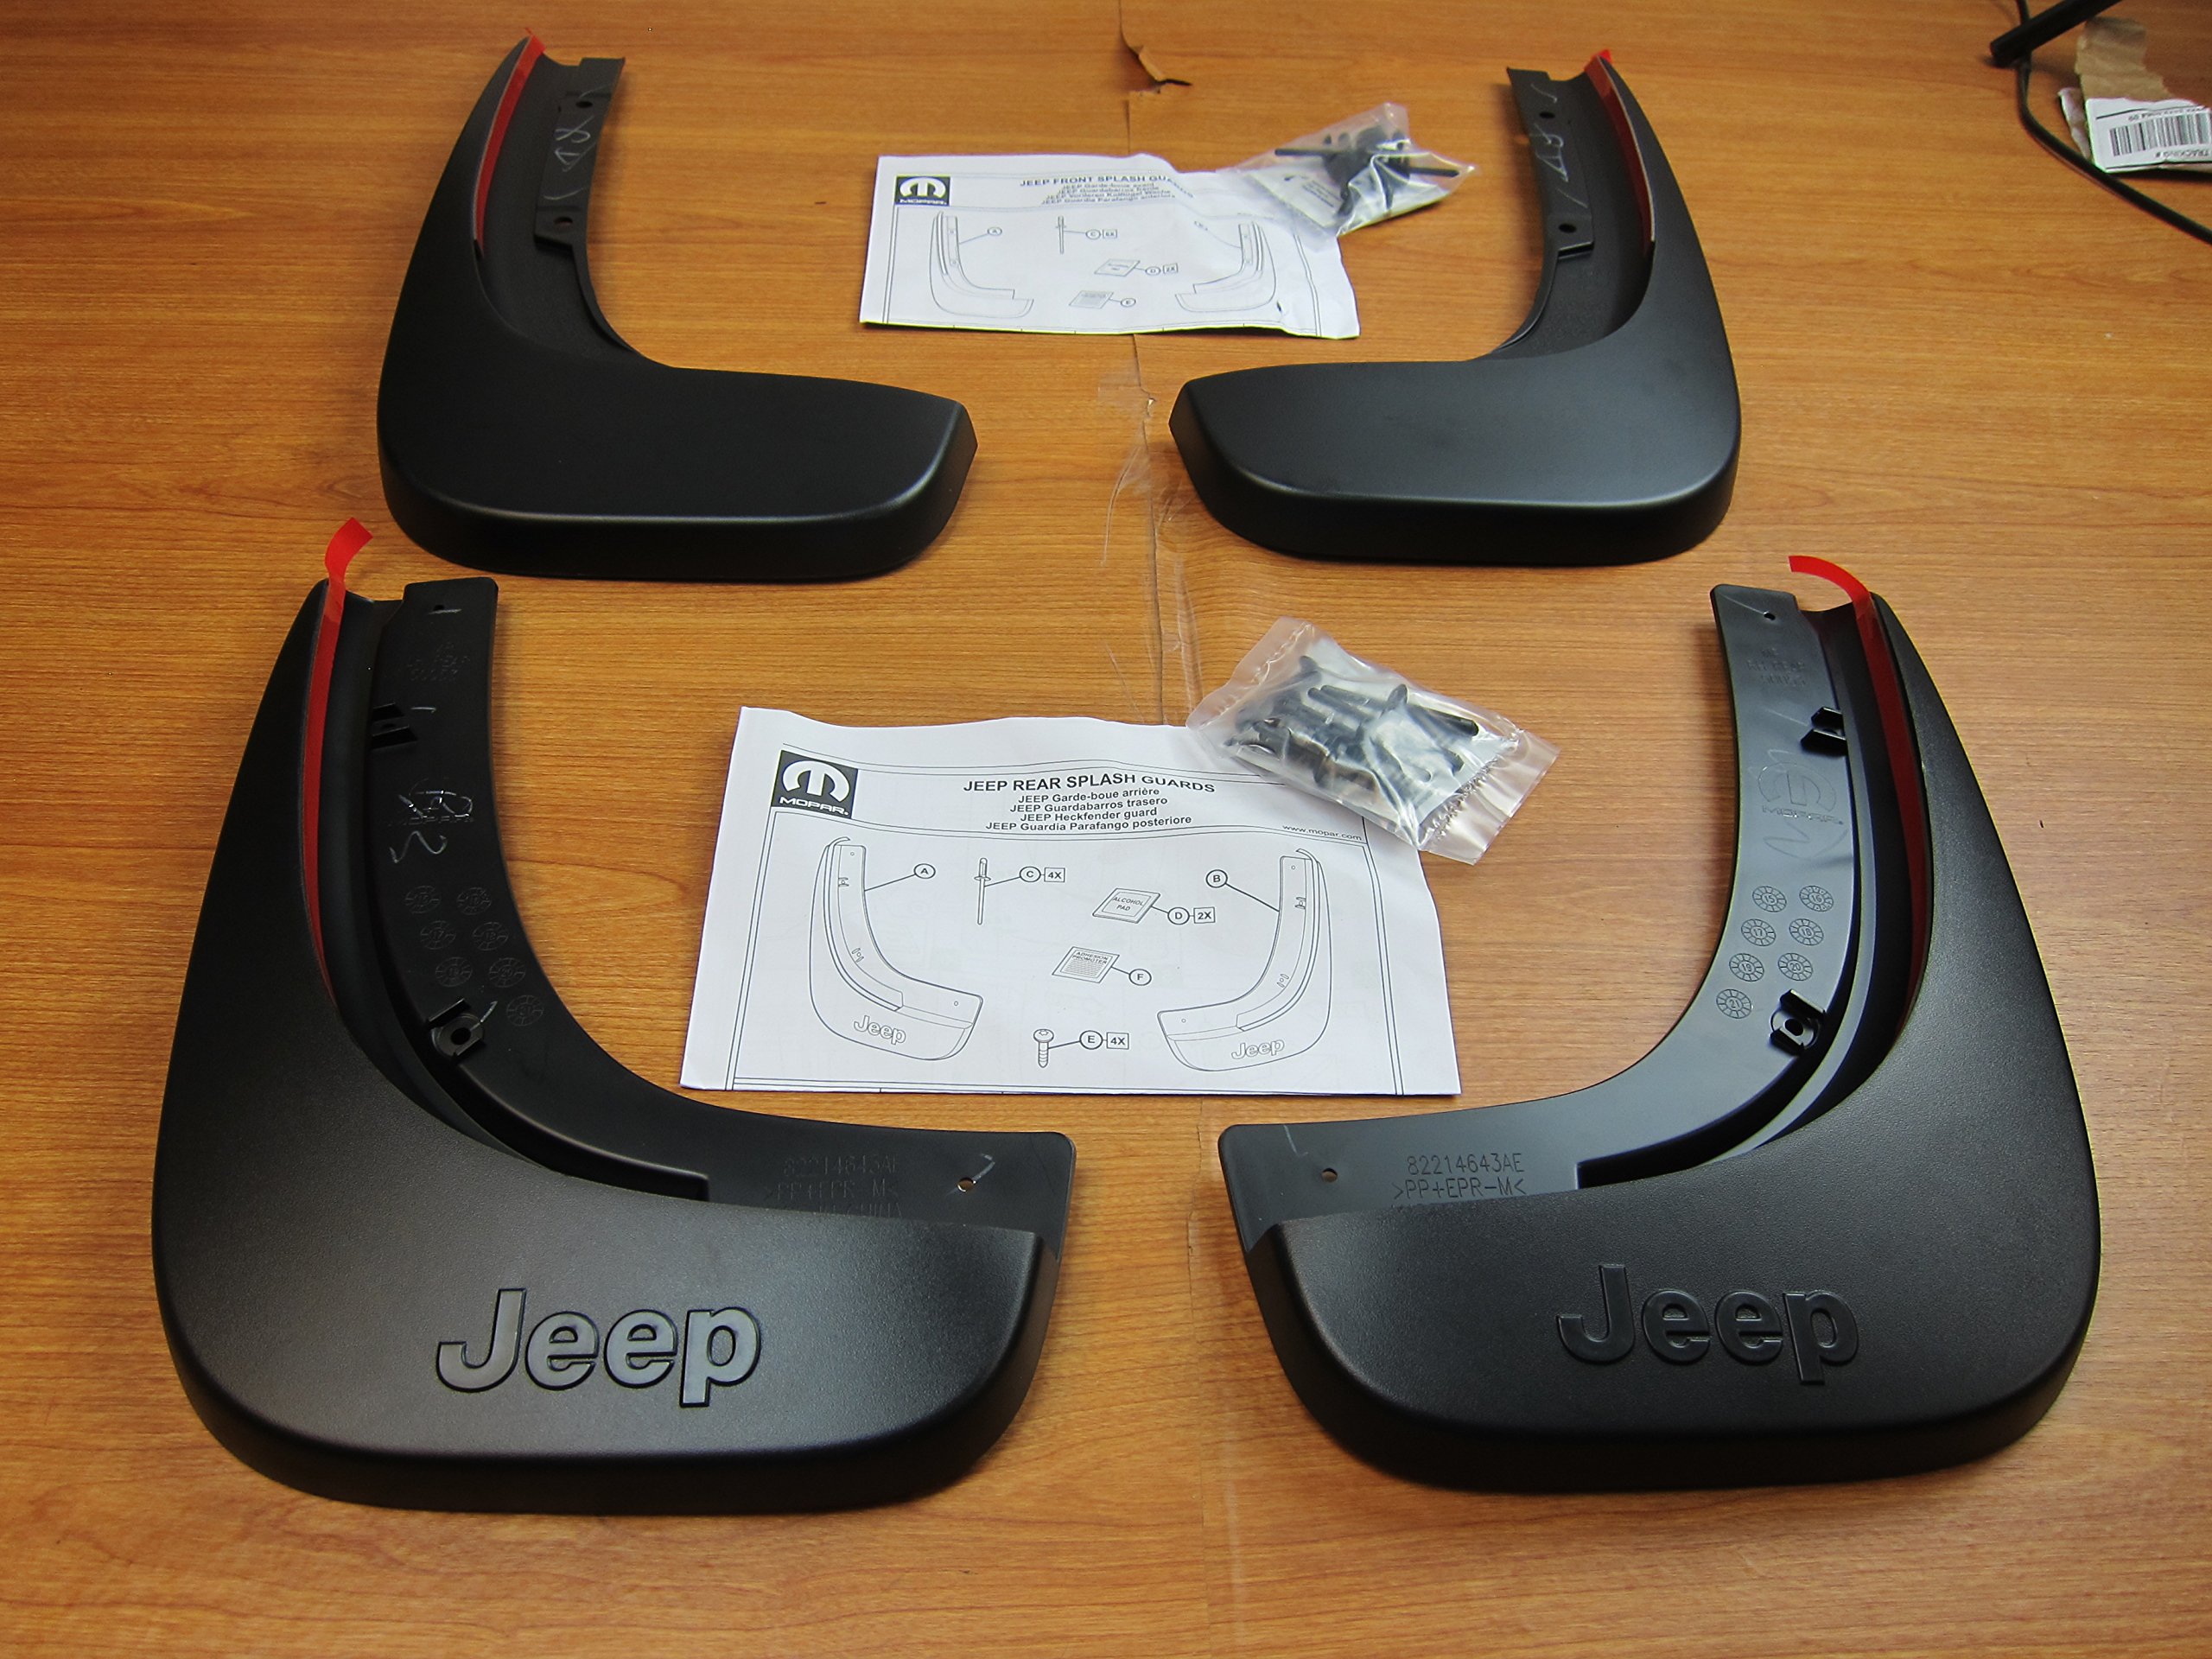
These Mopar front and rear splash guards are custom-engineered for the 2017 Jeep Compass new MY body style. Featuring a durable powder-coated finish and easy screw-in installation, they provide reliable protection against mud and road debris while maintaining OEM quality standards.
| Brand | Mopar |
| Vehicle Service Type | SUV |
| Auto Part Position | Front |
| Installation Type | Screw-In |
| Finish Type | Powder Coated |
| Manufacturer | Mopar |
| Item Weight | 0.01 ounces |
| Package Dimensions | 13 x 10 x 8 inches |
| Is Discontinued By Manufacturer | No |
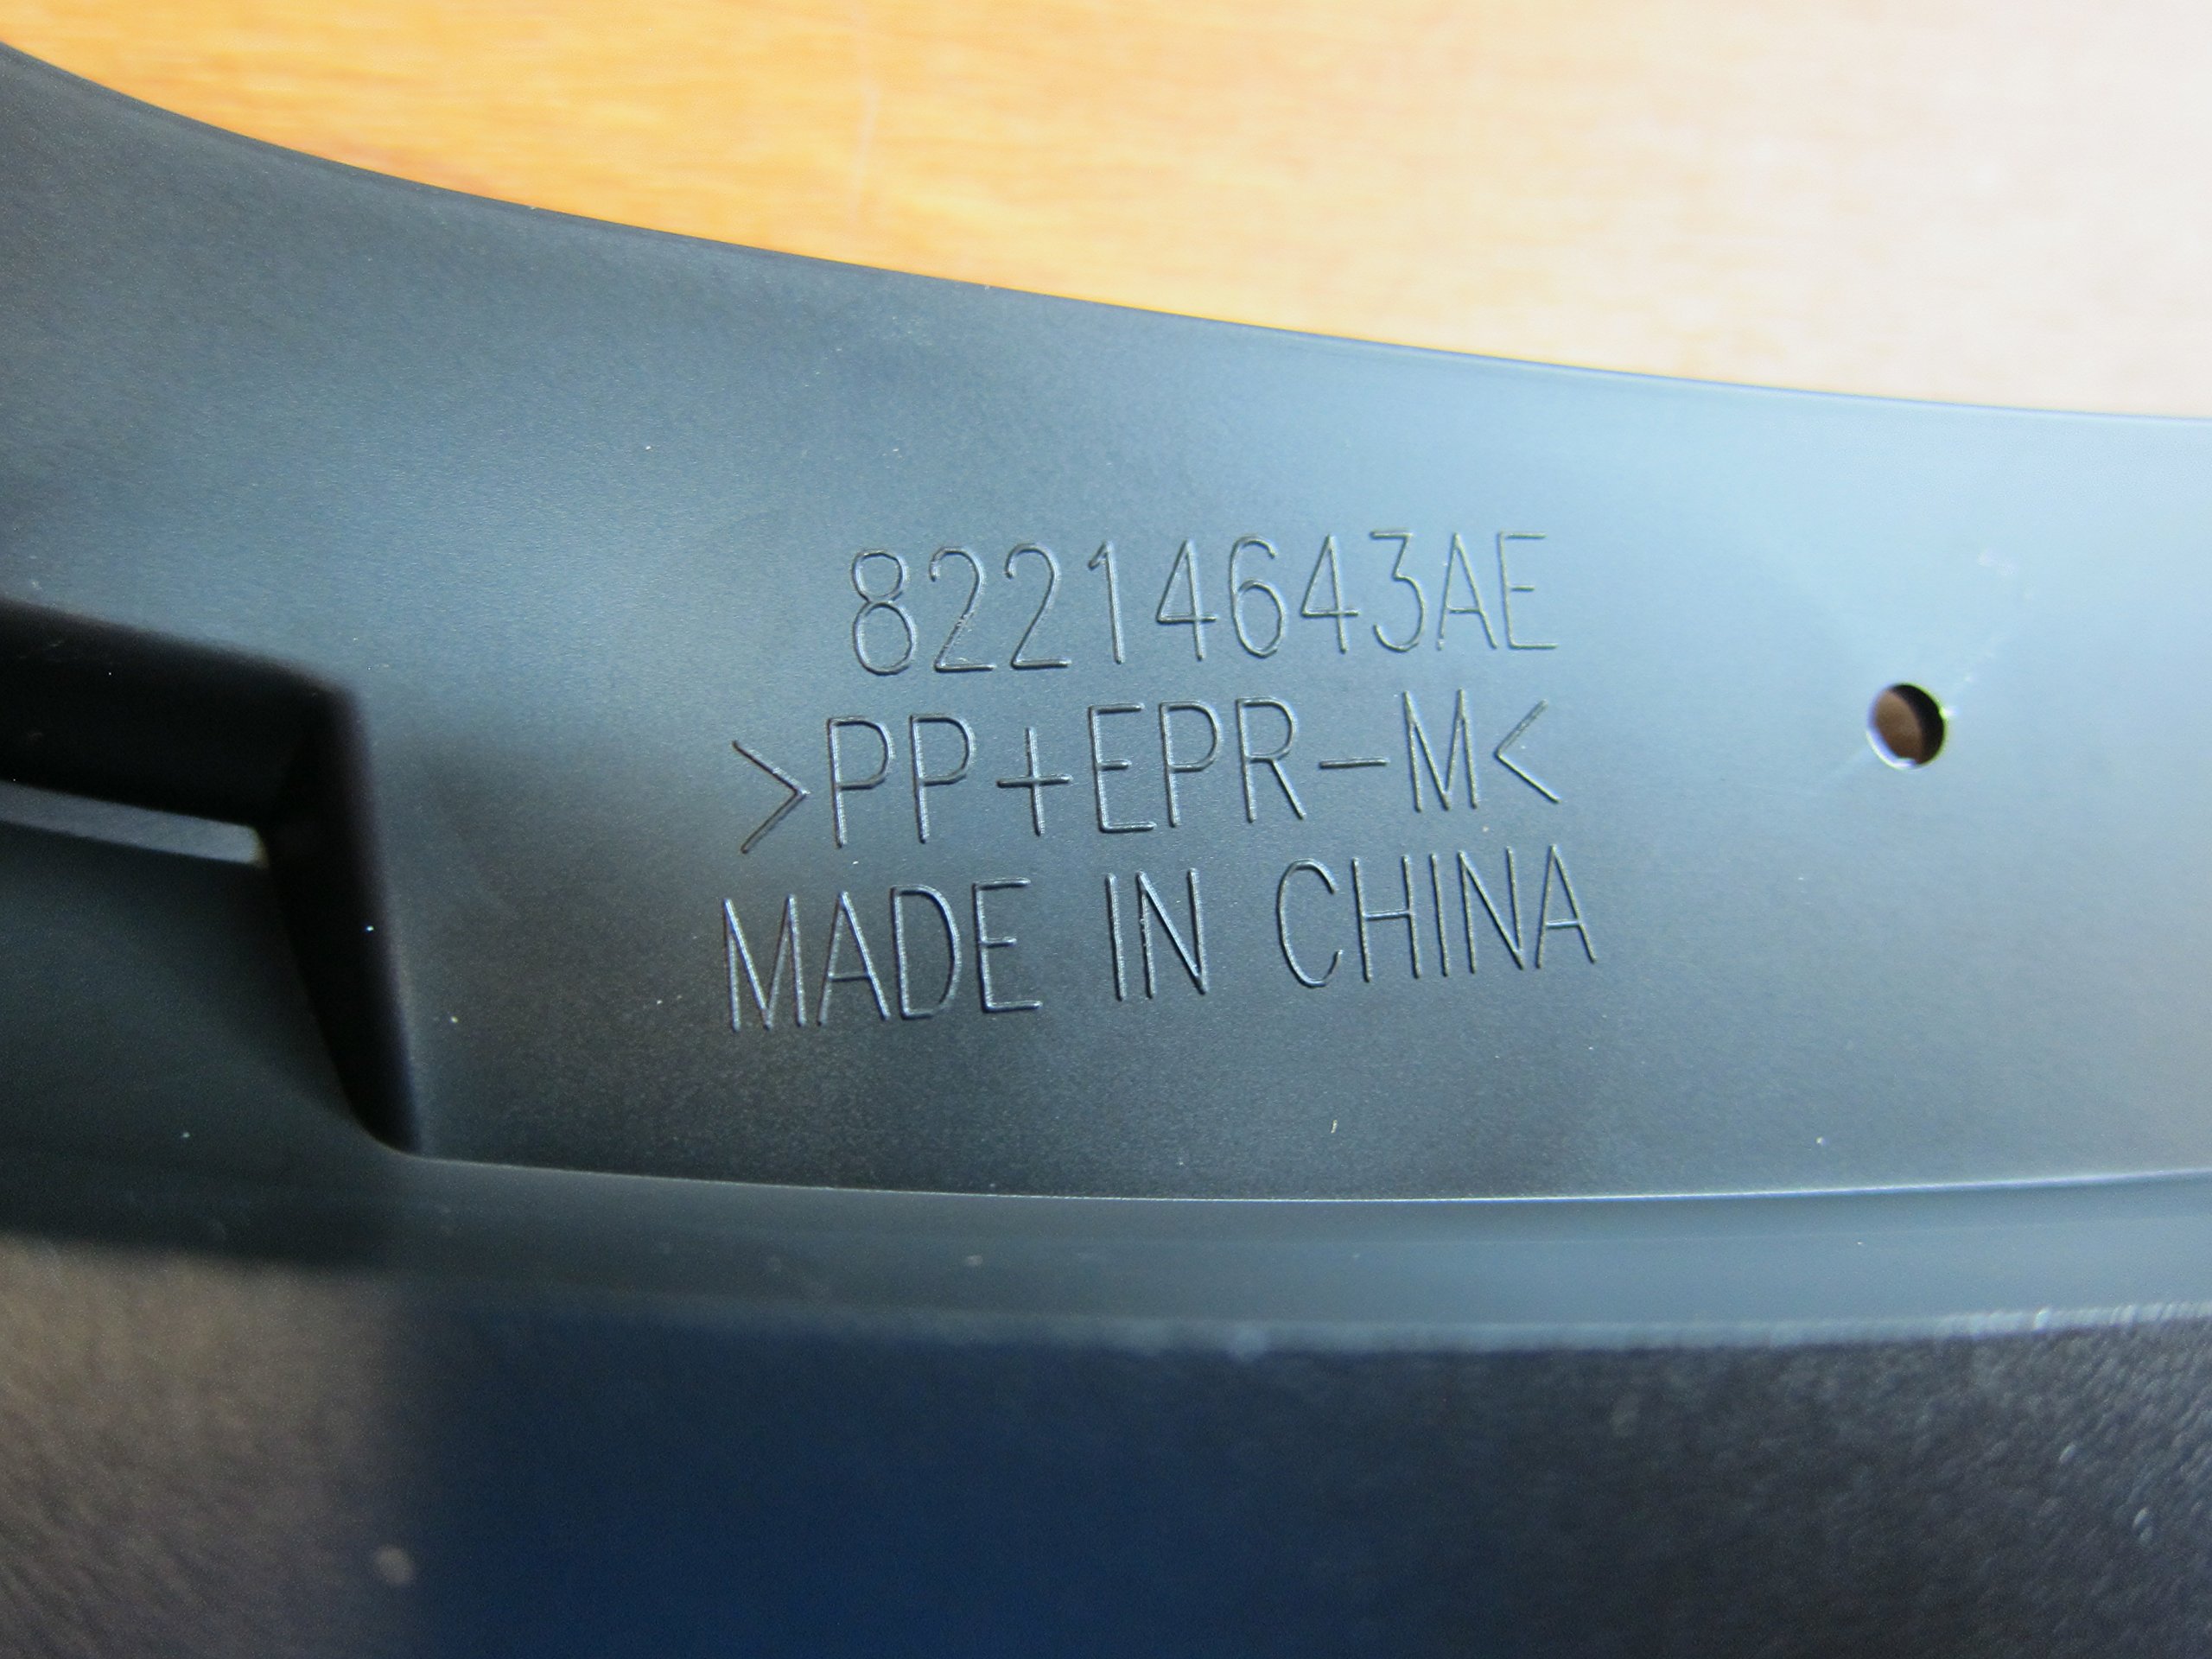
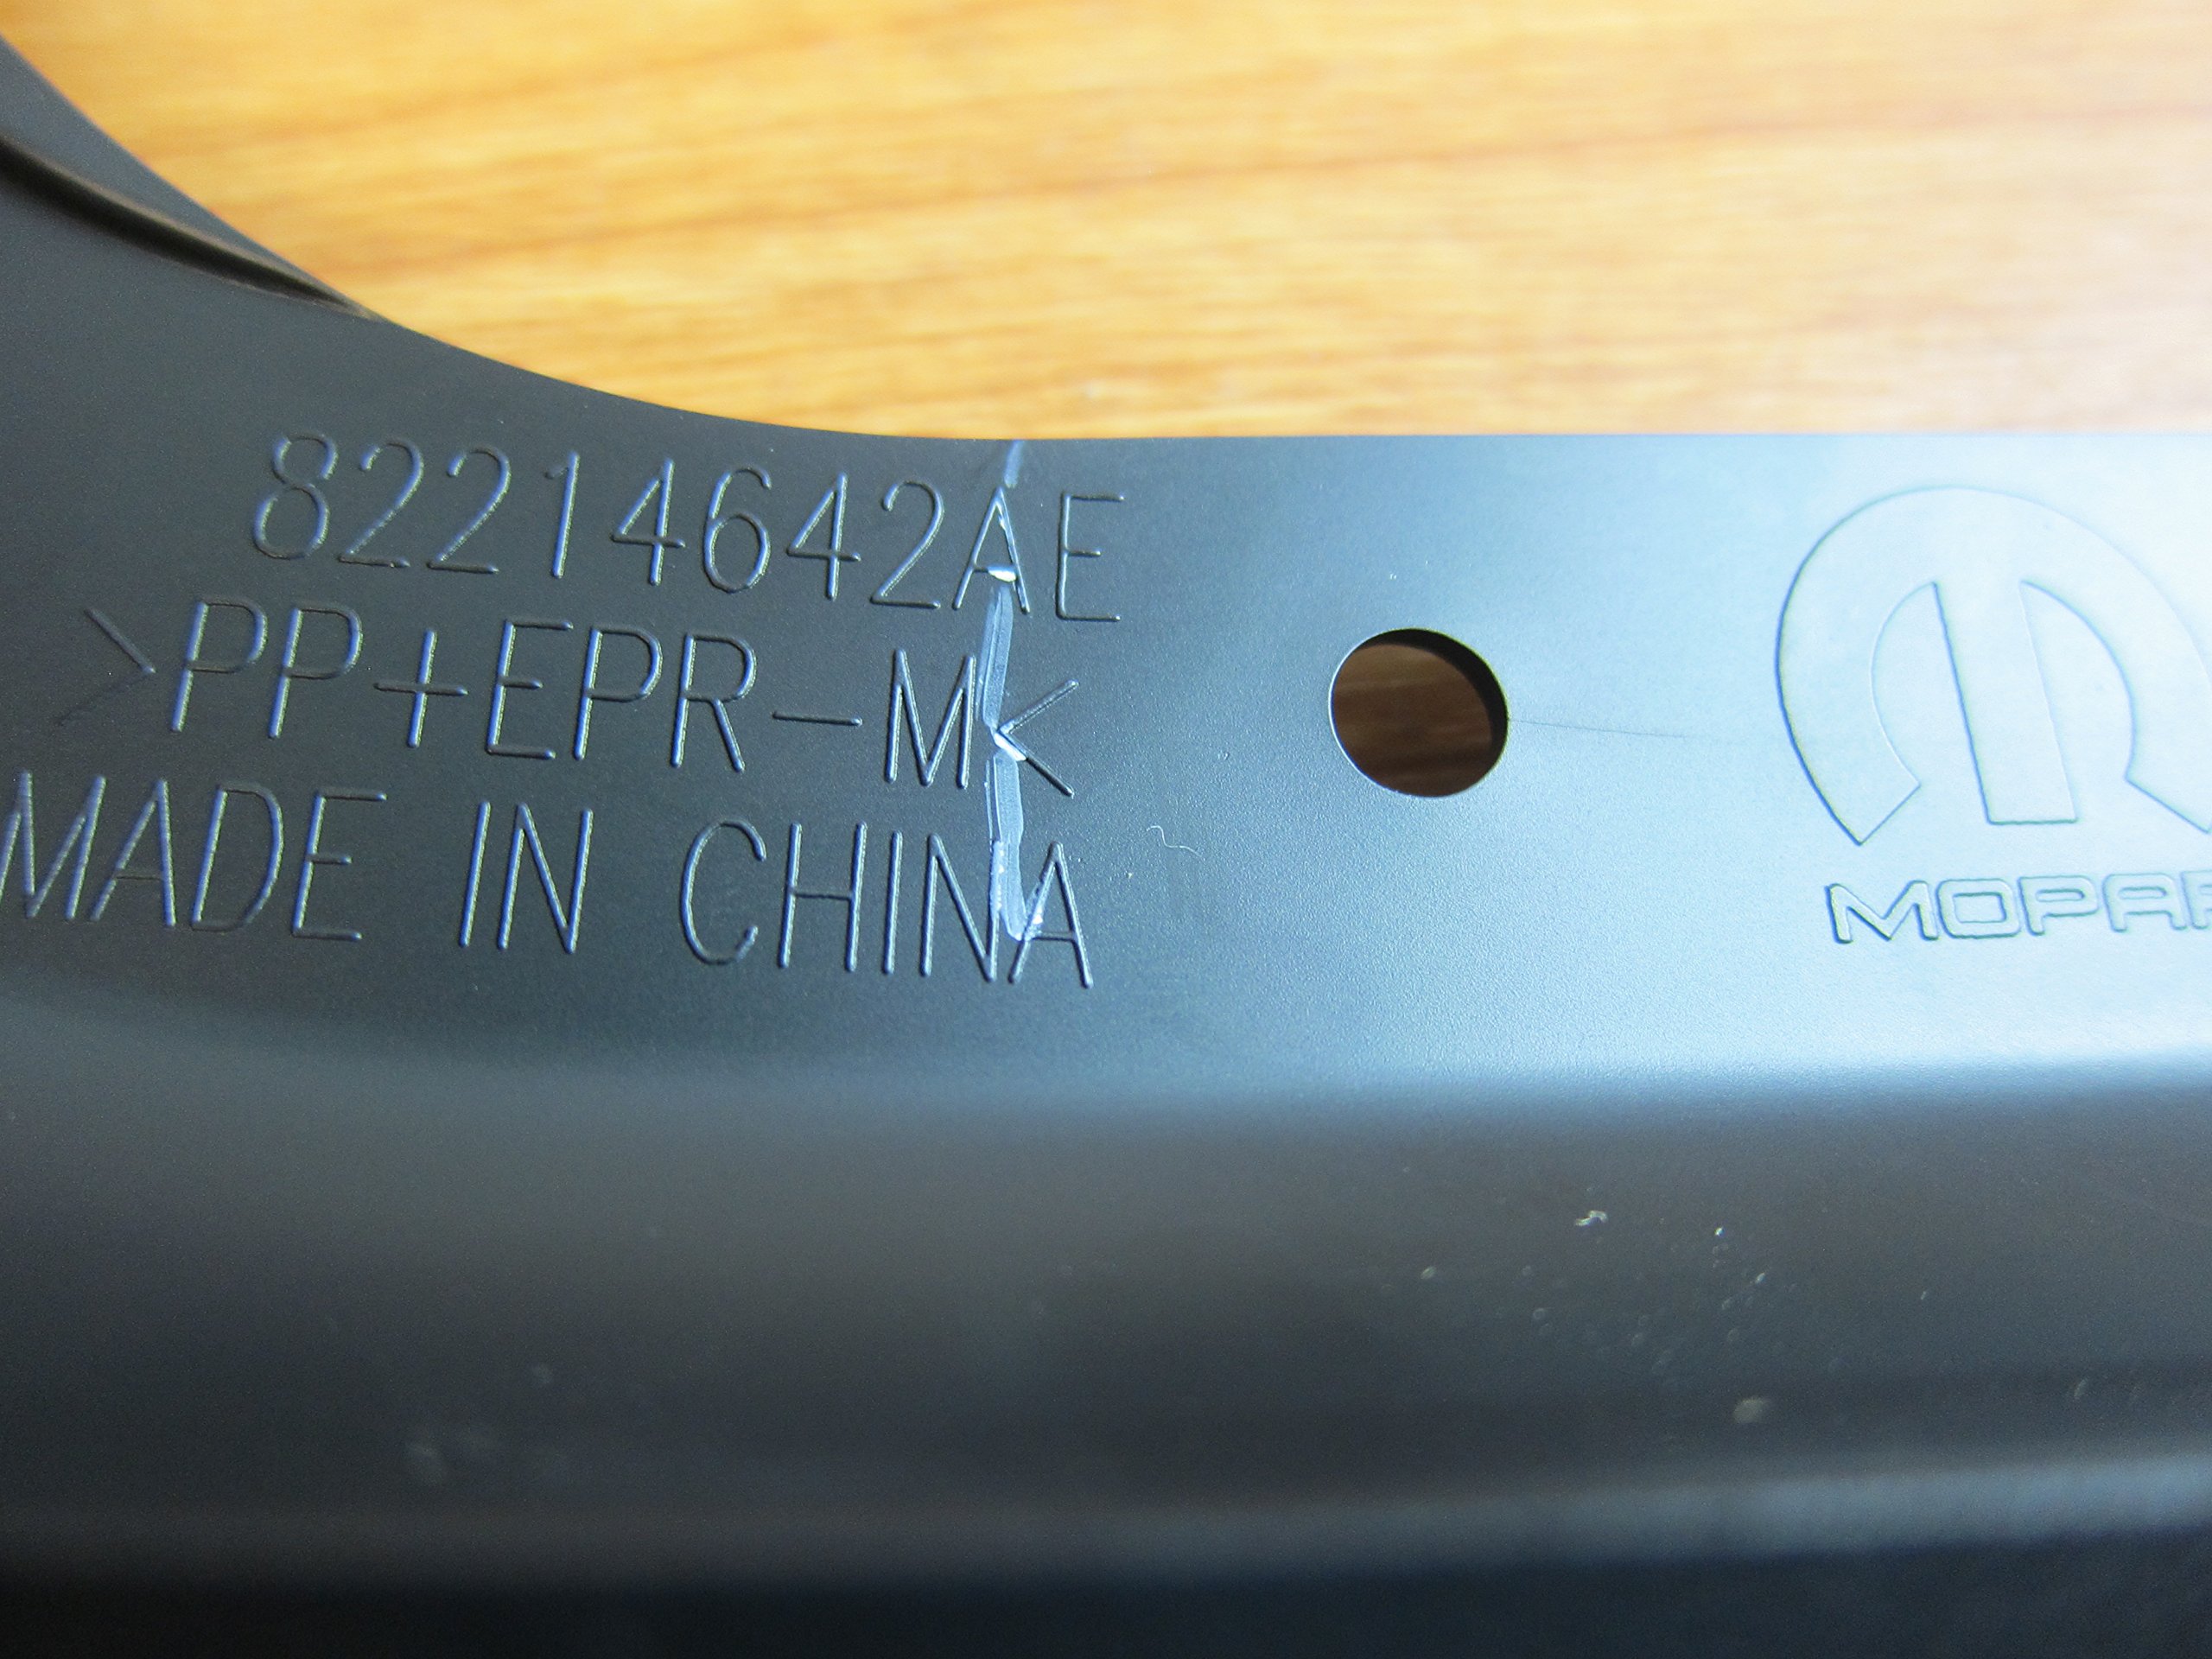
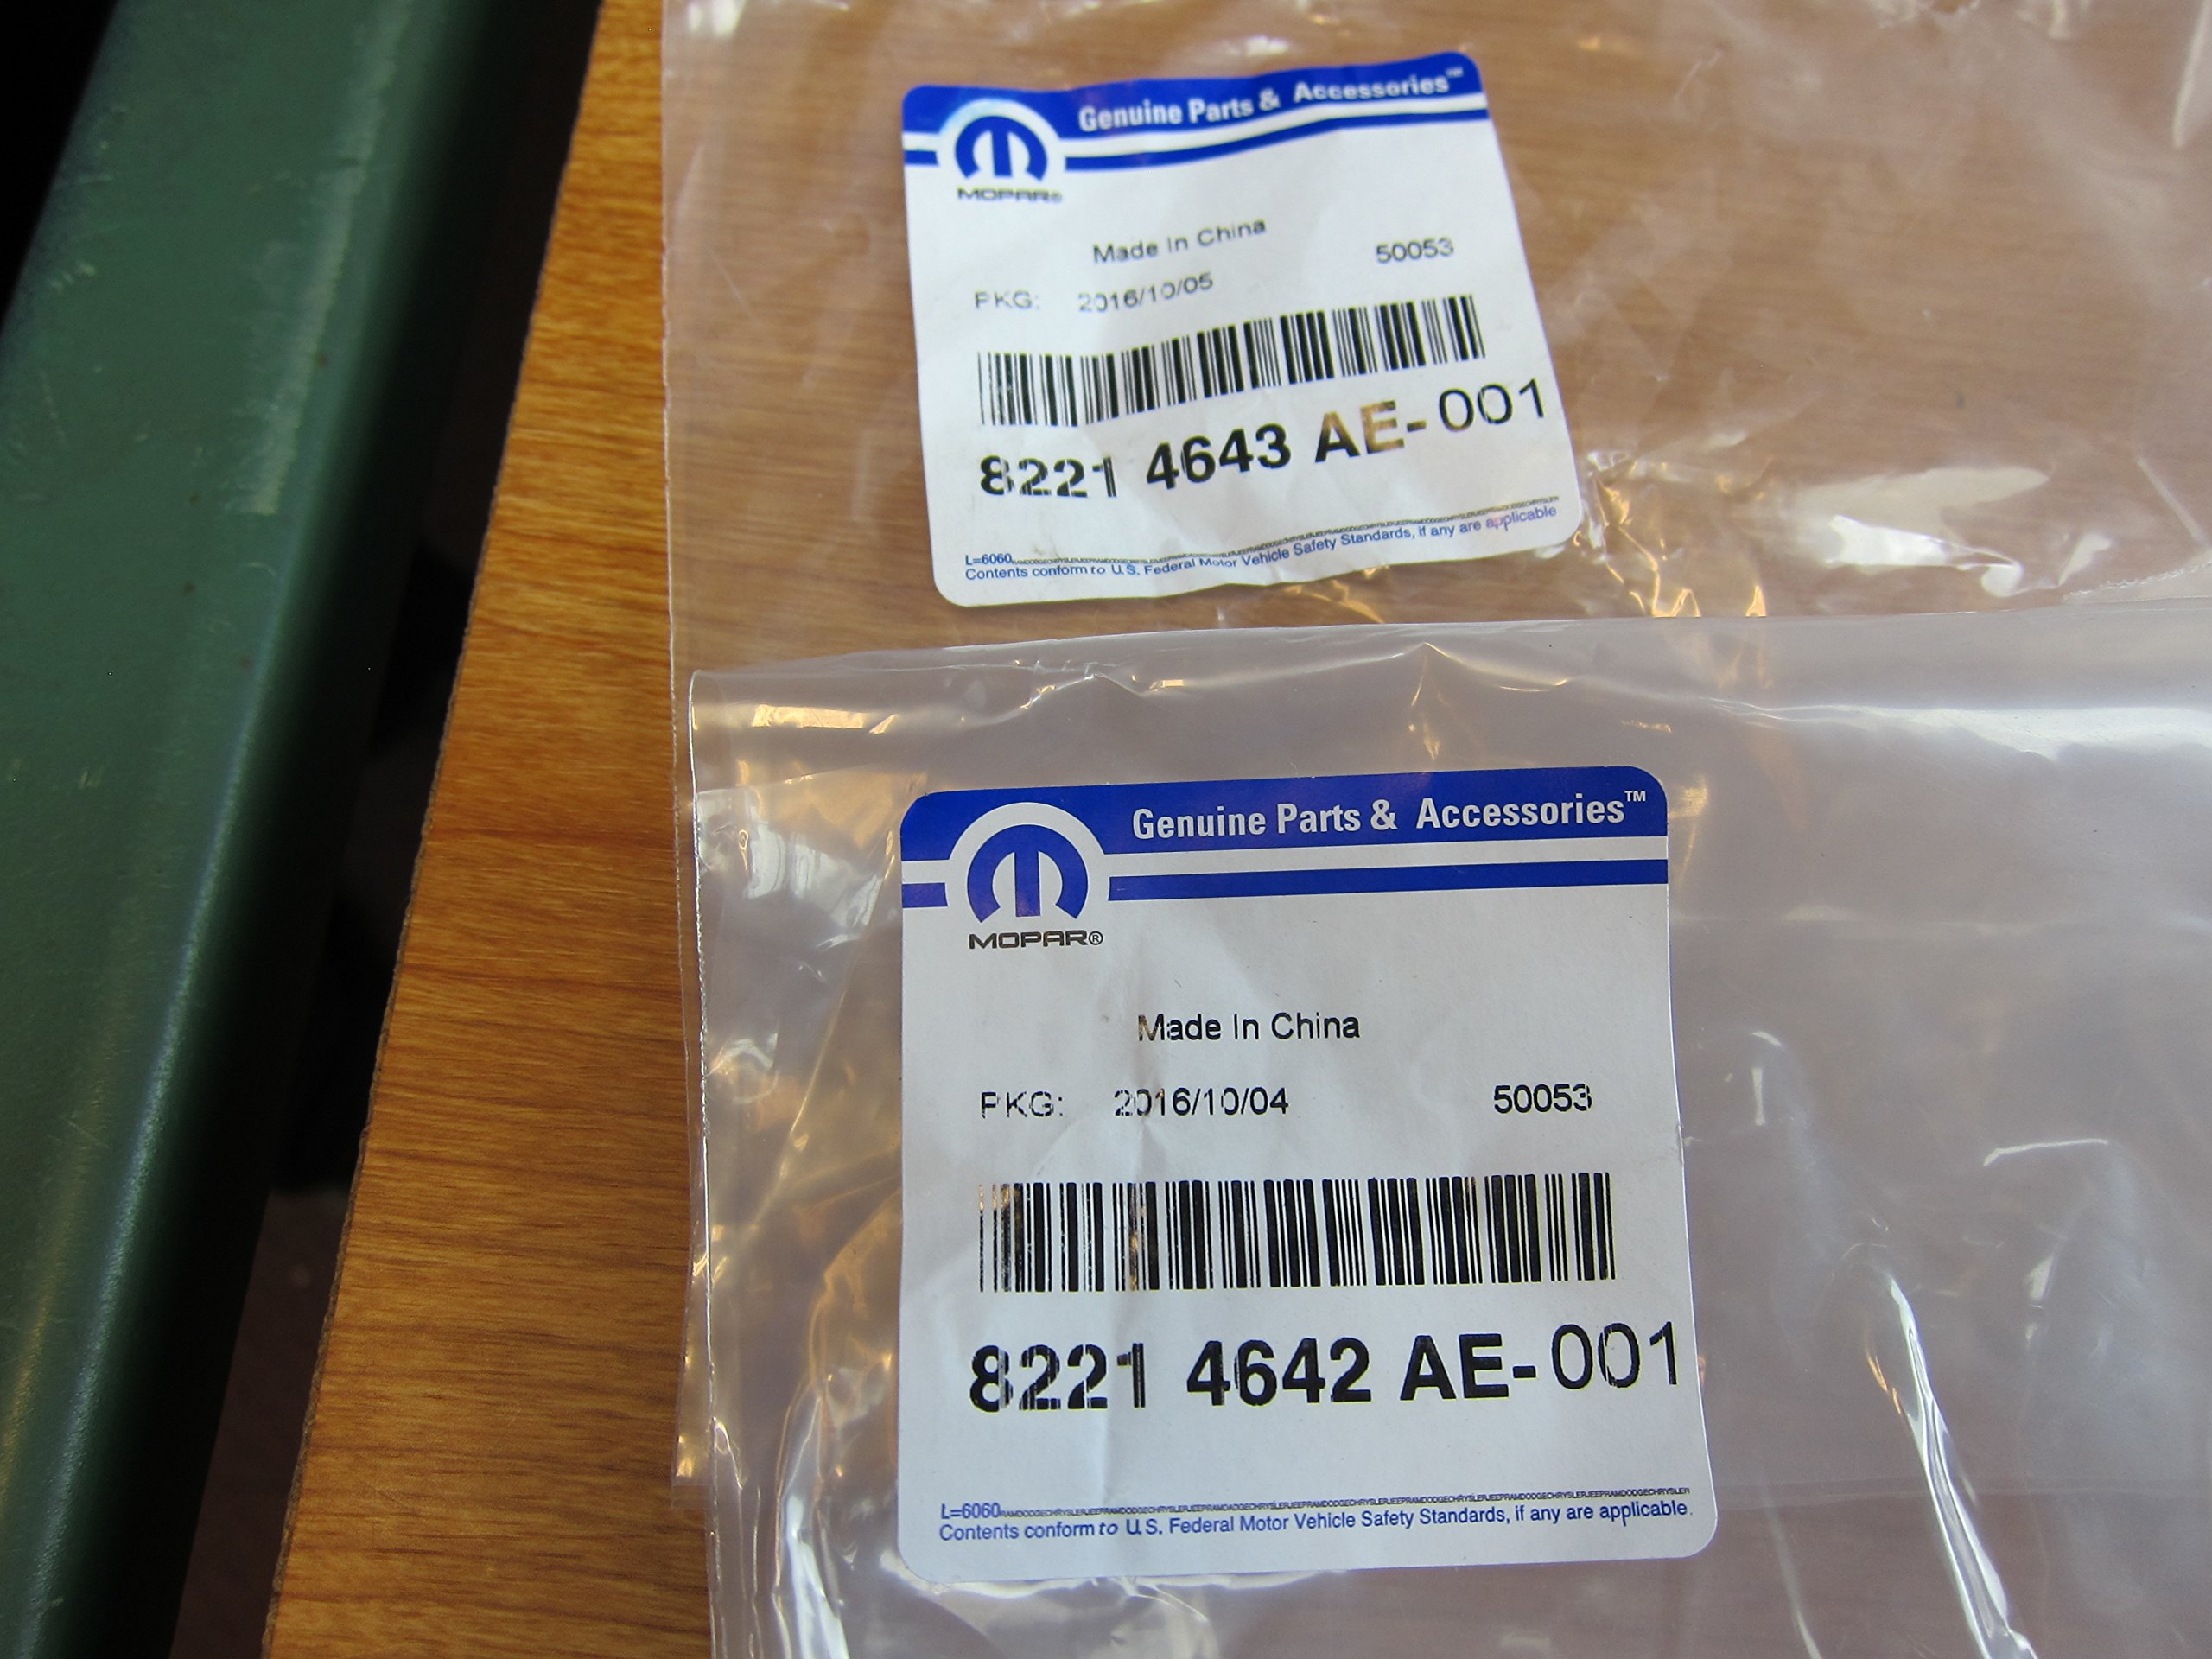
| Manufacturer Part Number | 82214642AE_82214643AE |
R**N
Couldn't be happier - 2018 Jeep Compass Limited
I planned to install these myself, but on a whim I took it to my mechanic who threw the car up on the rack and did it for me in about 30 minutes. If I'd tried installing at home I'd have needed to pull off the tires, but with it on the rack this wasn't necessary.We were both surprised at how well they fit, and the ease of installation compared to other flap brands he's been asked to install on other vehicles. Other than one hole to be drilled (as required per the instructions) it was a snap.Not only do they look great, but I no longer have mud slinging up the side of my vehicle as I make my daily drive down the muddy dirt road I live on.My only concern is what might happen should my tires throw a rock on that dirt road. Might they crack or break, considering they're hard plastic? Should this happen, I'll update this review for you.
H**W
The alternative installation process.
So, first off, I am a real human and THIS IS A REAL review.No, I was not paid for this review, compensated, or given any kind of kick back.Now that all that is out of the way, my installation was on a 2018 Jeep Compass Sport (FWD).Awesome quality product, top notch - easy installation with modifications.My installation process is better thought out and reuses the parts from the front of the vehicle on the rear flaps. There is no need to throw away / recycle the front plastic nylon rivets, I will cover that a little later.Before you begin, swing by AutoZone and pickup (1) package of 1/4" Body Nylon Rivets Part Number 452630 - it is a (4) pack.Parts included, but not required- nylon rivets- adhesion promoterStart on the FRONT of the vehicle.Turn the steering wheel all the way to one side, makes no difference - it allows for you to remove the Torx screw and (2) nylon rivets from each fender.Remove the Torx head screwClean the area where the mudflaps will adhere to the vehicle with the included alcohol padRemove both nylon rivets (hang on to these for the rear flaps)Remove the red tap on the 3M sticky adhesive on the mudflapPress the mudflap to the vehicle, it is contoured for an exact fit and alignmentWhile holding the mudflap on the vehicle with one hand, take your free hand and replace the Torx head screw back in the hole and snug it upRemove the center pieces from (2) of the nylon rivets from AutoZoneStick a screwdriver or something that is 1/4" into the top hole where the nylon rivets will be placedInsert one (1) nylon rivet into the middle hole and tap lightly - if required - until seatedPlace the center piece into the nylon rivet that is now in the hole and tap lightly - if requiredRemove screw driver or 1/4" object that was lining up the top holeInsert one (1) nylon rivet into top hole and tap lightly - if required - until seatedPlace the center piece into the nylon rivet tap lightly - if requiredHand tightened the Torx head screw, no need to go crazy hereRepeat for other sideREAR end of vehicleStraighten the front wheels and block/chuck themJack the rear of vehicle from the center point high enough to work without having to remove the tiresClean the area where the mudflaps will adhere to the vehicle with the included alcohol padRemove the (2) Torx head screwsTemporarily mount the mudflapSnug the (2) torx bolts for drilling alignmentAlign and drill the (2) pre-drilled ¼” holes into the inner fender plastic - this is plastic so easy does itRemove the mud flapRemove the red tap on the 3M sticky adhesive on the mudflapPress the mudflap to the vehicle, it is contoured for an exact fit and alignmentReplace the Torx head screwsYou should have (4) nylons rivets that you saved from the front of the vehicle, locate them and remove the center from (2) of themPress (1) nylon rivet into each of the holes that you drilled.Press the center into each of the nylon rivetsYou might need to push on the back of the black plastic liner when inserting the bottom oneRepeat for the other sideLower the jack and remove the blocks from the front tiresStep back and enjoy a job well doneI could not borrow, rent, or steal the rivet gun required for plastic / nylon rivets that are included in this kit. I did find it online for $75, a little to pricey for me for one use.Hope this helps!Photos attached, dusty saved nylon from front of vehicle, included and unused parts, and green nylon rivets package from AutoZone
N**E
Good, good, good,
A great price quality product.
M**W
3 are perfect but 1 is way off!
All but the passenger rear fit perfect. I had to trim the passenger rear guard to fit around a bump in the molded wheel well. Seems weird an OEM part doesn't fit.
J**P
Look fantastic on our 2018 Compass
Using the install help from "holycow" these installed simply enough. I did pick up some of the 1/4" Push Rivets that he recommended. Bought two packs actually. Used some for the rear rather than the ones from the front wheels like he instructed. Also, we have 19" wheels on our Compass and I was able to install the flaps without removing any of the wheels. These mudflaps look really nice and being OEM they fit the body contour perfectly.
K**N
Fit perfectly and look great
We recently put these mud flaps on my 2018 Jeep Compass. They fit perfectly and look great. My husband installed them in a little over an hour. They went on pretty easily and I love how they look. There’s a top review by a user named holycow that explains step by step how he did it. My husband followed almost everything he said and they went on with ease.
P**4
The right rear does not fit properly....Adjustment had to be made...
I have ordered 3 sets of these splash guards for 3 different Jeeps.....The right rear guard did not fit properly on any of the 3 cars and I had to make adjustments and drill holes to install them.....
B**O
The splash guards themselves fit perfectly and look great.
Installation is a pain in the ass and a lot more difficult than previous Jeep splash guards I've installed. All stems from the fact that the stem of the 1/4" plastic rivets doesn't fit a standard rivet tool. WTF. Why the change Jeep? Neither Home Depot, True Value, or Advanced Auto Parts had a substitute or tool for the Included plastic rivets. The panel clips I removed from the Jeep weren't deep enough to reuse with the added depth of the splash guards.Make sure you have an alternative before you start the process - 8 total. I ended up buying deeper panel clips that were long enough to handle the splash guards.The splash guards themselves fit perfectly and look great.
Trustpilot
2 months ago
3 weeks ago