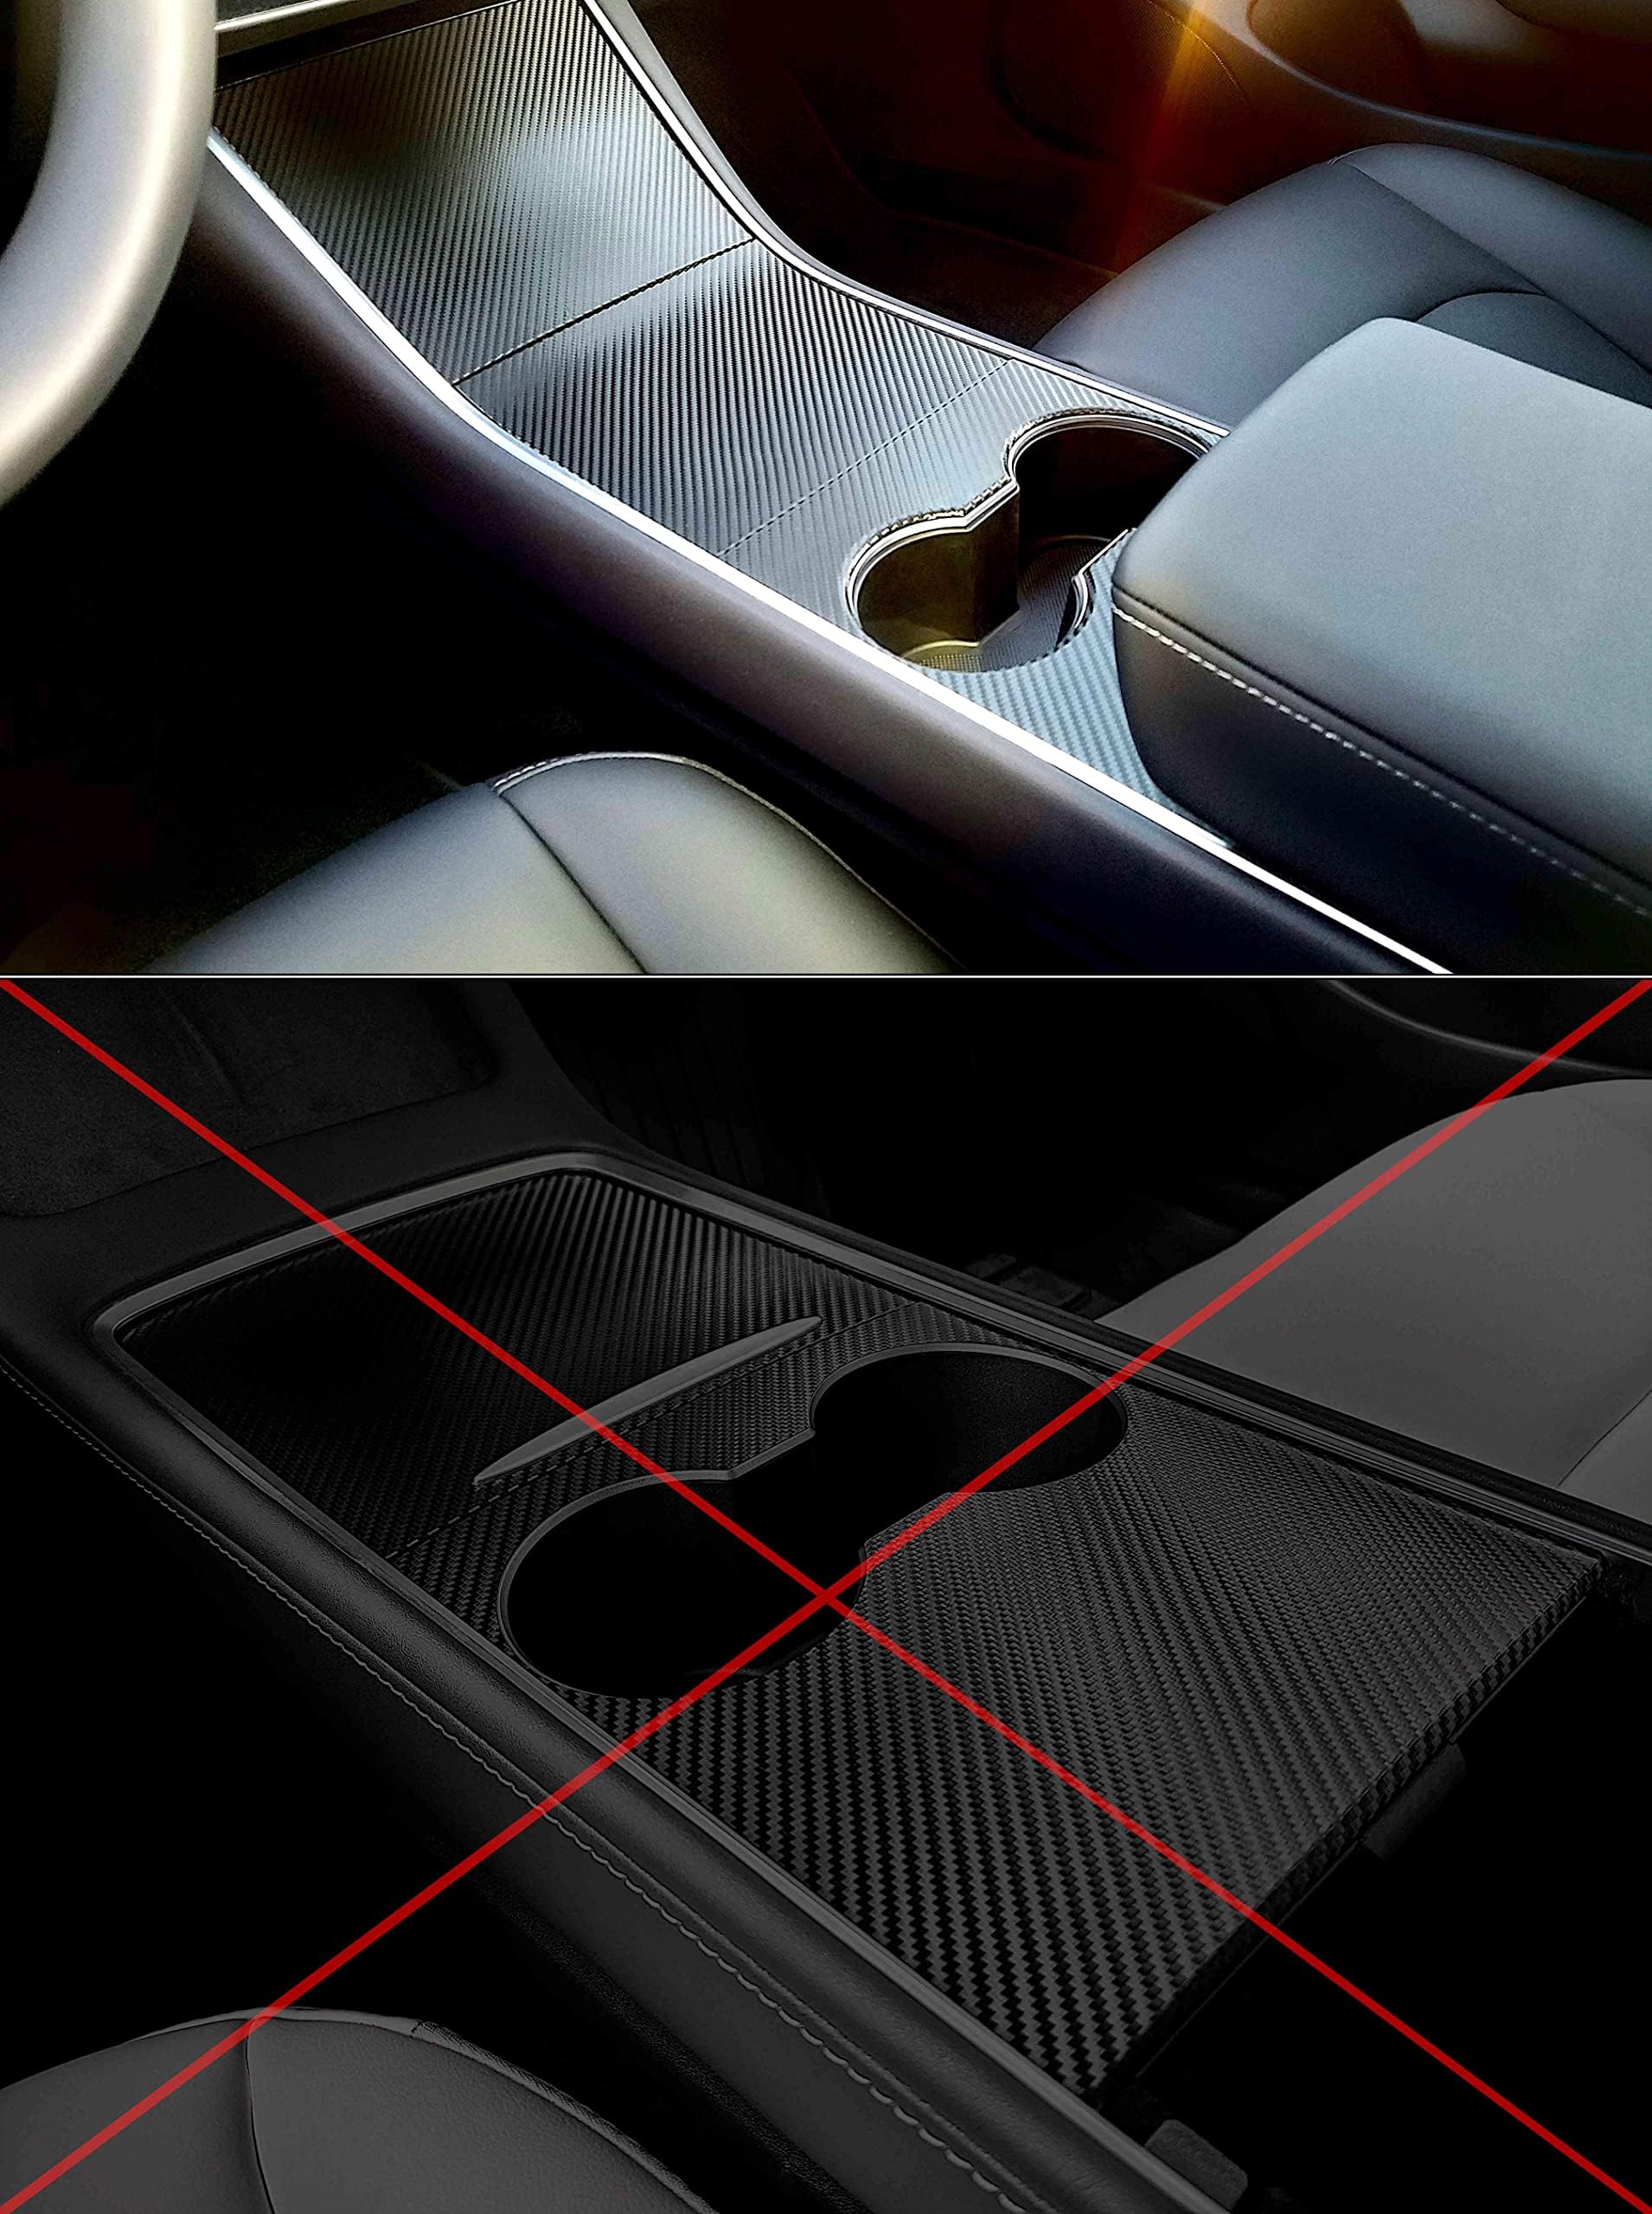
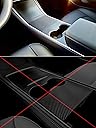
Tesla Model 3 / Model Y Center Console Wrap - Carbon Fiber (Gen 1.0)
C**H
That’s a weap
For the price this is very good value. If you scratch your console on the model three, there’s no point trying to fix it with paint as I tried. Theirs wrap is relatively easy to put on, but you have to take your time adjusting the corners and getting rid of bubbles. It took about two hours for me to do all of them in the front.Make sure you figure out where the wraps go over the edges.Fortunately if you mess it up, you can slowly remove it and start again as I had to do.It may be a good idea to buy two of these so that your first run can be a test and you can see where you went wrong and do it again. If my first installation doesn’t work out I will try it again.So far so good I don’t see any significant bubbles and it looks a lot better than I thought it would.The proof will be when the car gets hot in the Arizona sun and if any bubbles show up.
D**J
Matches real carbon dash
The wrap looks good, matches the real carbon fiber dashboard. Only issue I had was keeping the weave straight as I placed the wrap on the console. Also the wrap seems to be a little fragile so don't apply a lot of pressure on the trimmed areas of the wrap,like the cup openings. You can start ripping the carbon texture.
F**M
LOOKS IMPRESSIVE !
My brother-in-law suggested that I should install this carbon fiber look wrap on our new Tesla Y's center console. We liked the piano key look of the factory console but dust seemed to stick to it. I used the EV Wraps install video on Amazon as a guide and things went smoothly until I had issues with the phone dock cover as it was very awkward to see up under the computer screen. In the end I saved it and it looked ok. For the last section the cupholder I looked and relooked at the install video because it looked a bit complicated..and it was. Without the video playing right in front of me...no wi-fi in our garage I screwed it up after an hour's painstaking effort. So I used EV Wraps get out of jail free card and ordered another cupholder section which included free delivery. It arrived within a couple of days to their credit and did include an alcohol swab but no squeegee. Good thing I had saved the original squeegee plus an alcohol swab. For this final install I decided to park my wife's Tesla Y in the guest parking with the air con gently on...this was to let more natural light into the area where I was working. I also had my wife sitting in the passenger seat running the the EV Wraps install video on her iPad so I could see the complicated steps they were taking me through to get this section fitted correctly. I seemed to be going alright initially until the flip it over part came and then I discovered the section had not been scored ( pre-cut ) so it was impossible to follow their procedure exactly. That was a shock and to my credit I decided to wing it...and somehow I managed to finish the job. My advice is to do the install in a bright but not hot area...and take your time following the EV Wraps install video exactly. And that might make it a bit easier. The center console now looks great, feels nice and doesn't show dust.
S**I
Looks AMAZING! See pictures
Requires a little patience but its possible! Don't rush and read the instructions. The pictures speak for themselves, this cheap upgrade makes the car look a lot more expensive! Its very forgiving, I was able to "lift" and start over whenever I knew my alignment was off. There is a little excess, but it is easy to tuck into the aluminum trim, thank you Tesla for giving us a 1mm gap in the trim (pointing at it in the picture). The part the folds "down" into the console may be prone to "fingers" rub it firmly left and right with your finger and it'll go away.For the cupholder piece, they make you attach a tape film to "guide" it into place which is genius. "Float" it down until the cupholder part aligns and then work from there. Dont be afraid to gently lift if you don't align the first time, this vinyl is forgiving. Afterwards there's a little excess to wrap downwards and it looks great! I can see a 0.1mm gap where I sorta messed up but you gotta be 3 inches away to see it. Overall, worth the money. And they even tell you they'll give you a replacement if you mess up! Would buy from again!!
M**I
Good product
Good product and good customer service
S**.
Take time during install and you'll be happy with end result
I love the looks, feel and finish of this carbon fiber wrap. It requires patience to install so I installed it in intervals. Day 1 I installed the center peice and the small peices and day 2 I installed the phone charger cover and cup holder area. The most tricky one is the cup holder one so go slow, do not stick too hard in 1st go. All in all, I am satisfied with this product.
S**M
Highly Recommend to Protect Your Center Console!
PROS:• Protects the piano black center console from fingerprints and scratches• Eliminates the need to constantly clean the center console from fingerprints and dust• Vinyl is great quality, very smooth, and does not stick to microfibers when cleaning• Seller provides one free replacement piece if wrap piece is damaged during installation• Fairly easy to re-position the wrap for better alignment as long as the adhesive is only slightly stuck down• Enhances the interior appearance of your TeslaCONS:• Not precisely cut, exposing some areas around the cup holders (as shown in photos)• Difficult installation if not properly aligned• Provided alcohol wipe was very dry and not wet enough to ensure the center console is not scratched from cleaningUSEFUL INFO:• Watch the YouTube video tutorial• Take your time and carefully position the edges before applying pressure, otherwise the wrap will likely stretch and contort when pulled off to re-apply• Ensure the center console is completely clean of dust to allow the adhesion to bond properly• Ensure fingers are free of dust to ensure the bottom adhesive sticks properly to the console• Peel off a small section at a time and apply• During application, do not stretch the wrap, but instead pull it with just enough pressure to ensure the vinyl is taut before applying pressure, otherwise it will leave access materials at the end• Simultaneously apply pressure using the squeegee in a horizontal as the vinyl is applied to remove air bubbles
G**S
Not so good
Unfortunately the wrap did not line up with the console, particularly around the cup holder. The front two worked ok but I ended up pulling off the whole thing and throwing away
Trustpilot
2 weeks ago
1 month ago