


🔋 Recharge Your Style with Confidence!
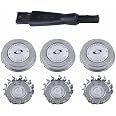
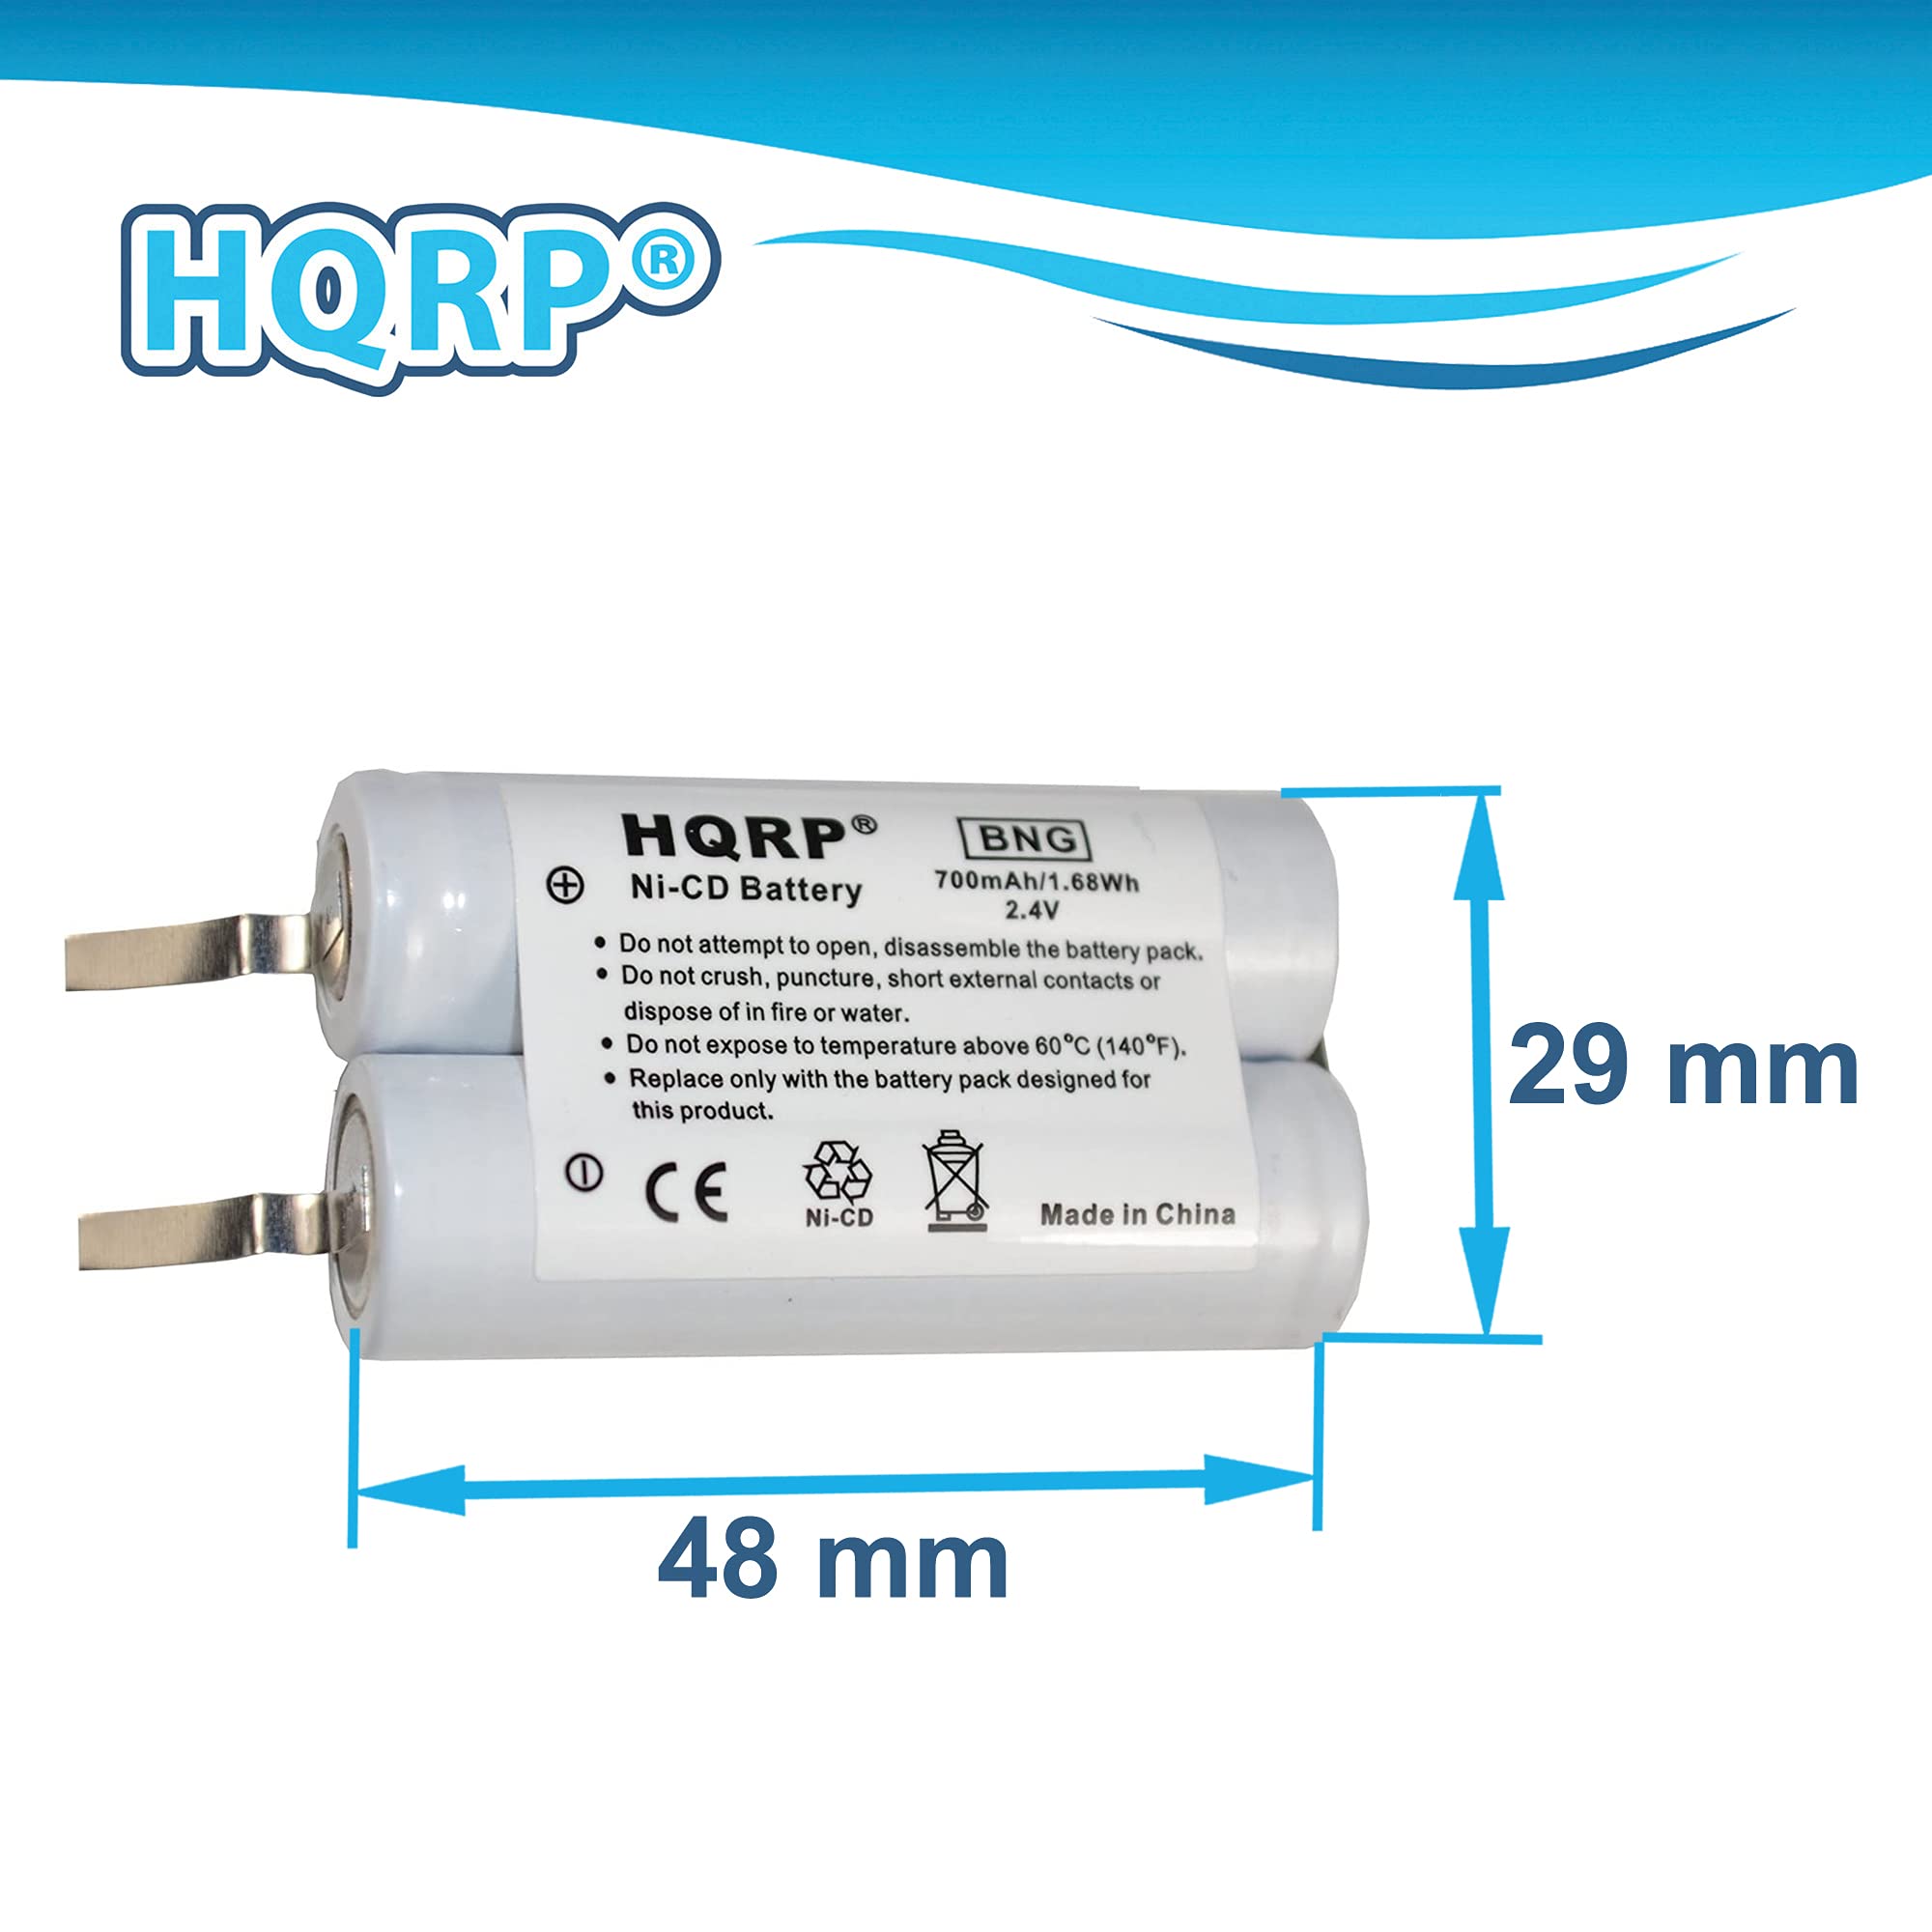
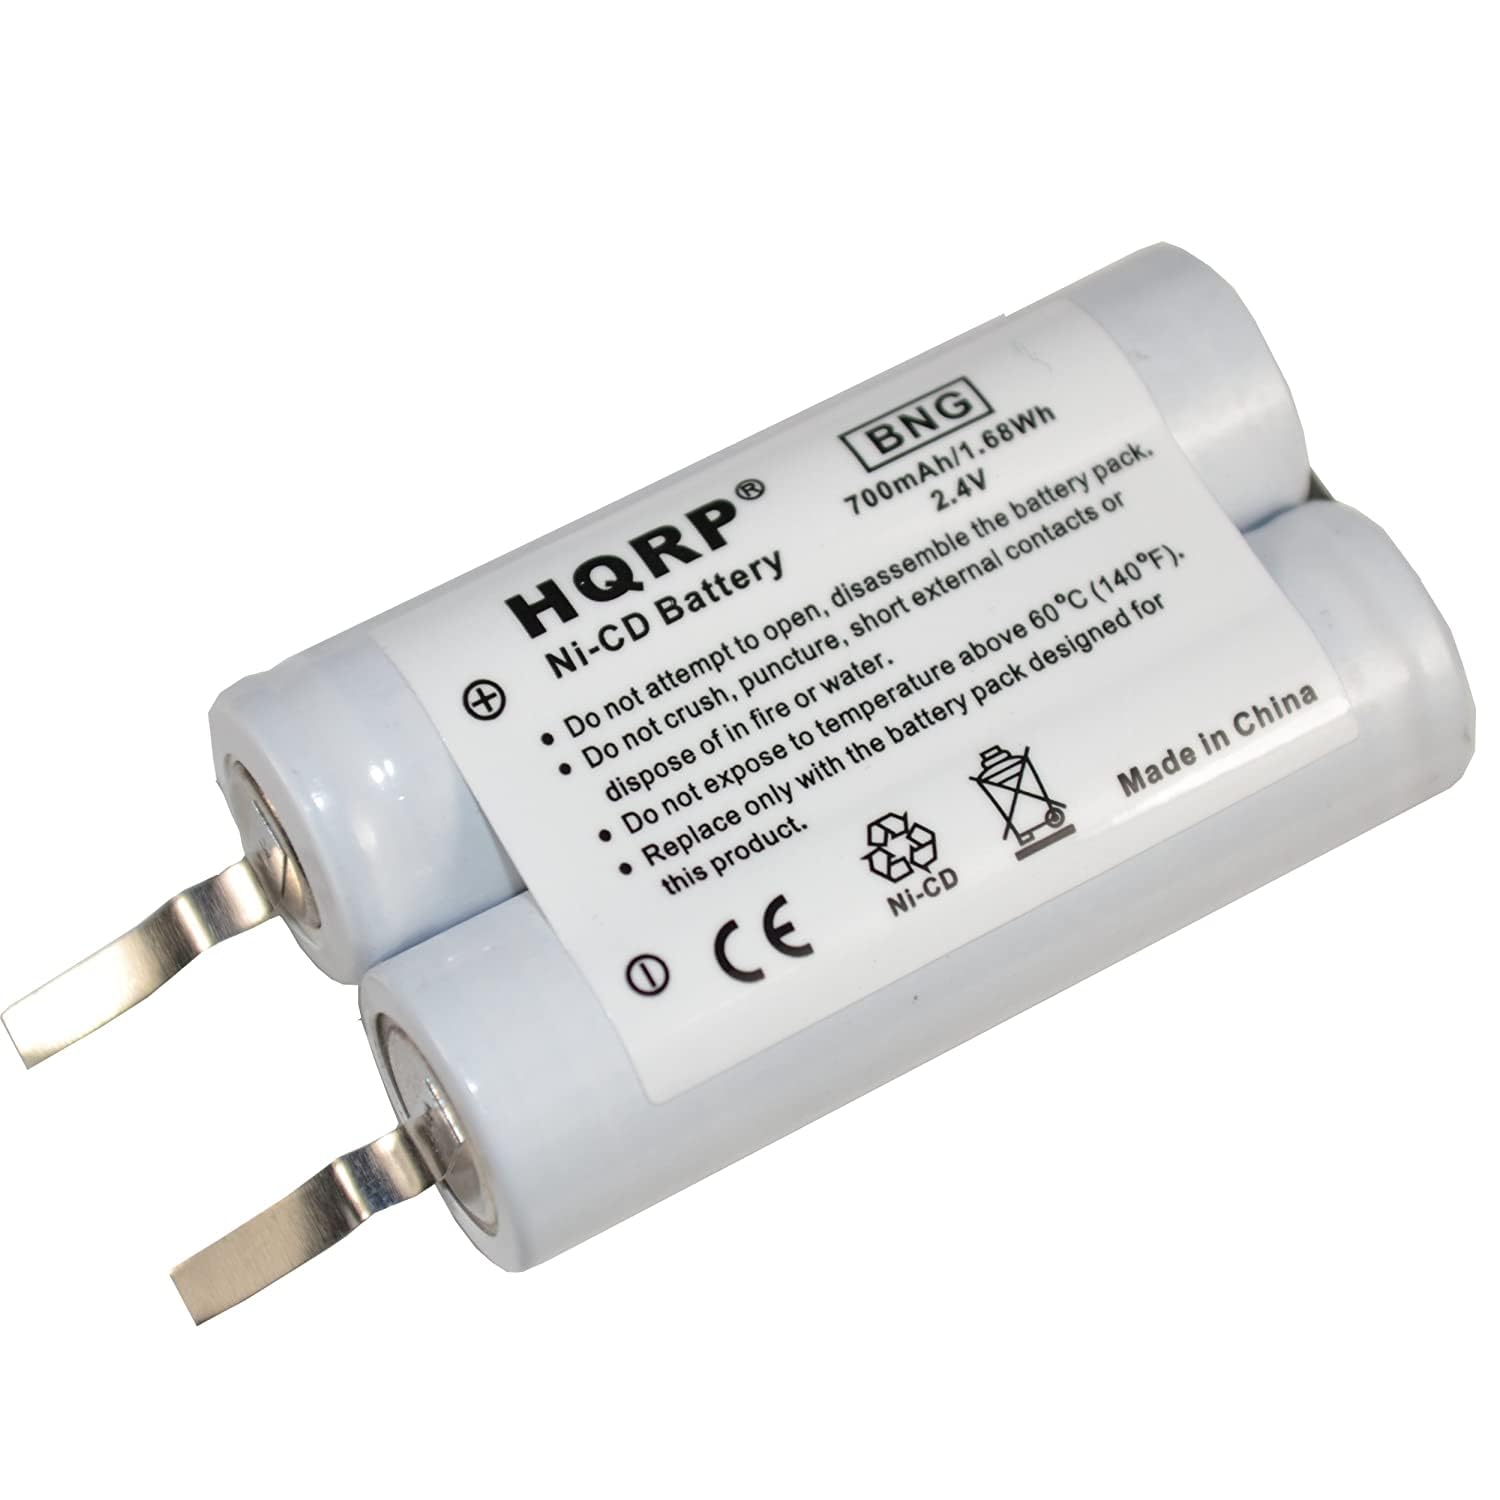
The HQRP® Battery is a high-performance rechargeable solution designed for Philips Norelco shavers, featuring a 2.4V voltage and a 700mAh capacity. This battery is 100% compatible with multiple models and comes with a screwdriver for easy installation, ensuring you can maintain your grooming routine effortlessly. Plus, enjoy the security of a 200-day warranty.
A**E
Breathes new life into my old Shaver
My first and only electric shaver is a Norelco Reflex Plus 6863XL I got 14 years ago. I uses it daily and its always done a good jobs having. However, some time ago (like 6 years) the battery stopped holding its charge for more than a day. For a long time I thought it was non-replaceable so I just left it plugged in and used it. Well, recently it got to the point where it wouldn't hold a charge for more than a couple hours.Did a little research and discovered that with a little work, that battery is indeed replaceable, inexpensive, and readily available. There's even some how to videos for this model, which was very helpful.I got got this in September but only now got around to replacing the battery. If you have basic soldering abilities you can do this.Just remove the two screws at the base of the shaver. The battery comes with a Torx screwdriver that works perfectly and is actually decent quality considering its just included. Separate the shaver. The circuit board is soldered to the top half of shaver but can be moved around to get the necessary clearance. Place the tip of the soldering iron on the tabs and heat a few second until they pull out with minimal force (be gentle). Do this for each tab. Remove any solder obstructing the holes on the circuit board to allow the new battery tabs to pass through. Put the new battery in the plastic cradle, Insert tabs through the board and push the plastic tab on the cradle through the board. This will help keep the battery in place. Solder each tab, and you're done! Just be careful not to leave the iron on the board too long as you don't want to melt the plastic cradle on the opposite side.We'll see how long they hold a charge, but as of right now the shaver is charging and it works, so I'm happy! Sure, a new version of this shaver is only $40, but I'd rather not be wasteful and throw out a perfectly good one that just needs a battery.
C**R
HQRP Battery replacement kit works very well for a Norelco 7885XL Shaver
I have an older Norelco 7885XL shaver which I have cherished because, unlike present day Norelco's which are cheapened, but not cheaper, there is a charge indicator that reads actual minutes of use remaining. I have found this to be fairly accurate. When the internal battery died two or three years ago, I put the shaver aside planning to replace the batteries, but put off by the need to deal with soldered-in-place batteries. Recently encouraged by various reviews and youtube videos, I purchased the HQRP Battery kit. Well, it worked like a charm. As others have noted, the tool provided by HQRP works perfectly to remove the two screws holding the shaver together (one is hidden under the trimmer tab on the back). First remove the cutting head - it just pulls off. After removing the back half of the shaver case and exposing the innards, I took a few photos so that I wouldn't have to remember how it looked assembled and also noted the battery polarity. I then flipped out the pair of metal clips located at the top and bottom of shaver, and I cut out the old batteries with a wire cutter. At this point, I could remove the plastic battery tray and examine the circuit board to which the batteries had been soldered. It turned out to be a very easy job to desolder and remove the tabs left over from the old batteries and clear out the circuit board openings using a solder pump. I then soldered in the new NiCd batteries from HQRP (they come connected with soldering tabs already attached), and reassembled the shaver. The total job took about 30 minutes. The shaver took a full charge and now works perfectly. Kudos to HQRP for making the job relatively painless.
C**7
Tuff to install
Tuff to install. Not an easy drop in
G**Y
Work fine, had to get creative with installation
These brought my Norelco back to life! Including the specialized driver for disassembling the razor was a great idea--I've got a LOT of tools, but nothing that would have worked to open the case.I was not able to solder these in as the directions directed. The tabs on the batteries should have made it easy, but there was simply no access on the razor side, even with my smallest soldering pencil. So, instead, I folded the solder tabs back and forth twice into a fan fold, effectively making a spring connector out of the tabs. I popped the batteries in, they made contact with the tabs left behind from the old batteries, and the system has been working fine for the past month. I expect at some point to have to go back in and shim the batteries up from the bottom to maintain a good connection, since the folded tabs aren't spring steel, but probably not for a good long while.
F**N
Excellent product, excellent vendor.
I'm feeling very pleased with myself because I just completed the replacement; should have done it 2 years ago. I hardly ever give 5 star reviews, but the inclusion of the correct Torx driver did it (I didn't have one previously). There are a number of how-to videos on YouTube. I didn't follow the short-cut ones which suggested cutting the old battery tabs; I removed them from the circuit board. If you do this, you need some Superwick to remove the old solder first (I had limited success with a desoldering device). I have a pencil soldering iron but it didn't have enough heat to remove the solder; had to use a gun. LIke almost all soldering jobs, you really need three hands to loosen the battery tabs. Luckily the flexible bands which attach the motor to the board will take some abuse. It took me about an hour, start to finish, but maybe that just demonstrates my skill level (allocate some time to clean the inside of the razor; it's pretty gross). This is my second battery from HQRP (did a toothbrush previously). I heartily recommend both them and this product; everything just worked.
Trustpilot
1 month ago
1 day ago