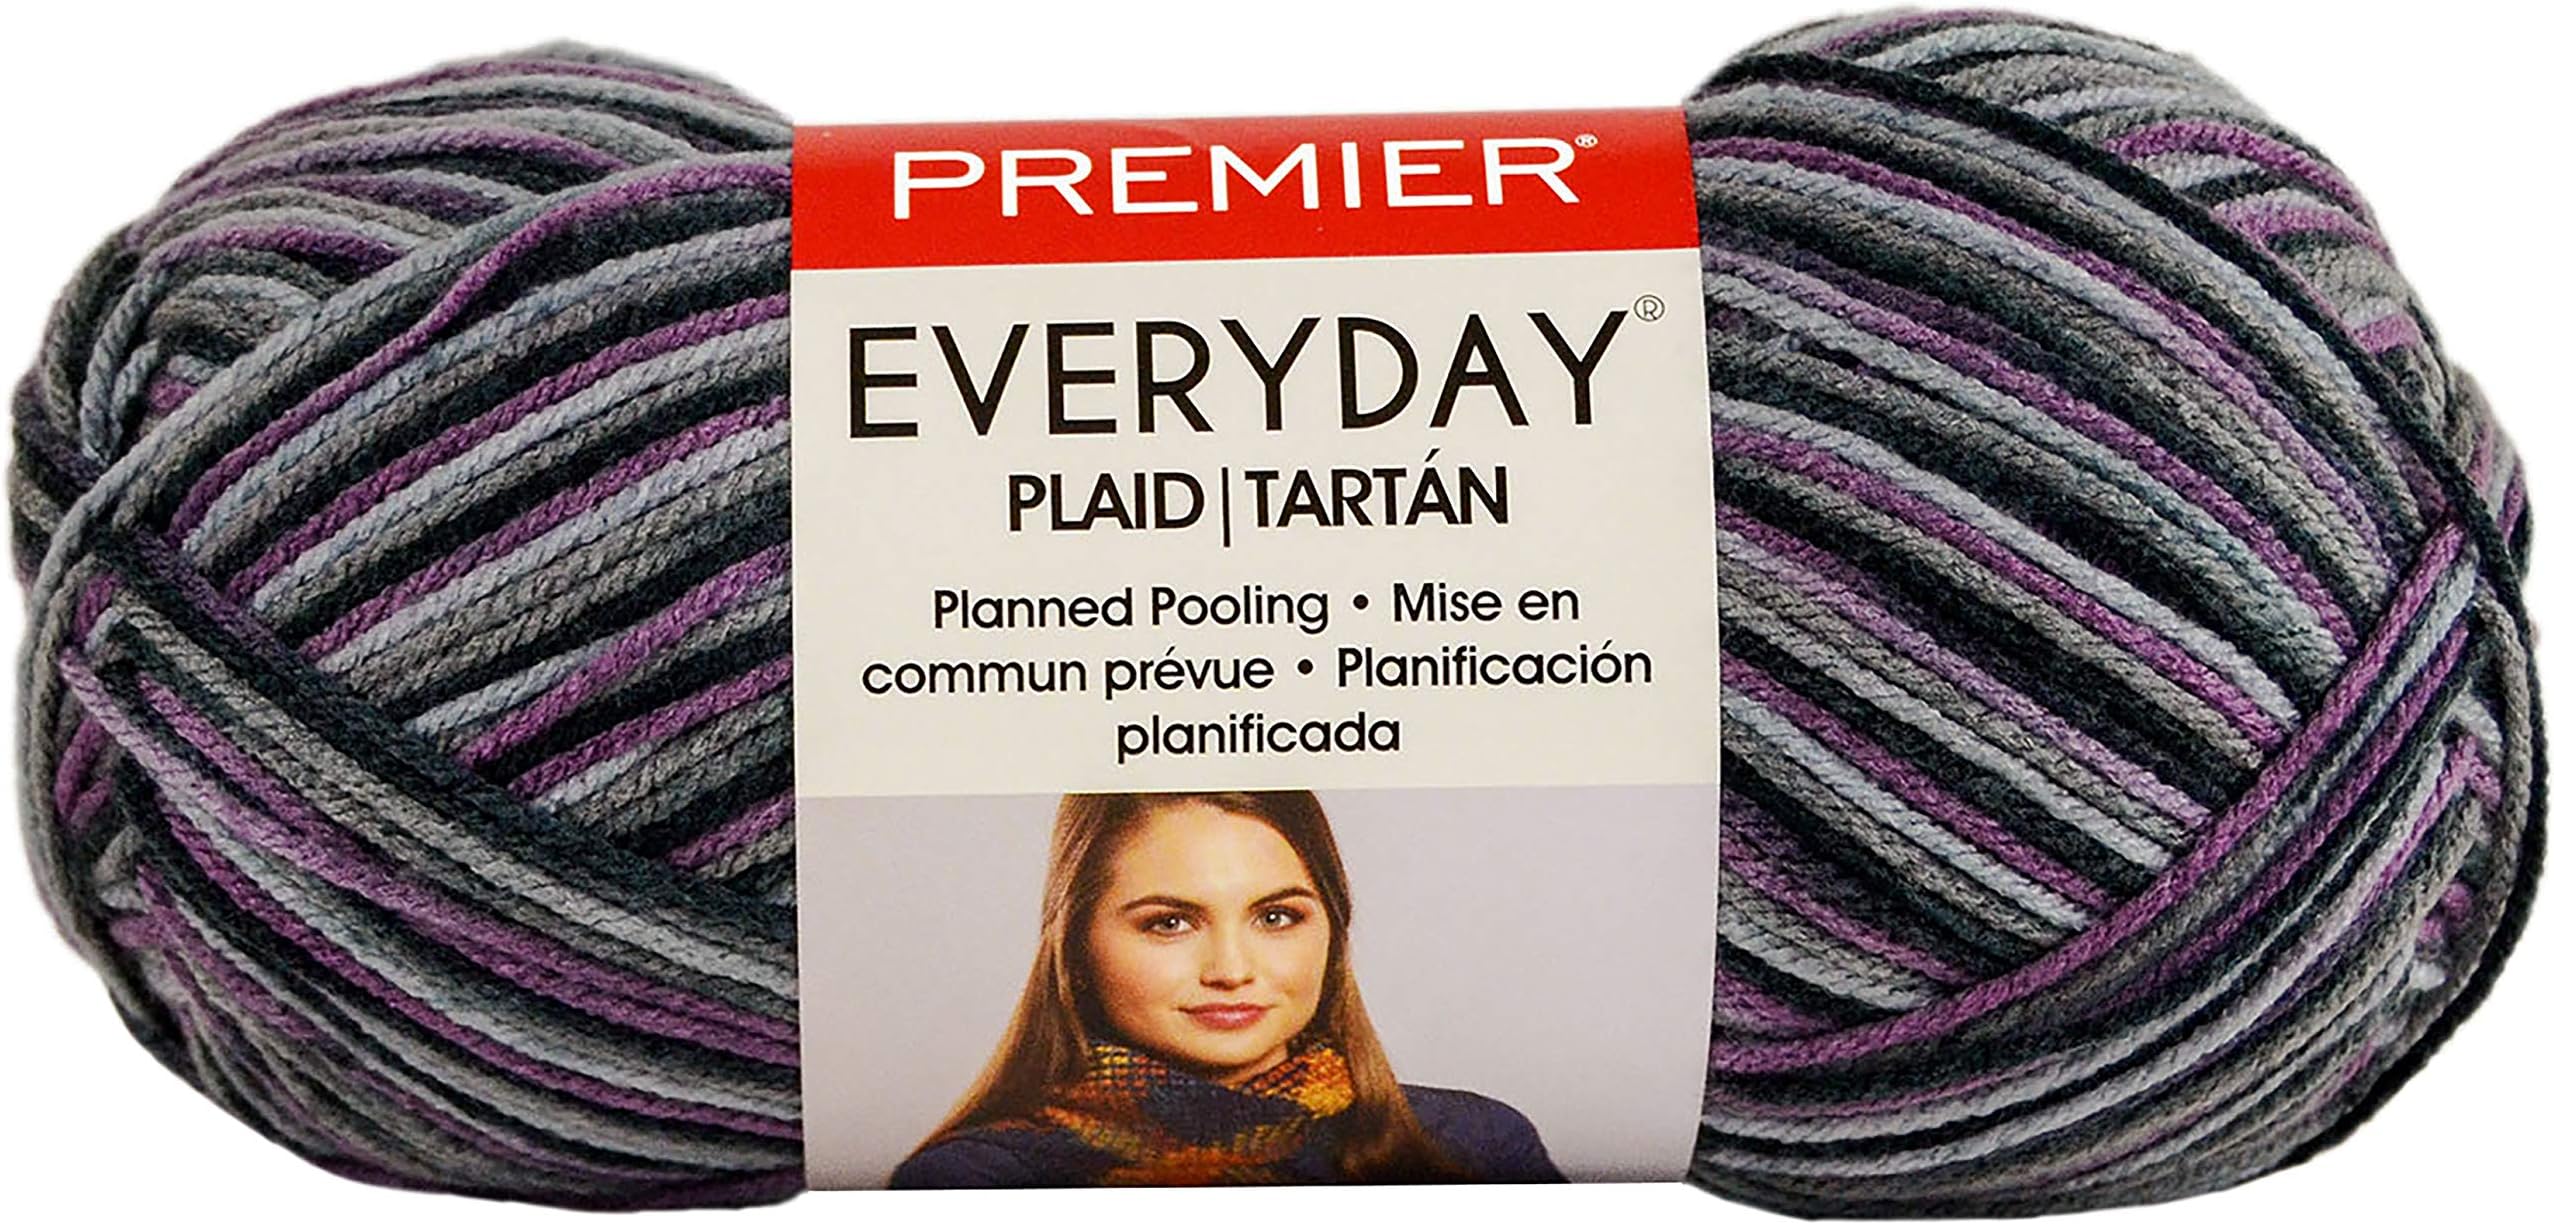
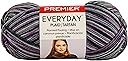
Premier Yarns Everyday Purple Grey Plaid
Product ID: 113191127
📏360yd/330m length
🧵Weight Category: 4
🧶100% anti-pilling acrylic
Buy anything from 5,000+ international stores. One checkout price. No surprise fees. Join 2M+ shoppers on Desertcart.
Desertcart purchases this item on your behalf and handles shipping, customs, and support to Seychelles.
🧶 Unleash Your Creativity with Everyday Plaid!
Premier Yarns Everyday Purple Grey Plaid is a 100% anti-pilling acrylic yarn designed for effortless plaid pooling. With 360 yards of soft, durable material, it’s perfect for all your knitting and crochet projects. Machine washable and available in various colors, this yarn combines functionality with style.
L**M
Experienced crocheters ONLY
It took me hours (no exaggeration) to get this set up so it would work right. You absolutely have to watch a video to do it right (or watch several videos, multiple times in my case). I am a very experienced knitter and crocheter, but good grief! this stuff is very tricky. If you have no patience for ripping back your work over and over again throughout a project, then try something else, but don't try self-pooling plaid yarn.**However, once it got going, I was very, very pleased. I guess I'm a masochist, but I feel like it was worth it.If you decide to try it here is some advice:*it helps if you think of the colors as numbers, unless you have the exact same yarn that the videos show being used. Each skein has four colors, and some of the color changes are more obvious than others. This grey purple yarn has black, charcoal, light grey, and purple. It was a bad choice for a first attempt at this plaid design.*you will chain more stitches than you will use. The first row of chain won't match anything in the pattern so don't look for it or expect it. If it happens, ignore it because it will throw you off for your second row.*each row is patterned after NOT the previous row, but the row beneath THAT row..... You will start to see it more clearly after you have about six rows.*there will be places that have pools of a solid color. That is part of the pattern. This is why having that second row down to look to will help you find your color changes.* keep at it until you get the color shifting to the right by one stitch (this holds true for both sides - the color shifts to the right regardless of which side you are working on). I probably tore out my chain, crocheted three rows, and restarted at least five times. Maybe more since I also payed around with hook sizes as well as struggled to get things started correctly.*rip back one or two color changes to adjust your tension if you don't get that one stitch color shift to the right when a color change occurs. Expect to do this regularly. Generally each color change will be four stitches long (that is the SC plus the C1 - if you are using this yarn you will know what I mean).*by "adjust your tension" I mean that some color changes won't be long enough for the number of stitches you need so you will have to make it really tight to get the color shift to be in the right place; and other color changes will be too long and you will have to go back and make your stitches much bigger in order to get things right.*I went up a hook size, even though they tell you you don't need to worry about doing that. I generally crochet, and especially knit, tightly. I had tried going down a hook size since I could NOT get it to work out with the I size hook that comes recommended on the yarn. Also, most of the videos show people working with hooks that, to me, look a lot smaller than an I, but whatever.*DO NOT START on your project right away. Buy a skein and try out a sample mini-blanket before buying for a full project and working on a specific project. I wanted to make the baby bunting, but after reading about other people's experience with this yarn, I thought I had better sample it first. I'm very glad I did. The yarn costs too much if you don't know what you are doing.*the yardage is good and the yarn is soft. I like it as a yarn, but think it is too expensive to buy if it isn't on sale somewhere. Check the Premier website for a lower price.*if you want to make something more than the scarf, and want to do the sane thing and experiment first, do a couple of sets of color changes. I did two sets of color changes, so twice as wide as a scarf, in order to experiment for the bunting.A CHEAT THAT MIGHT HELP FROM TIME TO TIME:At the end of each row you are supposed to CH 2 and turn. There have been quite few times that I had to CH 1 and turn in order to get the next color change set right. There were also times that I had to tear back to the previous row a few inches and loosen up the stitches and make a big CH 2 in order to get the color change in the right place on the subsequent row. Do what you need to do!! The color shifts are ESSENTIAL and you can't let one of them go off even by one stitch or it will likely off-set everything afterwards.Good luck!! You'll need it. But I think you will find that it is worth the effort. Once you get it going correctly, it is kind of like magic. I bought more and am making two full blankets. It looks amazing.
G**K
Not good for color pooling
I began a scarf for my daughter using the pooling method. I have experience with pooling, but had to try 5 times to finally get it going. As you can see from the picture, the colors started to get darker and brownish. I kept going just to see what would happen and it eventually went back to the plain pattern. I ripped it back to where it just started the pattern and cut out that portion. I've had to do this twice since. The quality control is obviously off.
S**A
sky high price
try to buy somewhere else not to get screw..they got me good..way too costly
Trustpilot
3 weeks ago
2 weeks ago