


🎯 Nail perfect color balance and stand out in every shot!
The Manfrotto 12" EZYBalance Collapsible Balance Card in Gray/White ensures precise white balance and color calibration for photographers and videographers. Its durable, collapsible design offers quick setup and universal compatibility, making it an essential tool for achieving true-to-life colors and professional-quality images.
R**.
This makes white balance much easier and quicker
This is a Lastolite product, so it has an excellent design and build that will last for many years if you take care of it. Folds down for storage in your camera bag or light bag.I used to shoot for a local newspaper and had the older version of this product. I used it many times per day and it always got the white balance dead on and with the focus mark in the center, allows you to leave auto focus turned on while using. I usually use a light meter, but in a pinch this can be used to set exposure with the in camera metering as well (if your using a camera with excellent accurate metering built in). It lasted for over 10 years, until I lost it, so now someone else has a great product.I purchased this one to replace my previous model and am even more impressed with this one.This model has the focus marks on the gray side and the white side and is the prefect size to use and fold up for carry in your bag. I have always found if you set your white balance and exposure correctly there is no need to shoot raw images, jpg image work great and are much smaller storage space wise and blow up to billboard size with no problem if you are using the right camera and optics.This is a must have for anyone wanting a compact and well build product (instead of carrying gray cards) to set their white balance correctly and if you do not have access to or cannot afford a good light meter, can also be used to set exposure. My suggestion, unless your outdoors in sunlight, always, always, always set white balance manually with this or another gray card product. Do not every rely on the in camera white balance other than outdoor sunlight if you want correct colors in your images.
G**S
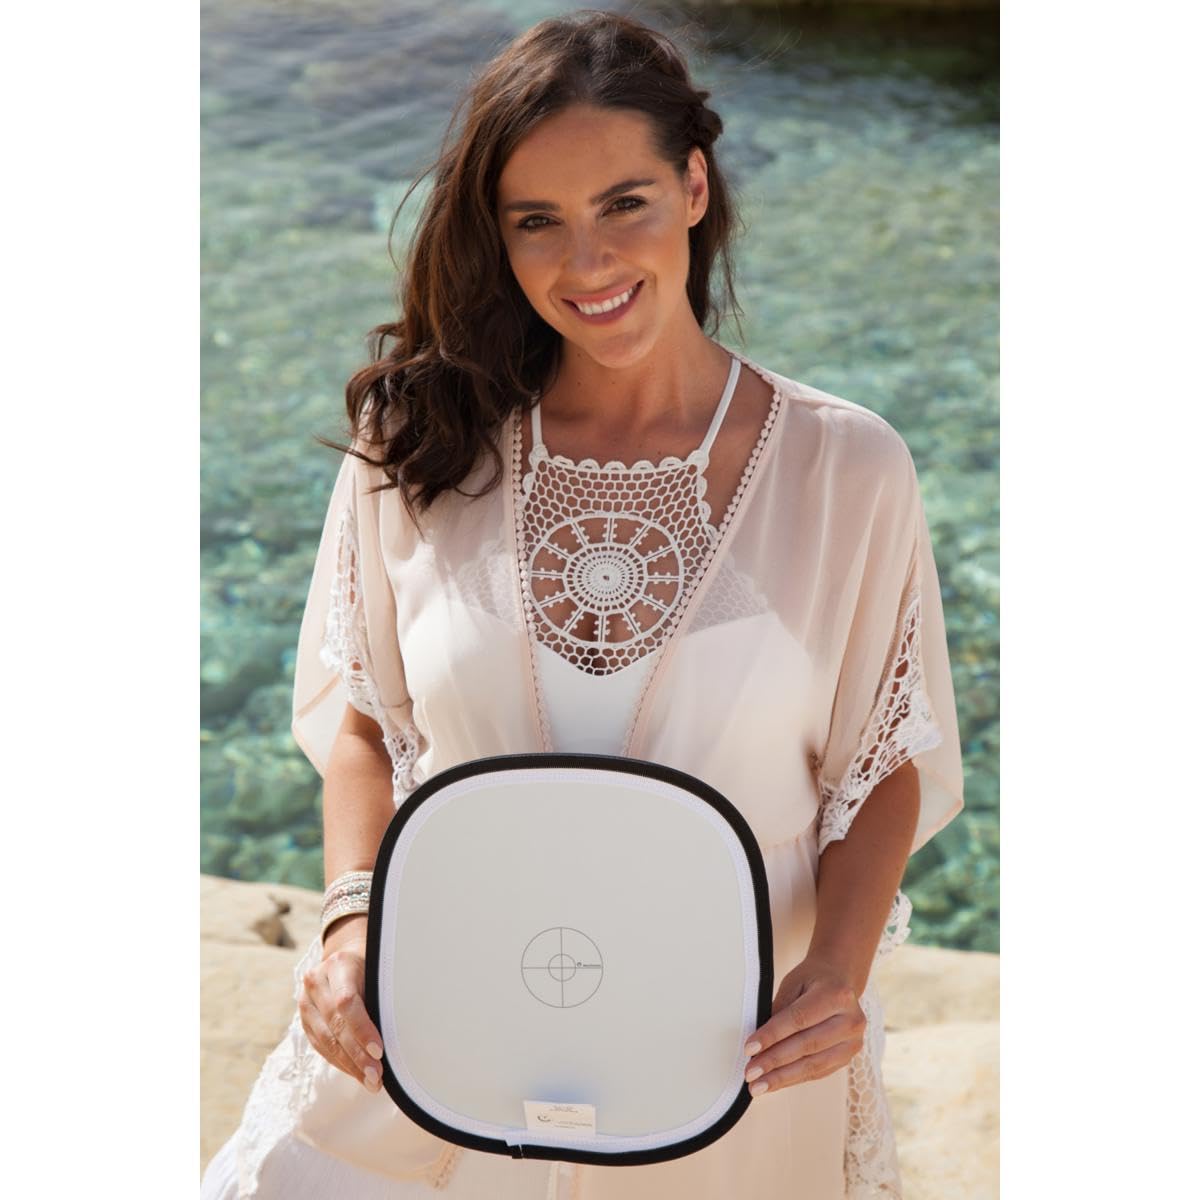
GREAT but no cross-hairs on the white side
I would have rated this product 5 stars if it had cross-hairs on the white side, too. All of the photos of this product that I could find before buying it showed the gray side only so I was caught by surprise when the white side didn't have cross-hairs on it. I shoot macro in a tent/dome sometimes and when setting my custom white balance it's nice for the camera to have something to focus on when the white card fills the frame. OTHER THAN THAT the product is great. Well made, collapses to a small size with a great carrying pouch. Would recommend this to others.
R**N
Great Tool
This is a great product. Every photographer new to photography that do not understand how to set the white balance or exposure using the camera's built in light meter, should purchase this 18% gray card or this 18% gray card tool.This tool helps take the guess work out of getting the correct white balance and exposure setting right the first time. Even though I know how to use Photoshop to correct the white balance and exposure, it's more efficient to have the correct settings from the very start, which means less time making corrections during post processing.To determine the exposure using the card fist I set my camera's ISO speed to match the lighting conditions, such as outside ISO 100 indoors ISO 400, meter to spot and mode dial to auto. Then fill the viewfinder with the card and be sure that the focus is out of focus so that you are reading the overall card and not just a spot on the card, with the flash set to off take the picture.Now playback the image and display the exposure setting set by the camera, such as f-stop and shutter speed. Now set the camera to manual and set the f-stop and shutter to correspond to the auto settings. Now if your camera has a manual white balance setting follow the above methods to set the white balance. My Nikno D60 has just such a function, which will allow for setting the white balance by taking a picture of a gray or white card to set the manual white balance and hold that setting in memory or use another pictured stored on the media card with correct the white balance settings.Now your settings are correct for exposure and white balance and you can start taking pictures. Remember if your location or the lighting changes you must recalibrate the white balance and exposure.If you are experienced in using Photoshop, open an image and on the menu bar got layer > new adjustment layer > levels and click Ok to create the adjustment layer, select the middle gray eyedropper and click the gray card in the image. You may or may not see a change, if the exposure or white balance was set correctly there will be no change, but if the setting were not correct you will see the exposure and white balance change.The out come that you want is no change, this will mean that everything was set correctly and that no adjustments are needed. But if there were changes and there are other image taken under the same lighting conditions you can save the level setting and use it to correct the other images, with the levels dialog window still open click the save button and give the level settings a name and save it and save the corrections made to the image.To use the saved settings to correct another image just open the image to be corrected and on the menu bar select layer > new adjustment layer > levels and click Ok to create the adjustment layer. Click the load button and load the file that you named and saved in the previous steps, the image will change to reflect the correct exposure and white balance click Ok and save the image.This will help in post processing by allowing you to make corrects in a timely manner.If you use Photoshop's Lightroom you can save the setting and then apply it to many images at one time, which will speed up the post processing time.
R**W
Great for video shoots & photography alike
If you shoot video, you definitely need one of these. You might not notice (or you might REALLY notice), but the feel of your shots is heavily influenced by the color of lighting you use. If you're using typical indoor lighting, your shots will undoubtedly receive a yellowish tint, leading to a warmer feeling. That might be desirable in some situations, but that's something that's easily added in post editing, so it's much more desirable to shoot true to color to begin with and adjust the levels later in post.With a white balance card it's so simple to get accurate colors in your shots that you'd be crazy to NOT use one. The process is simple: Change your camera setting from "Auto White Balance" (or whatever other preset you were using) to "custom" mode, take a photo of the card with the dominant lighting shining on it, go to the "custom white balance" setting in the menu & select the photo you just took of the card. That's it! Then you're ready to go!I really like this card particularly because of its accurate color representation, materials used & its portability. This thing comes with a carrying case and is easy to fold down into it. Once in the case, it only takes up about 6" of space in your bag (in disc form) making it ideal for filmmakers & photographers on the go.If you've never used a white balance card before, I highly recommend you try one out - you'll be surprised at how off-white your whites previously were.
Trustpilot
1 month ago
1 week ago
