🪚 Upgrade your edges, upgrade your space — flawless finish, zero hassle!
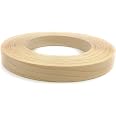
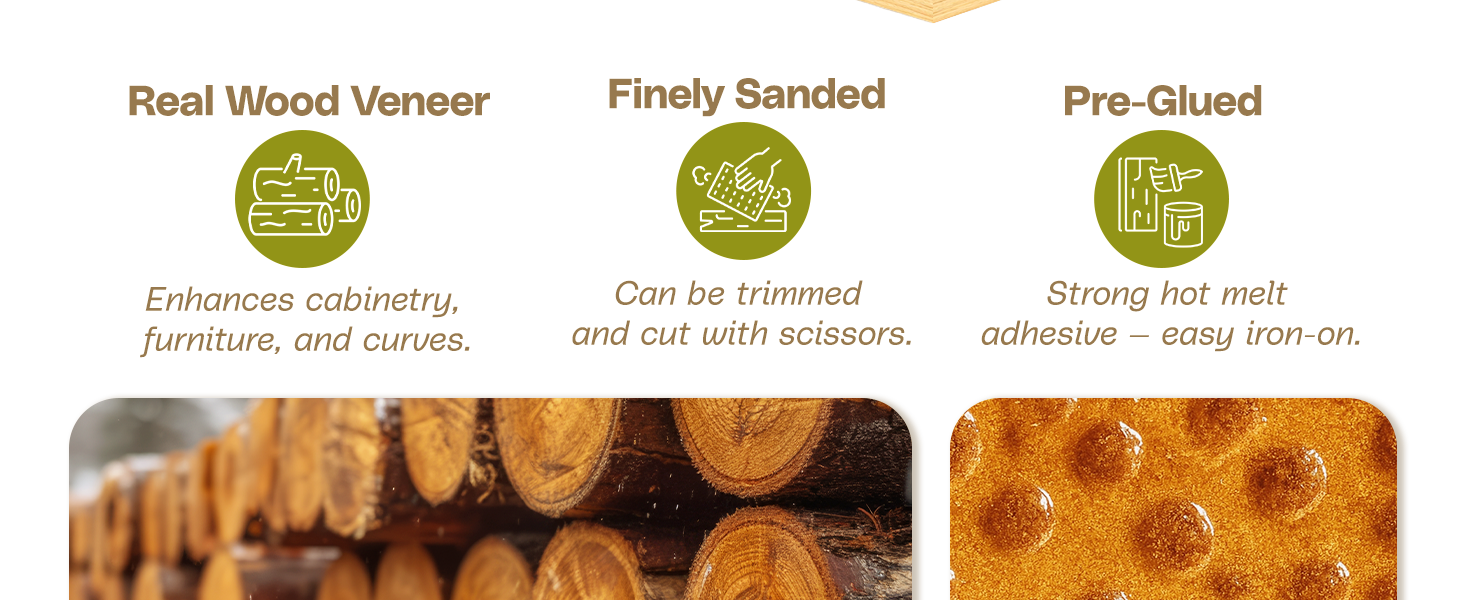
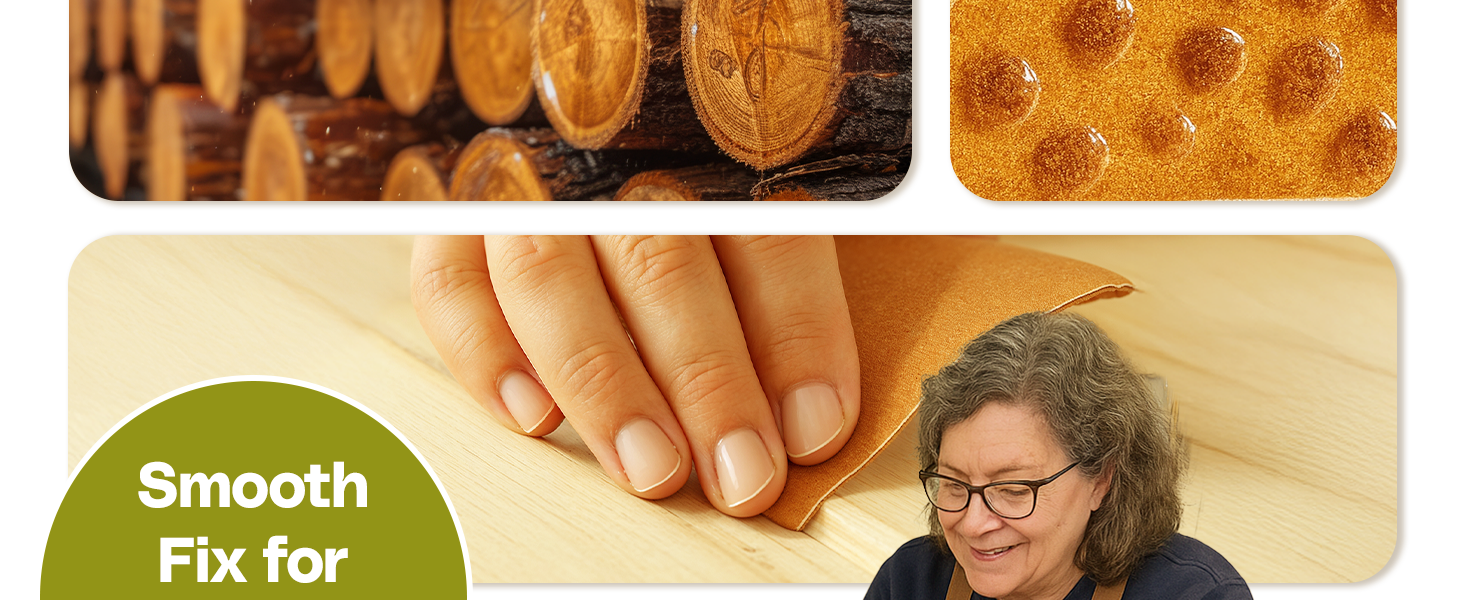
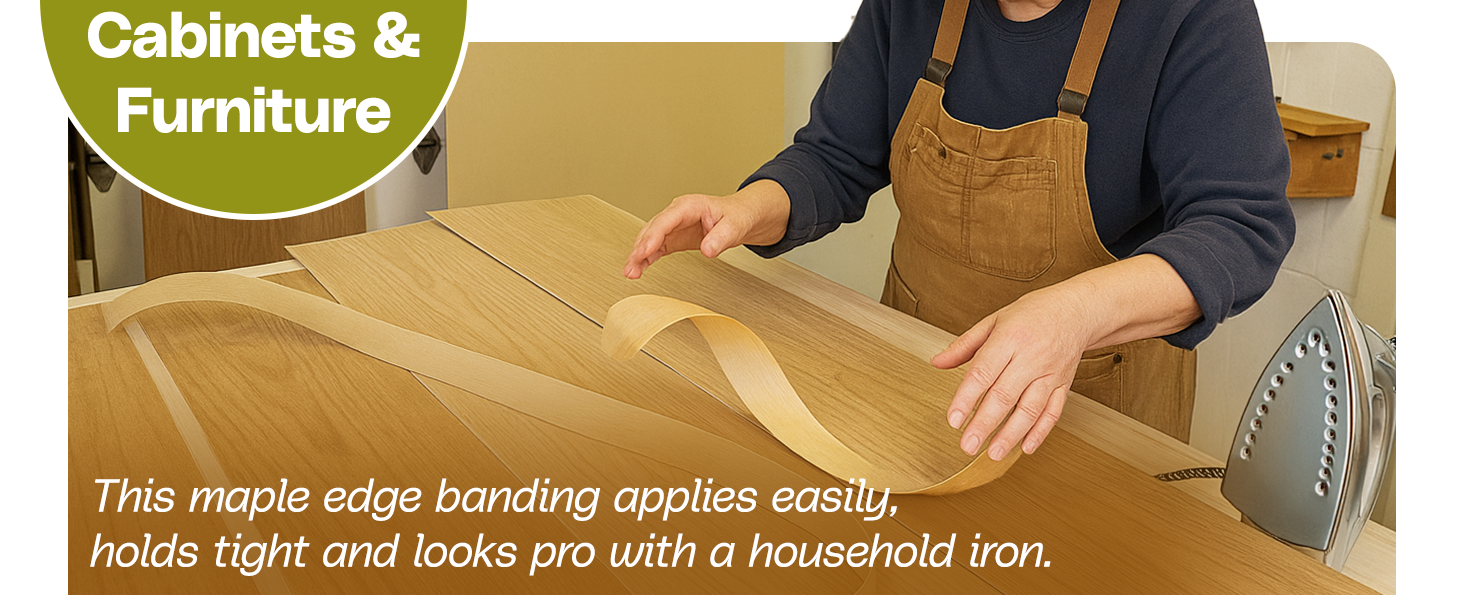
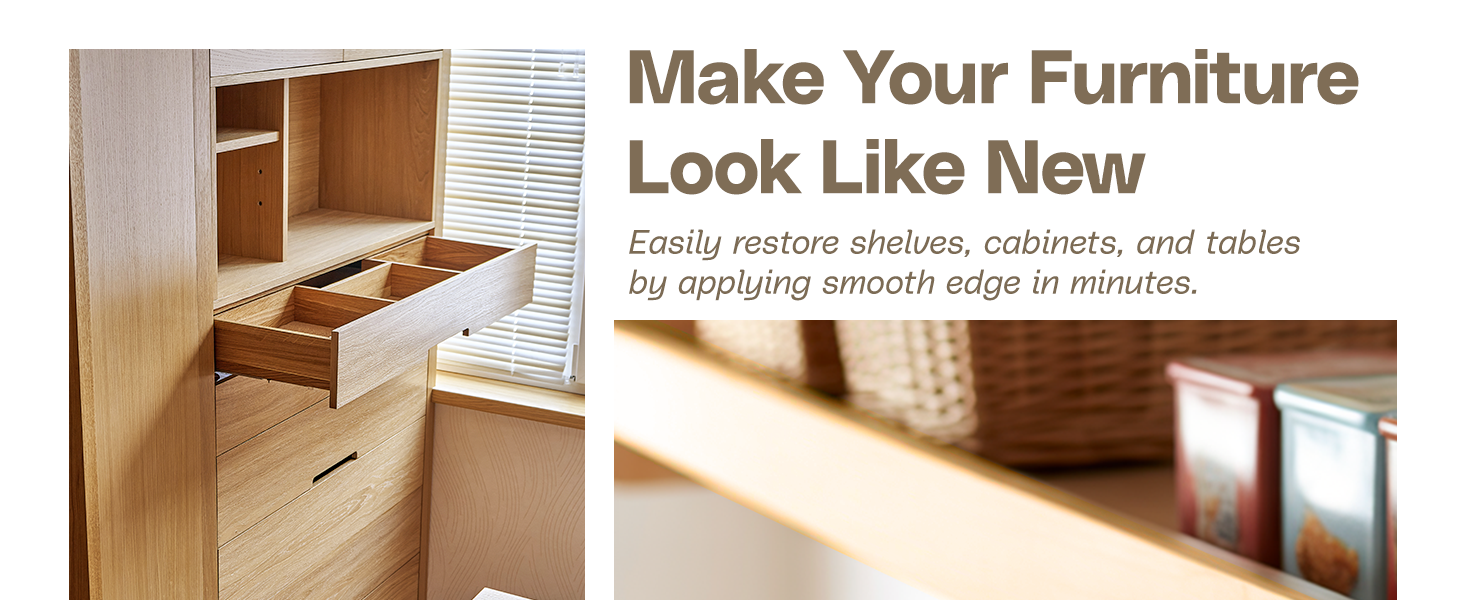
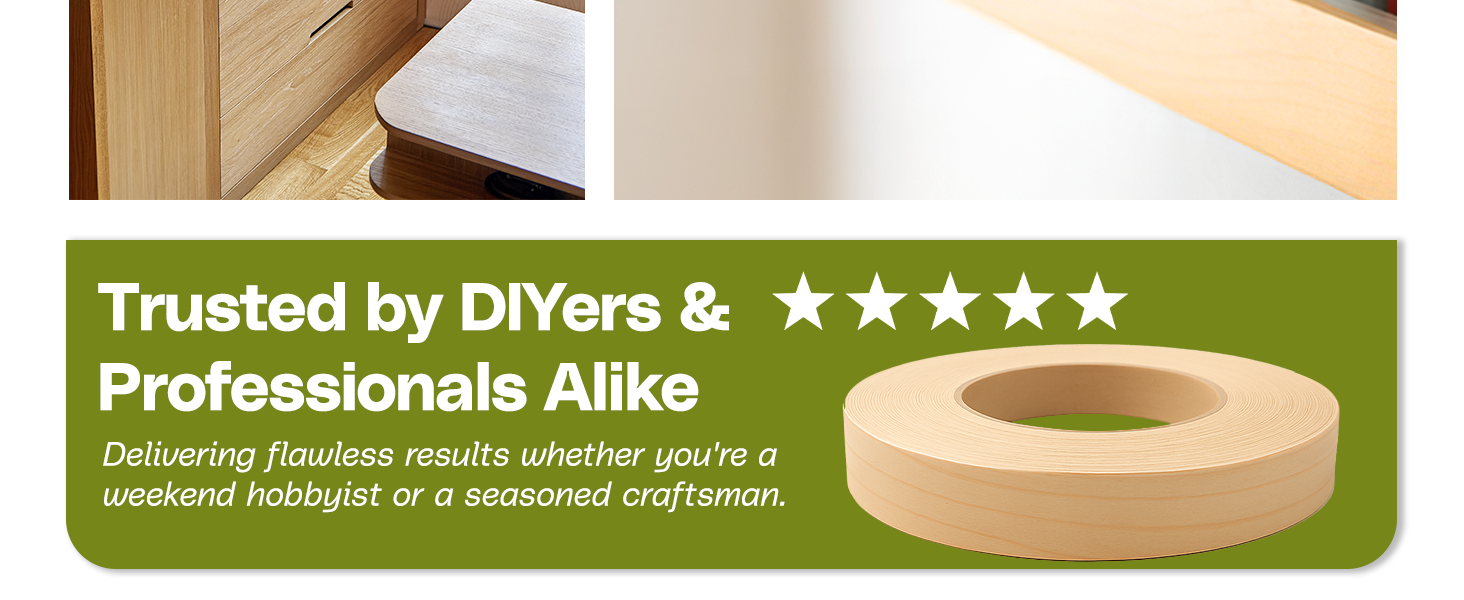
Edge Supply Maple 3/4" x 50 ft Roll is a premium, pre-glued iron-on maple wood veneer edge banding tape featuring A-grade real wood veneer and German-engineered hot melt adhesive. Designed for easy application with household irons or edge banding machines, it offers durable, flexible coverage compatible with multiple surfaces. Its smooth sanded finish and generous length make it ideal for professional-quality furniture, cabinetry, and DIY projects.


| Item Thickness | 0.75 Inches |
| Item Form | Roll |
| UPC | 736283520637 |
| Number of Items | 1 |
| Grade Rating | A |
| Manufacturer | Edge Supply |
| Part Number | 712048503275 |
| Item Weight | 5.3 ounces |
| Package Dimensions | 10.87 x 6.54 x 0.75 inches |
| Item model number | CECOMINOD039810 |
| Is Discontinued By Manufacturer | No |
| Size | 3/4 inch X 50 ft |
| Finish | Unfinished |
| Item Package Quantity | 1 |
| Cutting Diameter | 0.75 Inches |
| Batteries Included? | No |
| Batteries Required? | No |
Trustpilot
1 week ago
2 months ago