
Desert Online General Trading LLC
Warehouse # 7, 4th Street, Umm Ramool, Dubai, 30183, Dubai
Desert Online General Trading LLC
Warehouse # 7, 4th Street, Umm Ramool, Dubai, 30183, Dubai


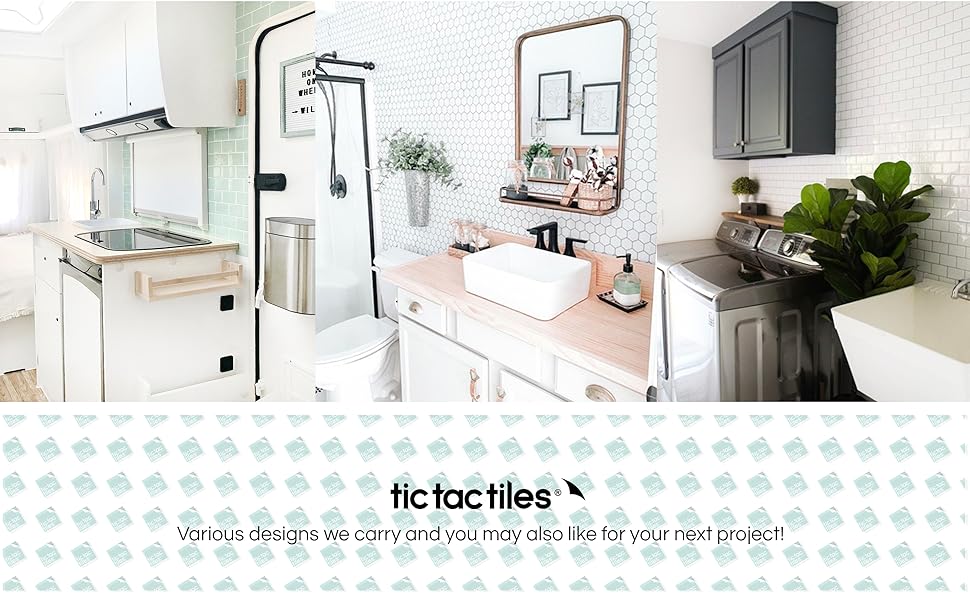
✨ Peel, Stick, Impress — Your backsplash glow-up starts here! 🖤
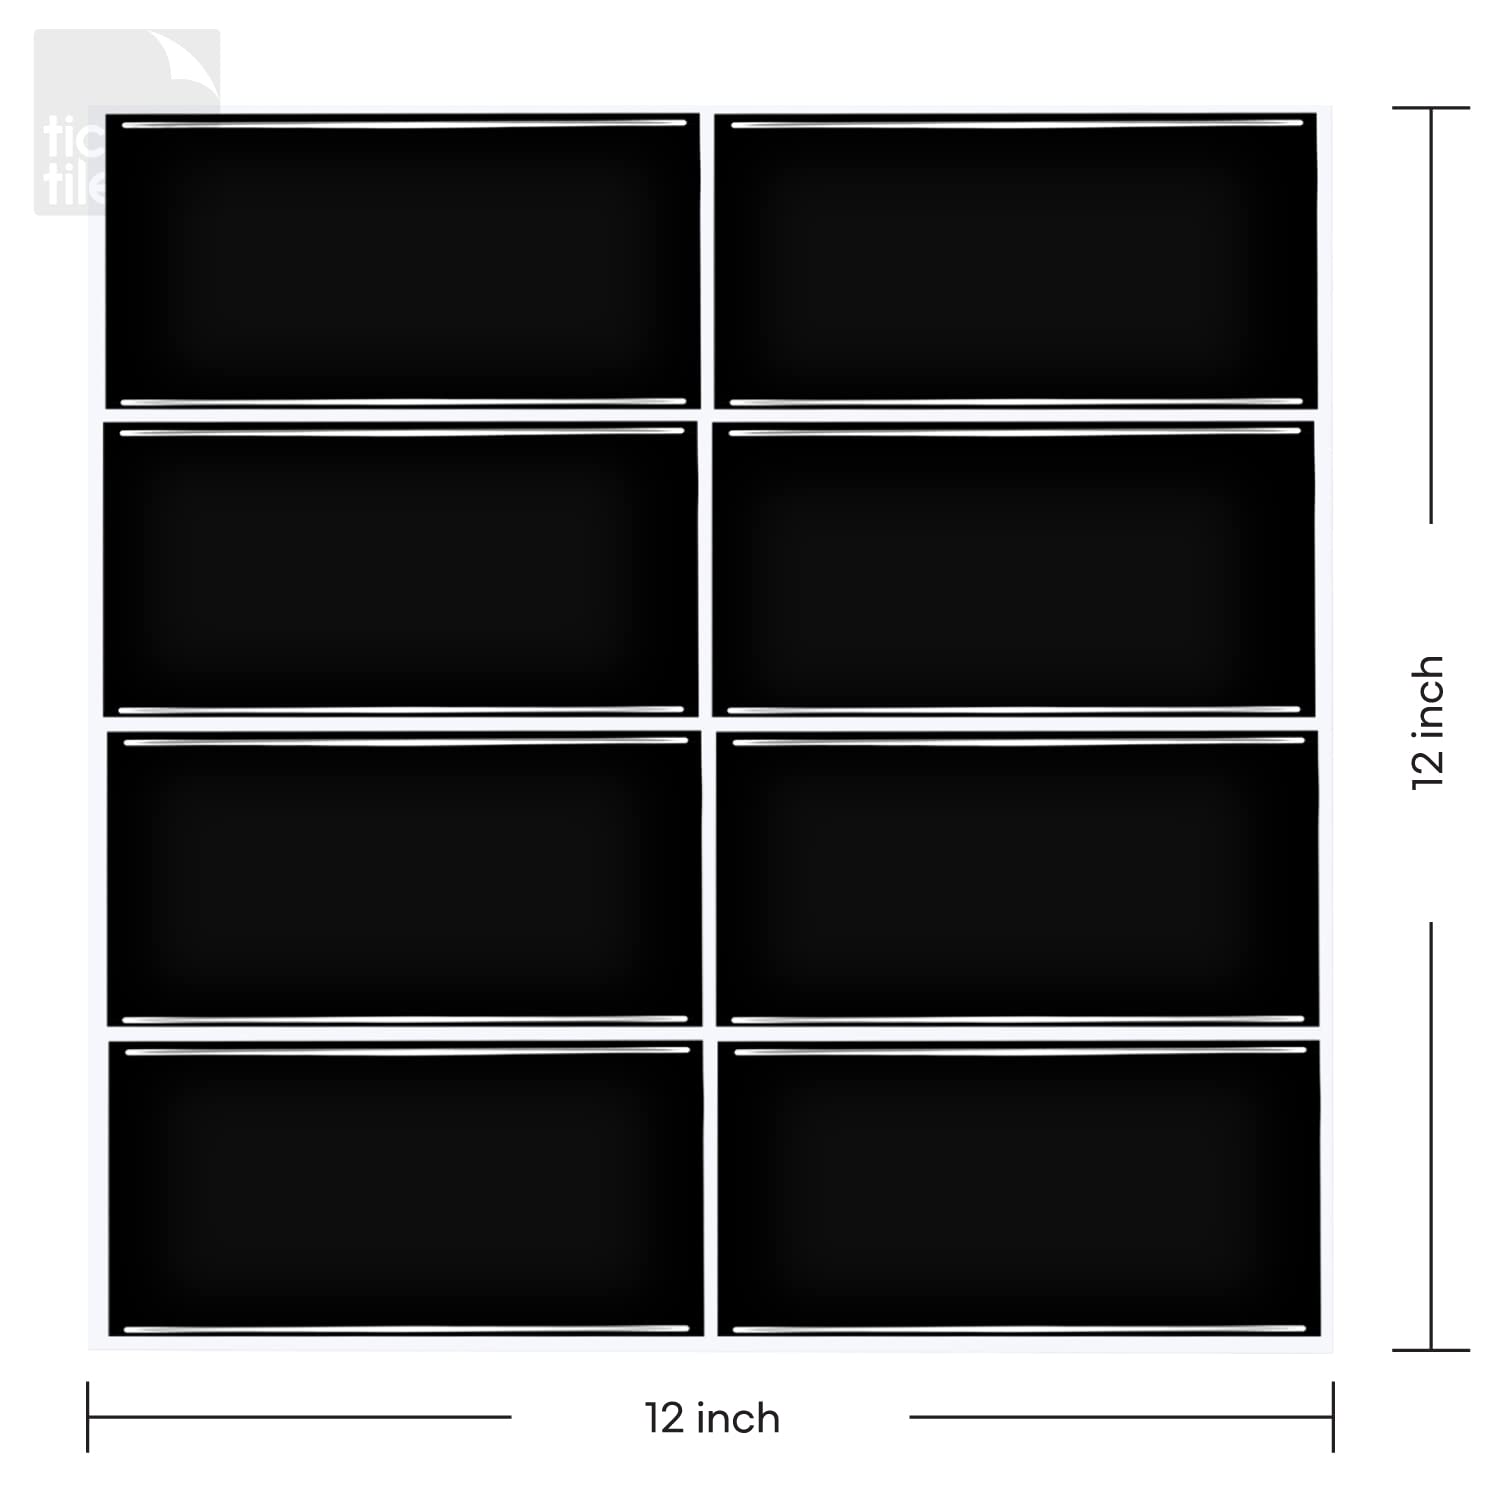
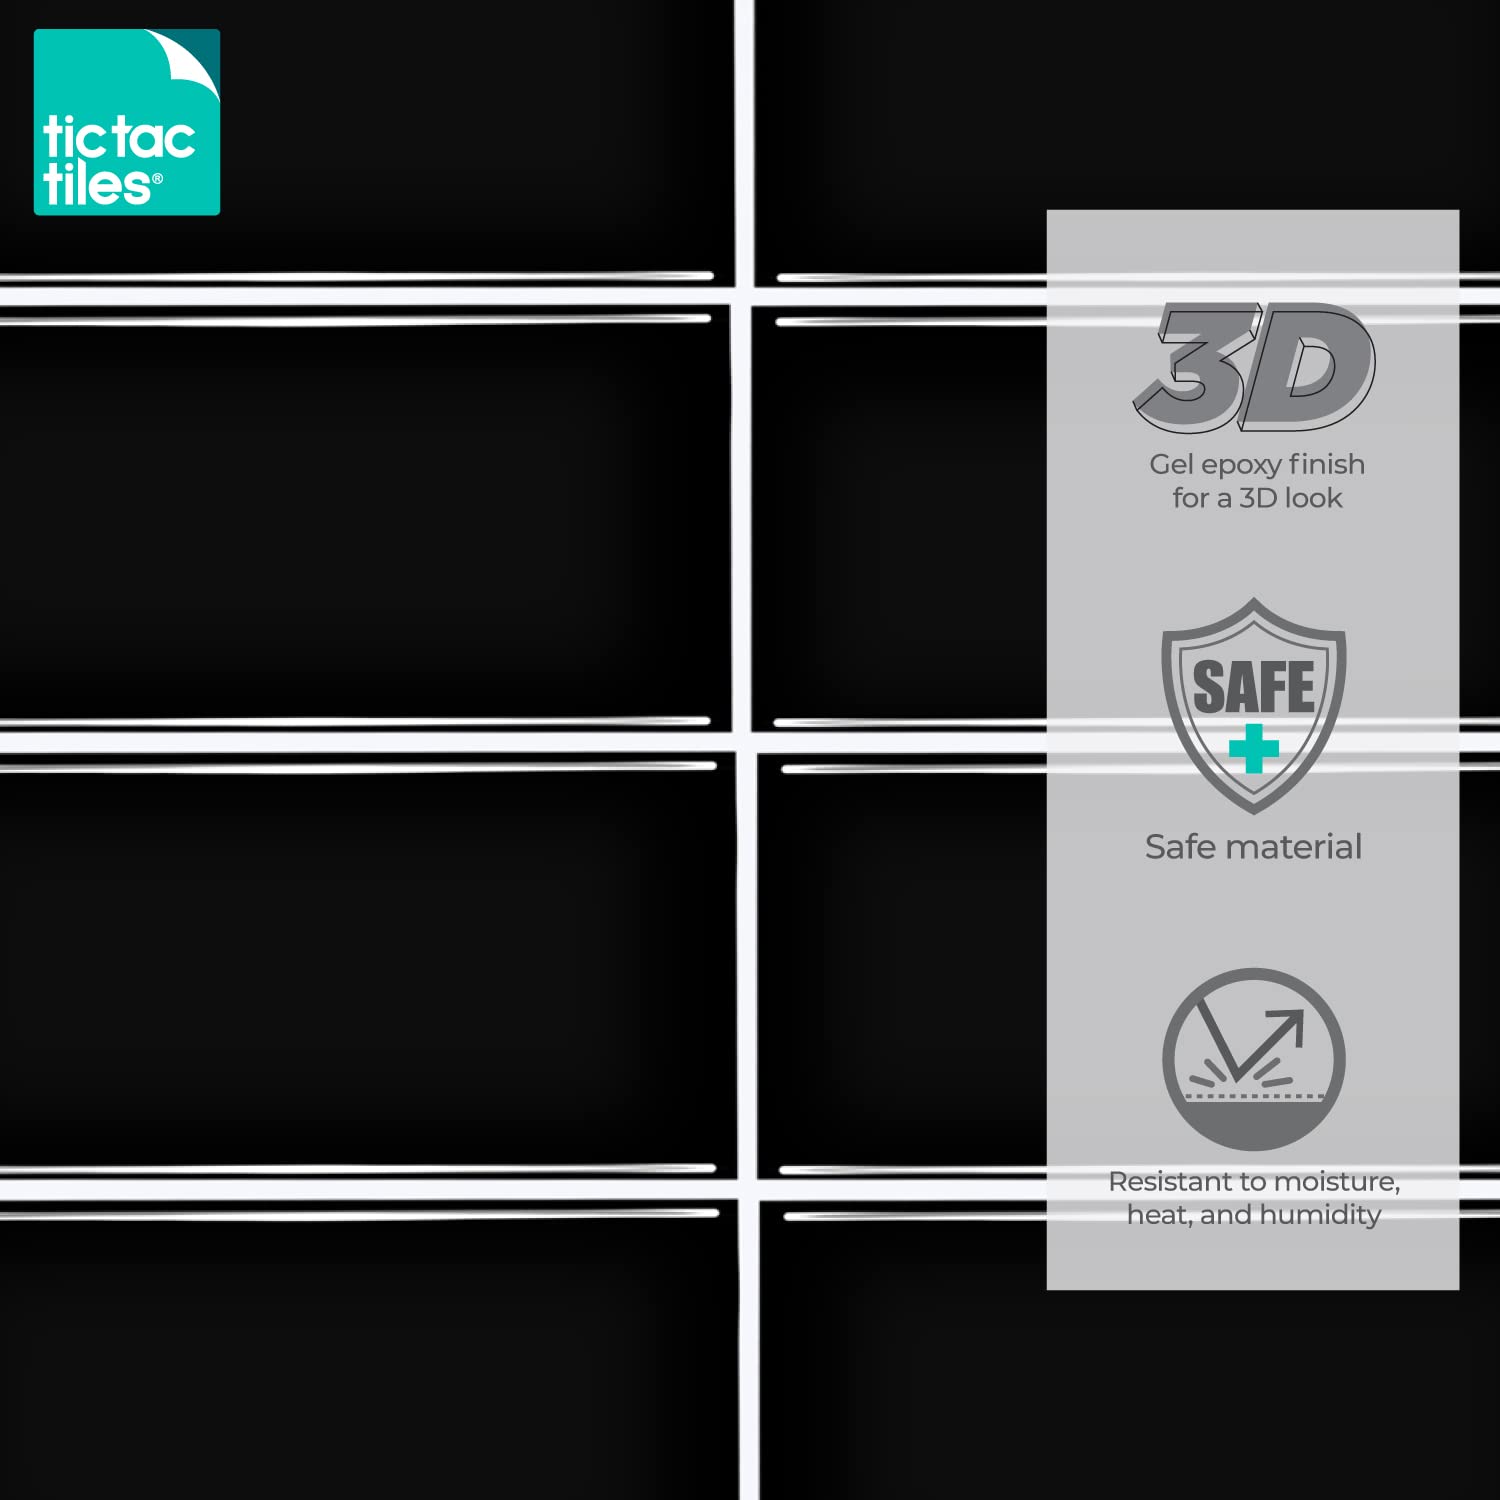
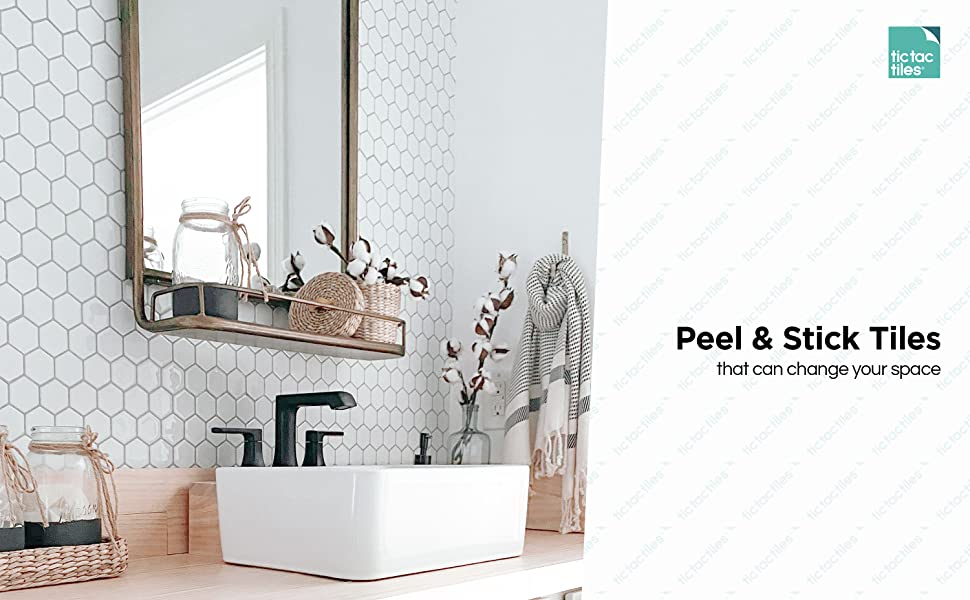
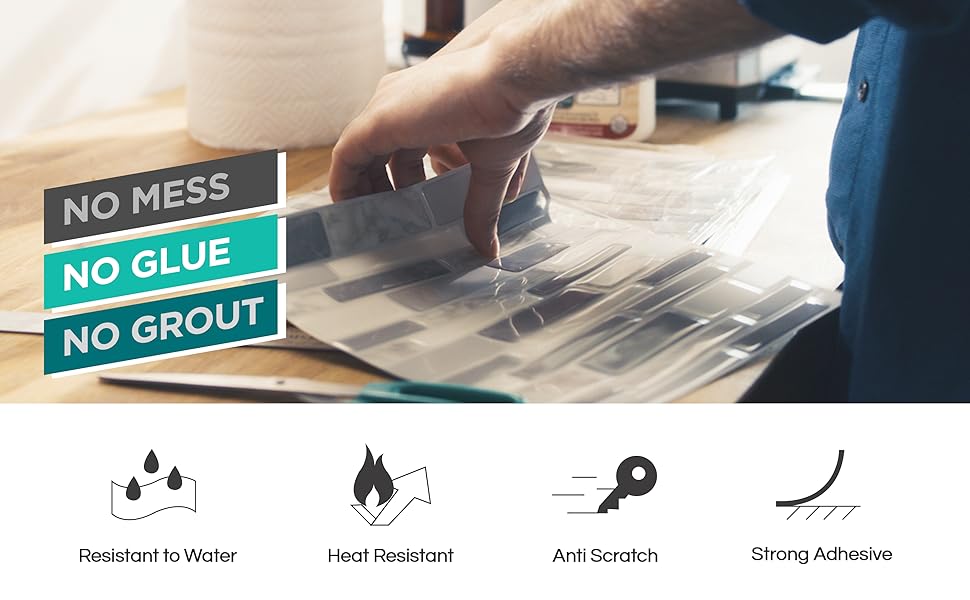
Tic Tac Tiles offers a sleek, 12"x12" peel-and-stick subway tile set in straight black with white grout, featuring durable, water- and heat-resistant vinyl with a 3D textured matte or eggshell finish. Designed for easy installation and removal, these tiles provide a stylish, hygienic, and customizable backsplash solution perfect for kitchens, bathrooms, and accent walls.


| Brand | Tic Tac Tiles |
| Material | Vinyl |
| Size | 10 sheets |
| Color | Straight Black |
| Finish Type | Textured Matte or Textured Eggshell |
| Style | Modern |
| Installation Type | Peel and Stick |
| Product Dimensions | 12"L x 12"W |
| Pattern | Subway |
| Shape | Square |
| Edge Style | Square Edge |
| Unit Count | 10 Square Feet |
| Recommended Uses For Product | kitchen backsplashes, bathroom accents, DIY projects, and temporary decor changes |
| Form Factor | Based on the external website information, the form factor of the tile is square, as it is described as being '12 inches x 12 inches' and covers 1 square foot per sheet. |
| Water Resistance Level | Water Resistant |
| Special Feature | 3D texture, easy installation, heat and moisture resistance, anti-bacterial and anti-mold material |
| UPC | 850001943574 |
| Manufacturer | Tic Tac Tiles |
| Part Number | AHN-BBW12-10 |
| Item Weight | 2.59 pounds |
| Is Discontinued By Manufacturer | No |
| Finish | Textured Matte or Textured Eggshell |
| Item Package Quantity | 10 |
| Number Of Pieces | 10 |
| Coverage | 10 square feet |
| Special Features | 3D texture, easy installation, heat and moisture resistance, anti-bacterial and anti-mold material |
| Batteries Included? | No |
| Batteries Required? | No |
A**Y
Difficult, but worth it
I recently moved into a new apartment and wanted to try some cheap diy's to make the place my own. After buying contact paper for the counter tops, I tried these peel and stick tiles because I figured it would be the same process (easy), but it was not. During the install, I discovered some important tips I'll share below for the next diy-er.1. These tiles are very heavy and thick (compared to contact paper). They are super sticky and want to stick to everything expect where you want them to! To combat this, I would suggest unrolling only one section at a time, slowly working your way down the wall with the tile. That way you can ensure no airbubbles are getting trapped along the way and all overlaps fit perfectly. You don't need a credit card or squeegee, they are very good at getting air out on their own.2. I saw tips about using windex to create a sliding surface for the tile. I tried this with a sample piece I cut off, and it did NOT work for me. Well, it did make it very slidey. I'm not sure if it was my wall texture, or maybe I used too much windex. It wouldn't dry and the tile never stuck, instead just picked up a film of wetness on the glue which defeated the purpose of it sticking.3. I would highly recommend cleaning your wall first, even sanding it if your walls are imperfect (like mine) or "popcorn-like". I used a 120 grit to remove imperfections and it made the process a lot easier. No weird bumps and no ridges were made behind the tile. Sanding will create a big mess so don't go overboard. You just need to accomplish a rougher texture, not less paint.4. The worst part about the install was the outlets. I thought I could use a knife and cut around the outlet, but I was very wrong. Instead, take the outlet cover off and meticulously measure the outlet area to create a seamless finish behind the cover. Make sure to label top and bottom on the back of the tile (pencil worked best, sharpie better) in case you are flipping and inverting. I made the mistake of not doing so and messed up my large outlet measurement (which I caught before it became detrimental).5. Measure where you want the tile BEFORE removing any backing or sticking anything. You want to line it up and use a pen on the wall to mark the top edge and side edge when interlocked with the overlap tabs. That way when you go to stick it, there isn't fumbling around with where you want the tile to be. I also used a level for part of the space because it seemed to be off. Was very helpful, but not necessary.7. I am a perfectionist and it took me about 2 hours to finish my 7 foot counter space. I thought it would be a lot easier than it was, but if you want it done perfect and seamlessly it will take some time! It absolutely was worth it and the final product is gorgeous.
D**T
works great and looks like real tile
i used these in my laundry room behind my washer and dryer. my walls had a lot of markings and the paint looked terrible. the peel and stick tiles went right over it and they look great. highly recommend. ordering more to do inside of a hall closet. hides wall defects great.
J**C
Happy with the outcome
So.. originally I did not order enough and then I waited a month to get the last shipment. But that’s okay. I do love these tiles. I did have a lot of things to cut around in the kitchen (outlets & such) which made using this very difficult. I also started on the right side and tried moving along to the left, which I now realize was a mistake. Tip, start on the left and move right. This would of made things so much easier for me. But overall, they look great. The first set I have had up for a month with no signs of coming off. It was easy to readjust if I needed to when completing but it did start to tear up the drywall if you tried to remove too many times so now sure what the drywall will look like if I ever decided to take this down. It was an easy way to update our kitchen though and I get compliments on it all the time. Overall, very happy with the product and have already started looking at other places in my house that I can use the different patterns!
K**M
Kitchen
Wall tiles easy
A**N
Super super easy, durable, and looks real!
I purchased this product for a temporary location of living just to try it out, and it was perfect for our upstairs attic apartment. It was super easy to install, took about 45 minutes, and I even peeled off two and placed it back on and it stuck fine. They have been up for 3 months and maybe 2-3 times I noticed one or two coming loose on an edge, but I just ran my finger across it and pressed on it. If you stick them on top of each other , that is where it doesn’t stick well. But sticking to a wall it works fine. I didn’t wash my wall before, and there was still pieces of wall paper on some places. Overall, I loved this product, so easy to put on, and I always mess up everything I work on, and husband had to come behind me and fix, but for this, he didnt. I loved it!!
K**N
I really didn’t want to put the money out for backsplash so I thought it would be a good option
The media could not be loaded. This was not a bathroom or a kitchen and I prepped my wall exactly as stated. My paint was three months old and it was a satin finish. I cleaned And prepped the walls as directed This was for my Laundry room . So very little humidity . Started noticing some peeling from the walls after the first week But I thought they would go away overtime and if I kept pressing them into place. Here we are Six months later and This is what they look like. I tried to remove them from the walls that they just pull off all of my paint. I’m getting a professional to come in and install backsplash. Others had told me not to do it that they had the same problems so maybe this might help someone repeating the same mistake.
A**A
It's amazing product for changing your interior
I used it in my RV's kitchen and bathroom and it changed the whole look of my interior. The most cost-efficient solution to decore your place. Very easy to install and work with it. Loved it!
I**E
Très beau
Facile a installer!
E**W
Excellent Quality!
This tile is awesome!! Looks so realistic!!! Easy to measure and apply. Patience and time needed. Take your time and make stencils with paper if you have any curves or corners to go around.This tile is a little sticky on the front. It’s been installed for a couple weeks now and it’s still tacky. Dirt wipes away easily.I will update with how these tiles hold up over the winter. We live in N. Ontario and the RV will be stored outdoors from October-April.
R**I
Looks great
I used these to border a mirror in the washroom and they look great. It was easy t cut and install them. I will recommend the product
J**D
Awesome product
We put these tiles in our caravan around kitchen and in bathroom and it looks amazing. It's tricky at first but once you do a few it gets easier.
Trustpilot
2 weeks ago
2 months ago
4 days ago
2 weeks ago