
DOWNLOAD THE APP


Customer Services
Copyright © 2025 Desertcart Holdings Limited
DOWNLOAD THE APP


💡 Light up your drive with brilliance and ease!
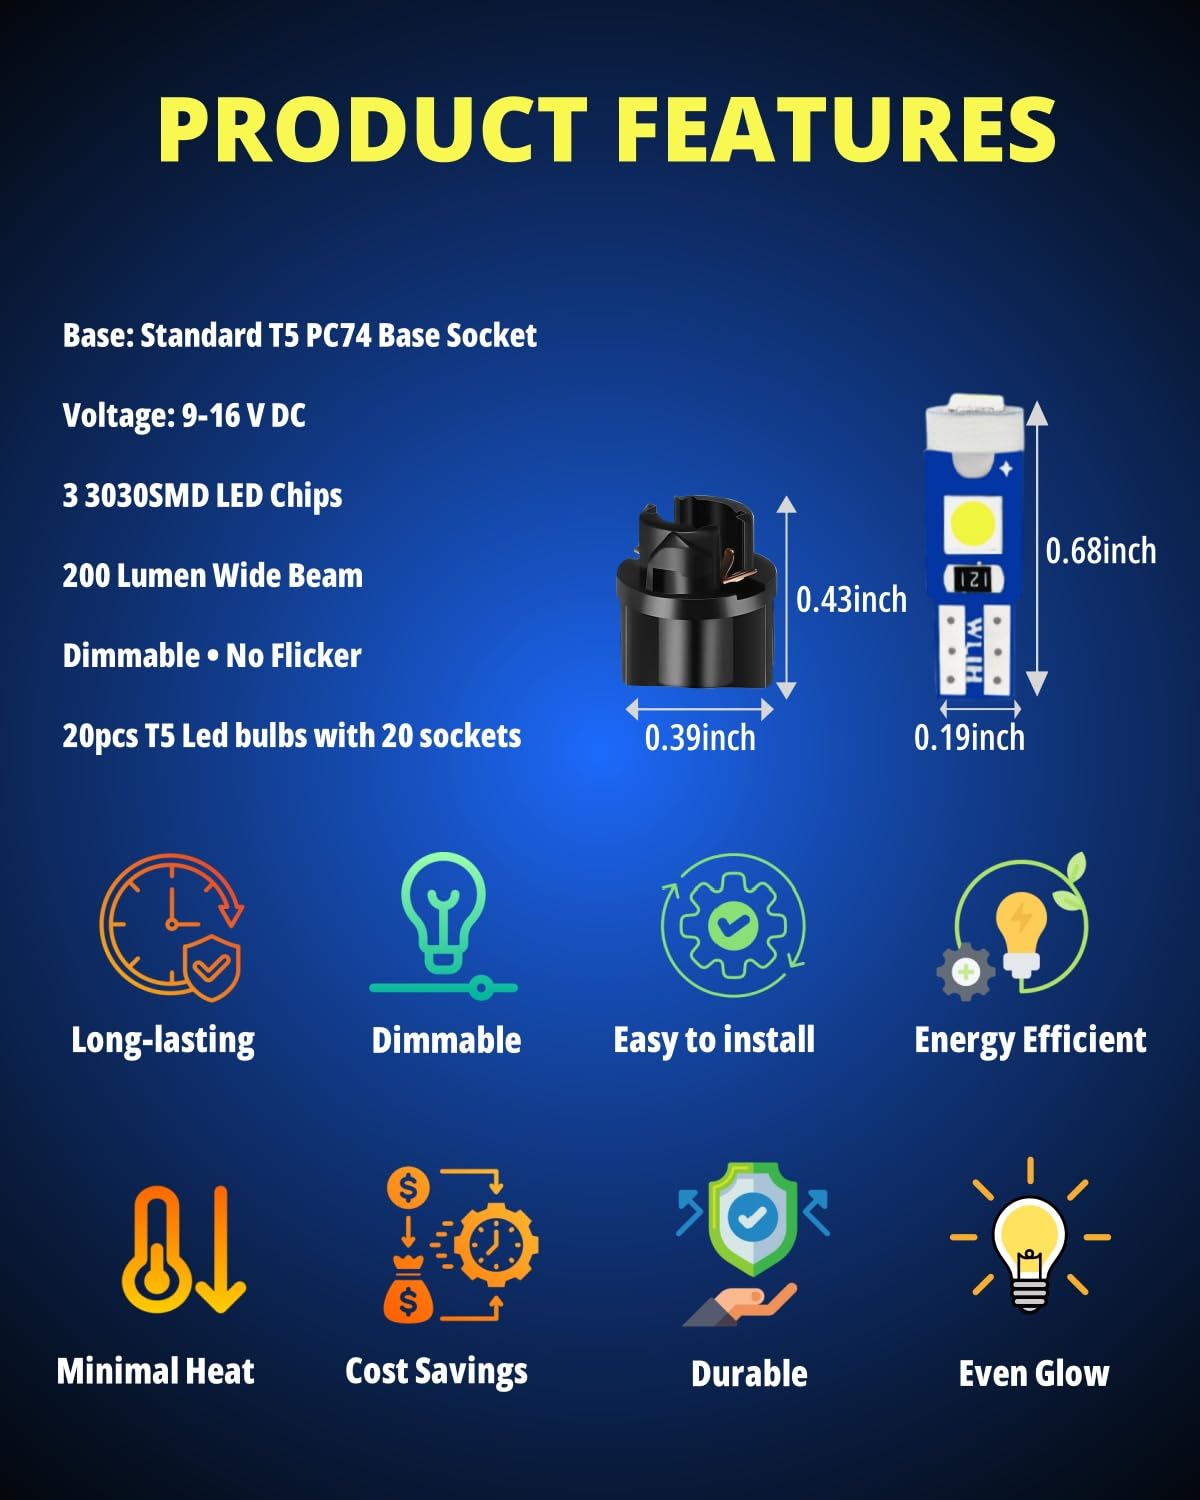
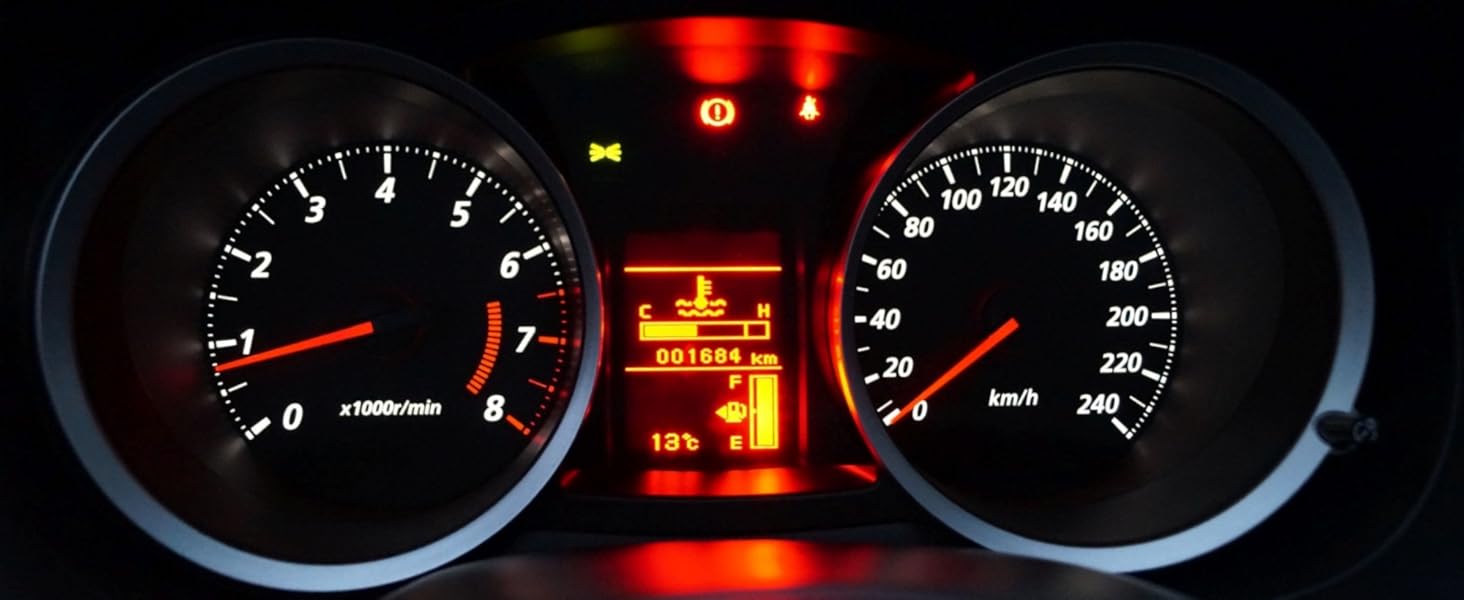
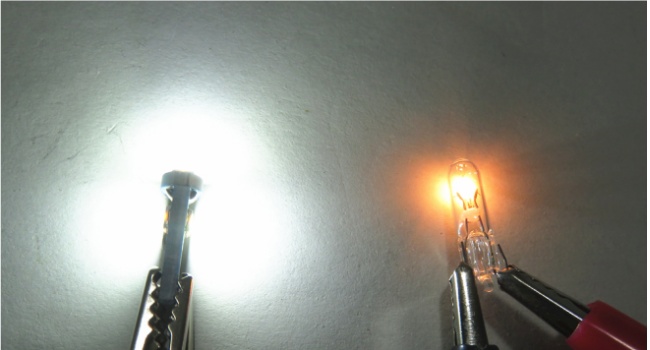
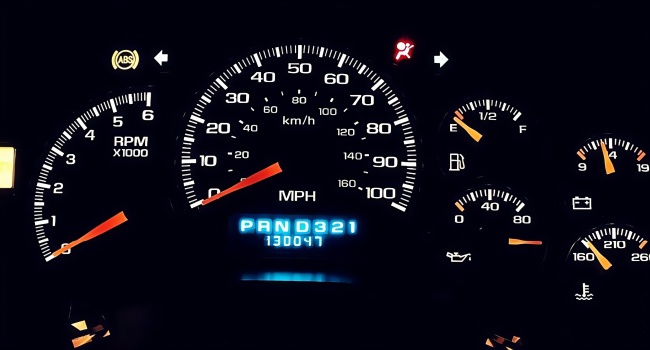
The WLJH 74 LED Bulb Dash Lights pack 20 high-performance T5 wedge bulbs featuring triple 3030 SMD LEDs that emit 100 lumens of bright white light. Designed for automotive and motorcycle instrument panels, these energy-efficient 12V bulbs offer easy twist-lock installation, compatibility with a wide range of socket types, and a long lifespan of up to 60,000 hours. Backed by a 2-year warranty, they provide a reliable, stylish upgrade to your dashboard lighting.


| Manufacturer | WLJH |
| Brand | WLJH |
| Product Dimensions | 2.08 x 0.51 x 1.07 cm; 32 g |
| Manufacturer reference | JM091620W |
| Exterior | Polished |
| Manufacturer part number | JM091620W |
| OEM Part Number | Gloeilamp T5 - 17 18 37 70 73 74 79 85 86 2721 206 207 286 306 307 308 406 407 2721 27 37 58 70 79 85 86 |
| Position | Front Center |
| Voltage | 12 Volts |
| Item Weight | 32 g |
A**R
Honda motor bike dash lights
Very happy 👍
T**N
Good product
Good product and price
Trustpilot
2 months ago
2 weeks ago