Description
🔩 Twist, Secure, and Flow with Confidence!
- COMPACT LIGHTWEIGHT - At just 1.76 ounces and under 6.5 inches, it fits seamlessly into tight spaces without adding bulk.
- TRUSTED BRAND WITH WARRANTY - Backed by Shurflo by Pentair’s quality assurance and warranty for peace of mind on every project.
- TOP RANKED INDUSTRIAL CHOICE - Join thousands of professionals who trust the #1 Industrial Plumbing T Strainer for reliability and performance.
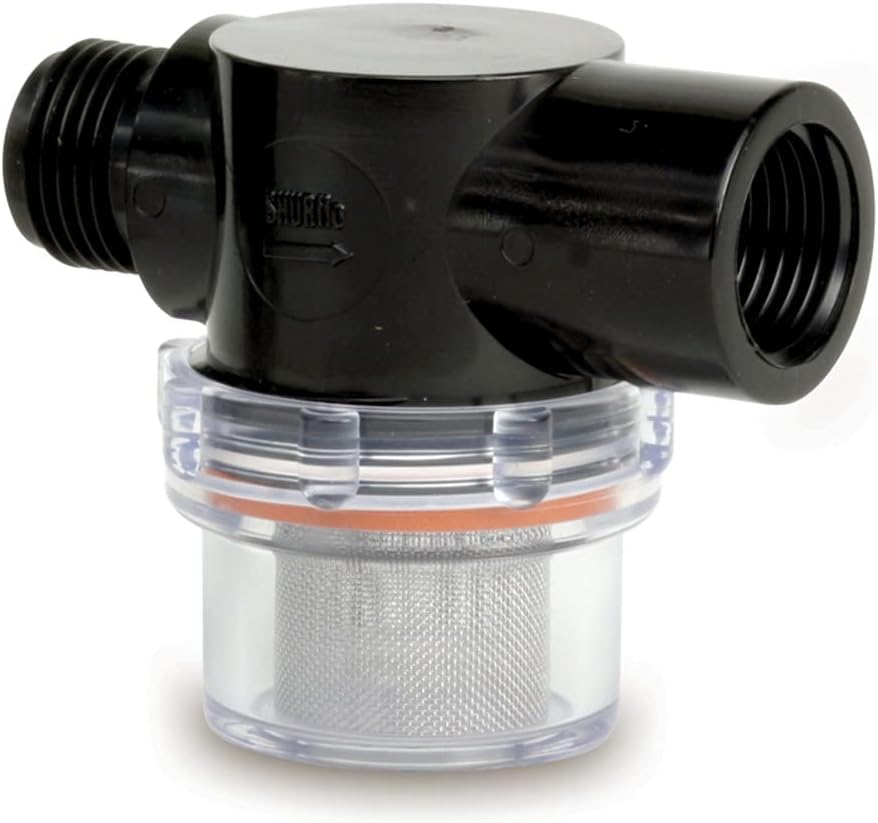
- EFFORTLESS TWIST ON INSTALLATION - Secure your plumbing with a quick, no-fuss twist-on adapter that saves time and hassle.
- PREMIUM STAINLESS STEEL EXTERIOR - Engineered for corrosion resistance and sleek durability, built to last in demanding environments.
The SHURFLO 255-313 1/2" Twist-On Pipe Strainer combines precision NPSM threading with a corrosion-resistant stainless steel finish in a compact, lightweight design. Ranked #1 in Industrial Plumbing T Strainers and boasting a 4.6-star rating from over 8,000 users, it’s the trusted choice for professionals seeking quick installation and durable performance backed by a reliable warranty.