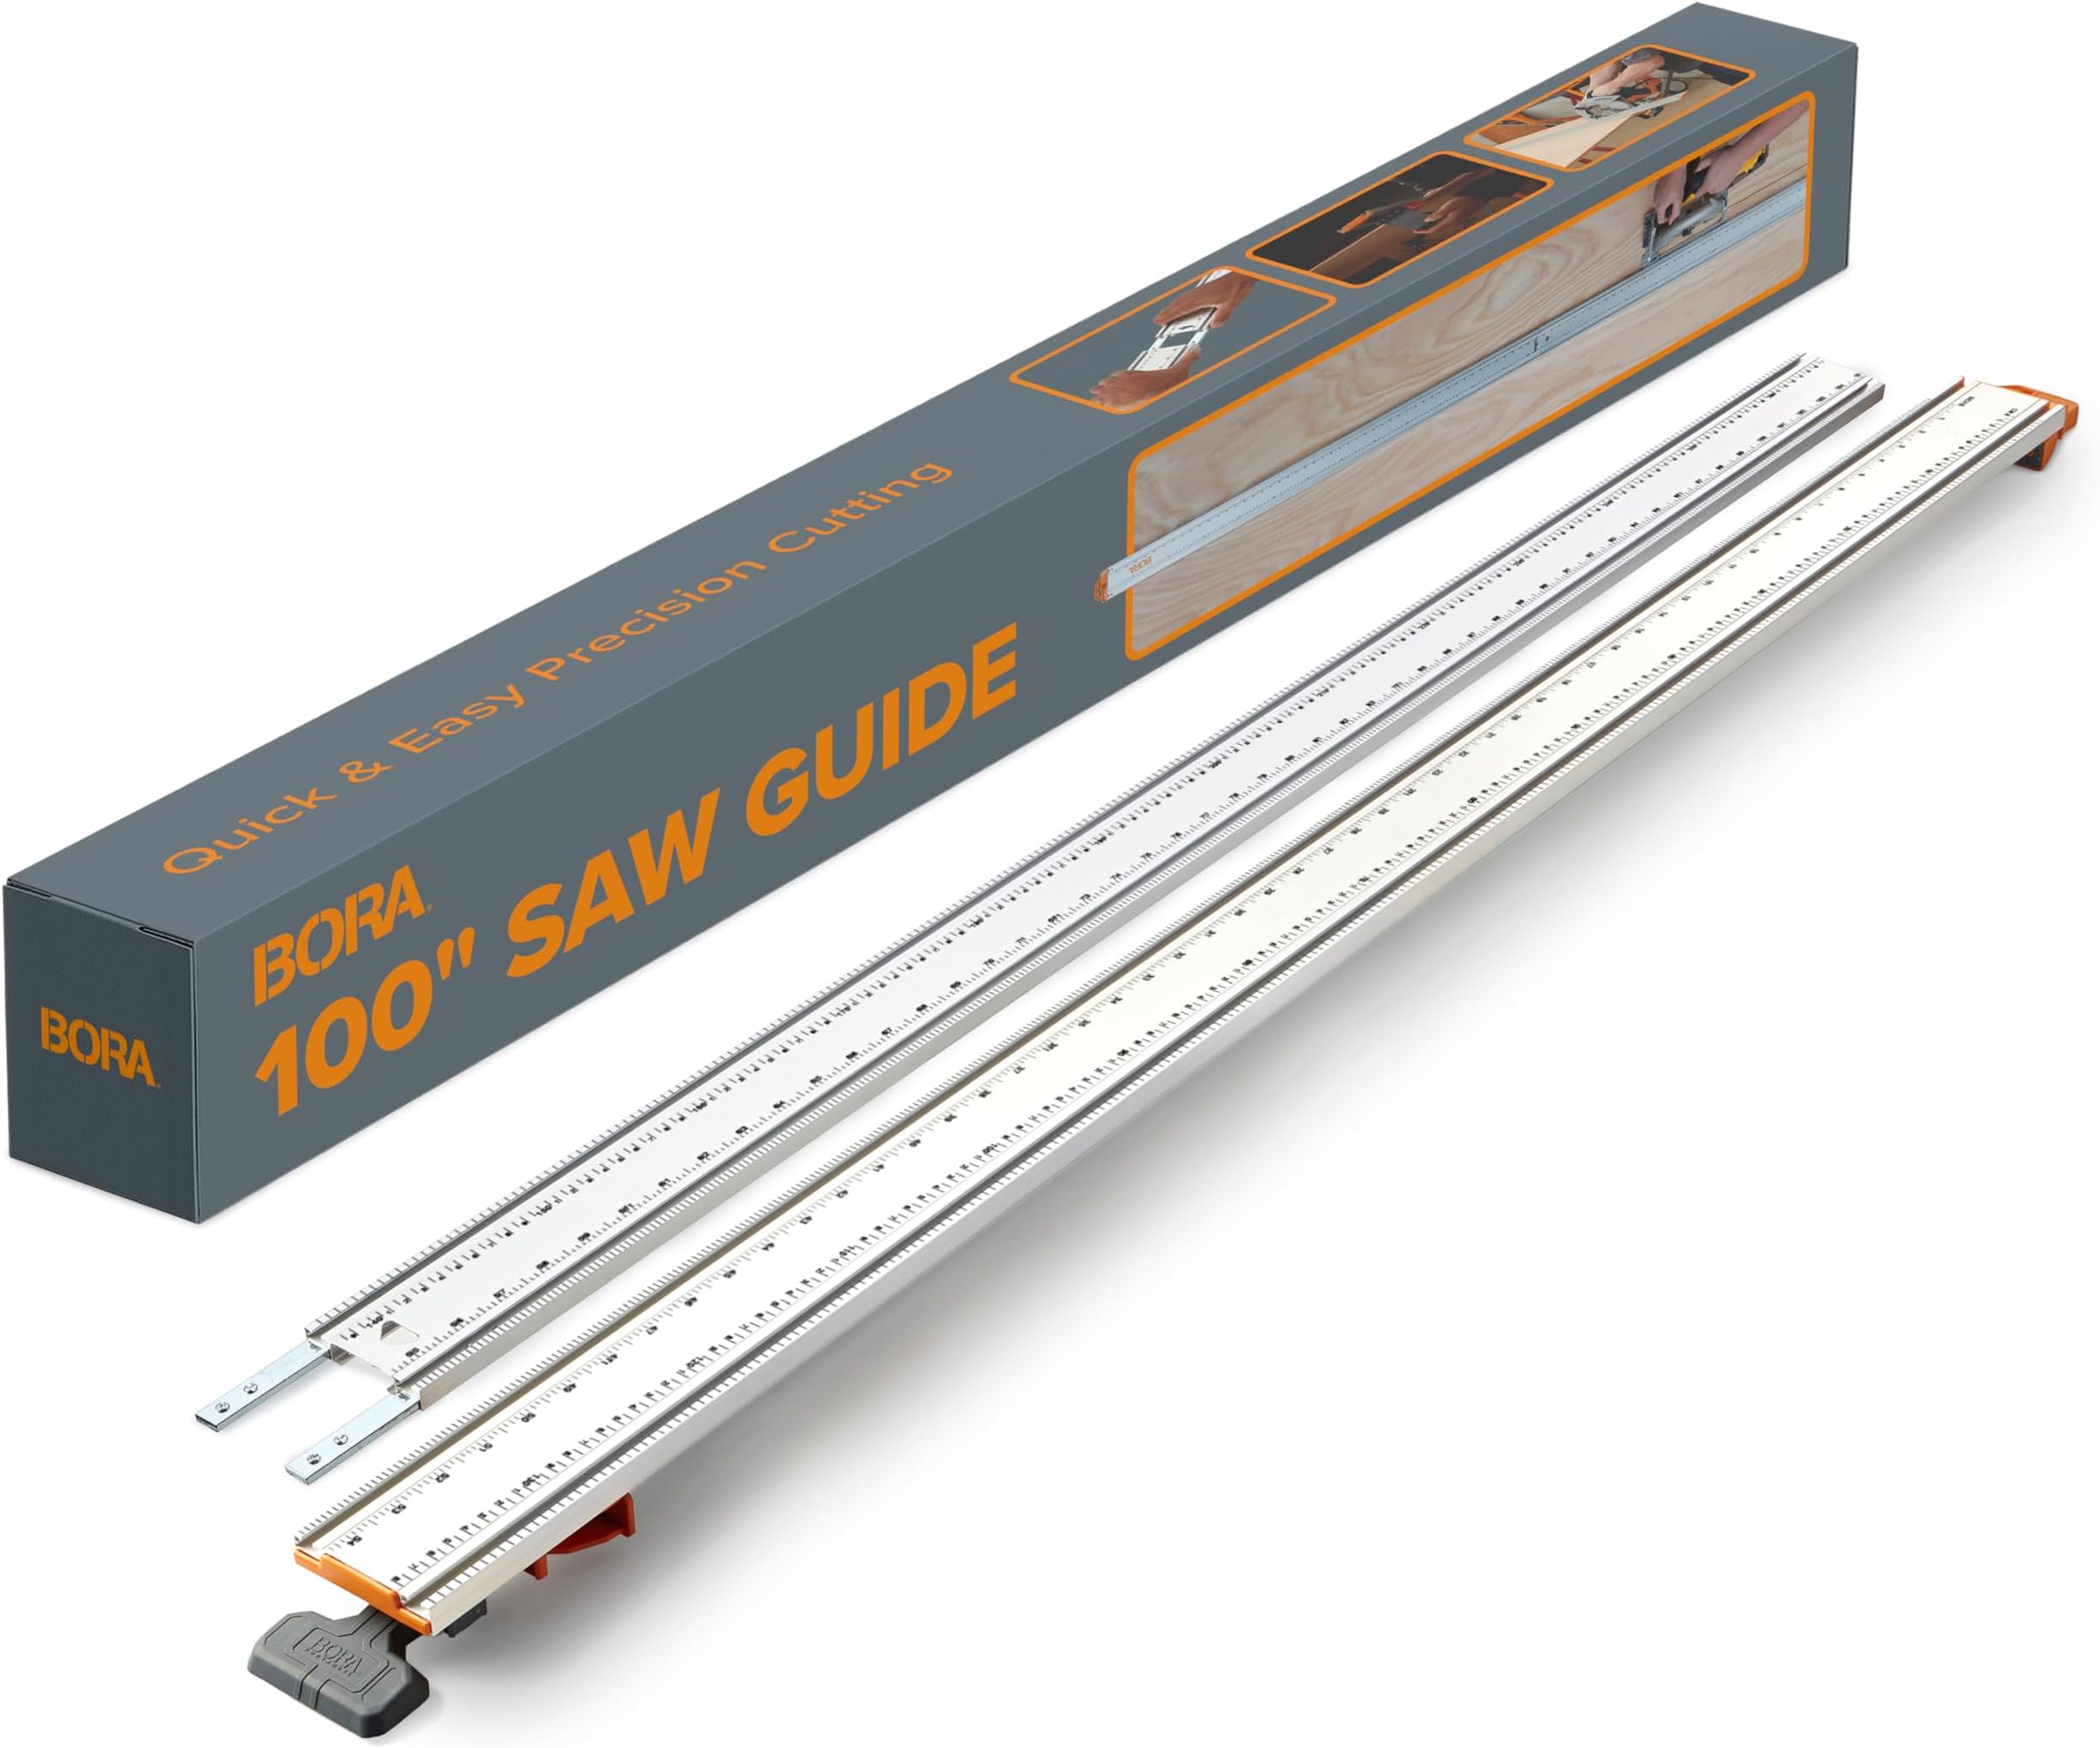
Description
🔧 Cut like a pro, every time — precision meets power!
- DURABLE STABLE - Thick aluminum construction guarantees a rigid, warp-free guide for consistent results.
- EFFORTLESS SETUP - Ergonomic Quick Lock Clamp delivers fast, one-sided adjustability with a rock-solid grip.
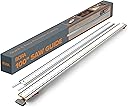
- PRECISION PERFECT CUTS - 100-inch dual-section rail ensures flawless straight cuts on large sheets every time.
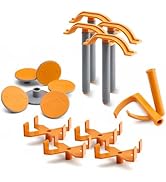
- UNIVERSAL COMPATIBILITY - Works seamlessly with all circular saw brands, complete with connectors and locking handles.
- VERSATILE T TRACK INTEGRATION - Built-in dual T-tracks instantly upgrade your workspace for routers, jigsaws, and more.
The BORA NGX Clamp Edge Saw Guide is a 100-inch aluminum track system designed for ultra-precise straight cuts with any circular saw. Featuring dual integrated T-tracks, a quick-lock ergonomic clamp, and universal compatibility, it transforms your workspace into a professional-grade cutting station. Ideal for woodworking and remodeling, it delivers stability, speed, and versatility in one sleek tool.