We remain fully operational. Our teams are working around the clock to ensure your deliveries continue safely.

DOWNLOAD THE APP


Customer Services
Copyright © 2025 Desertcart Holdings Limited
DOWNLOAD THE APP
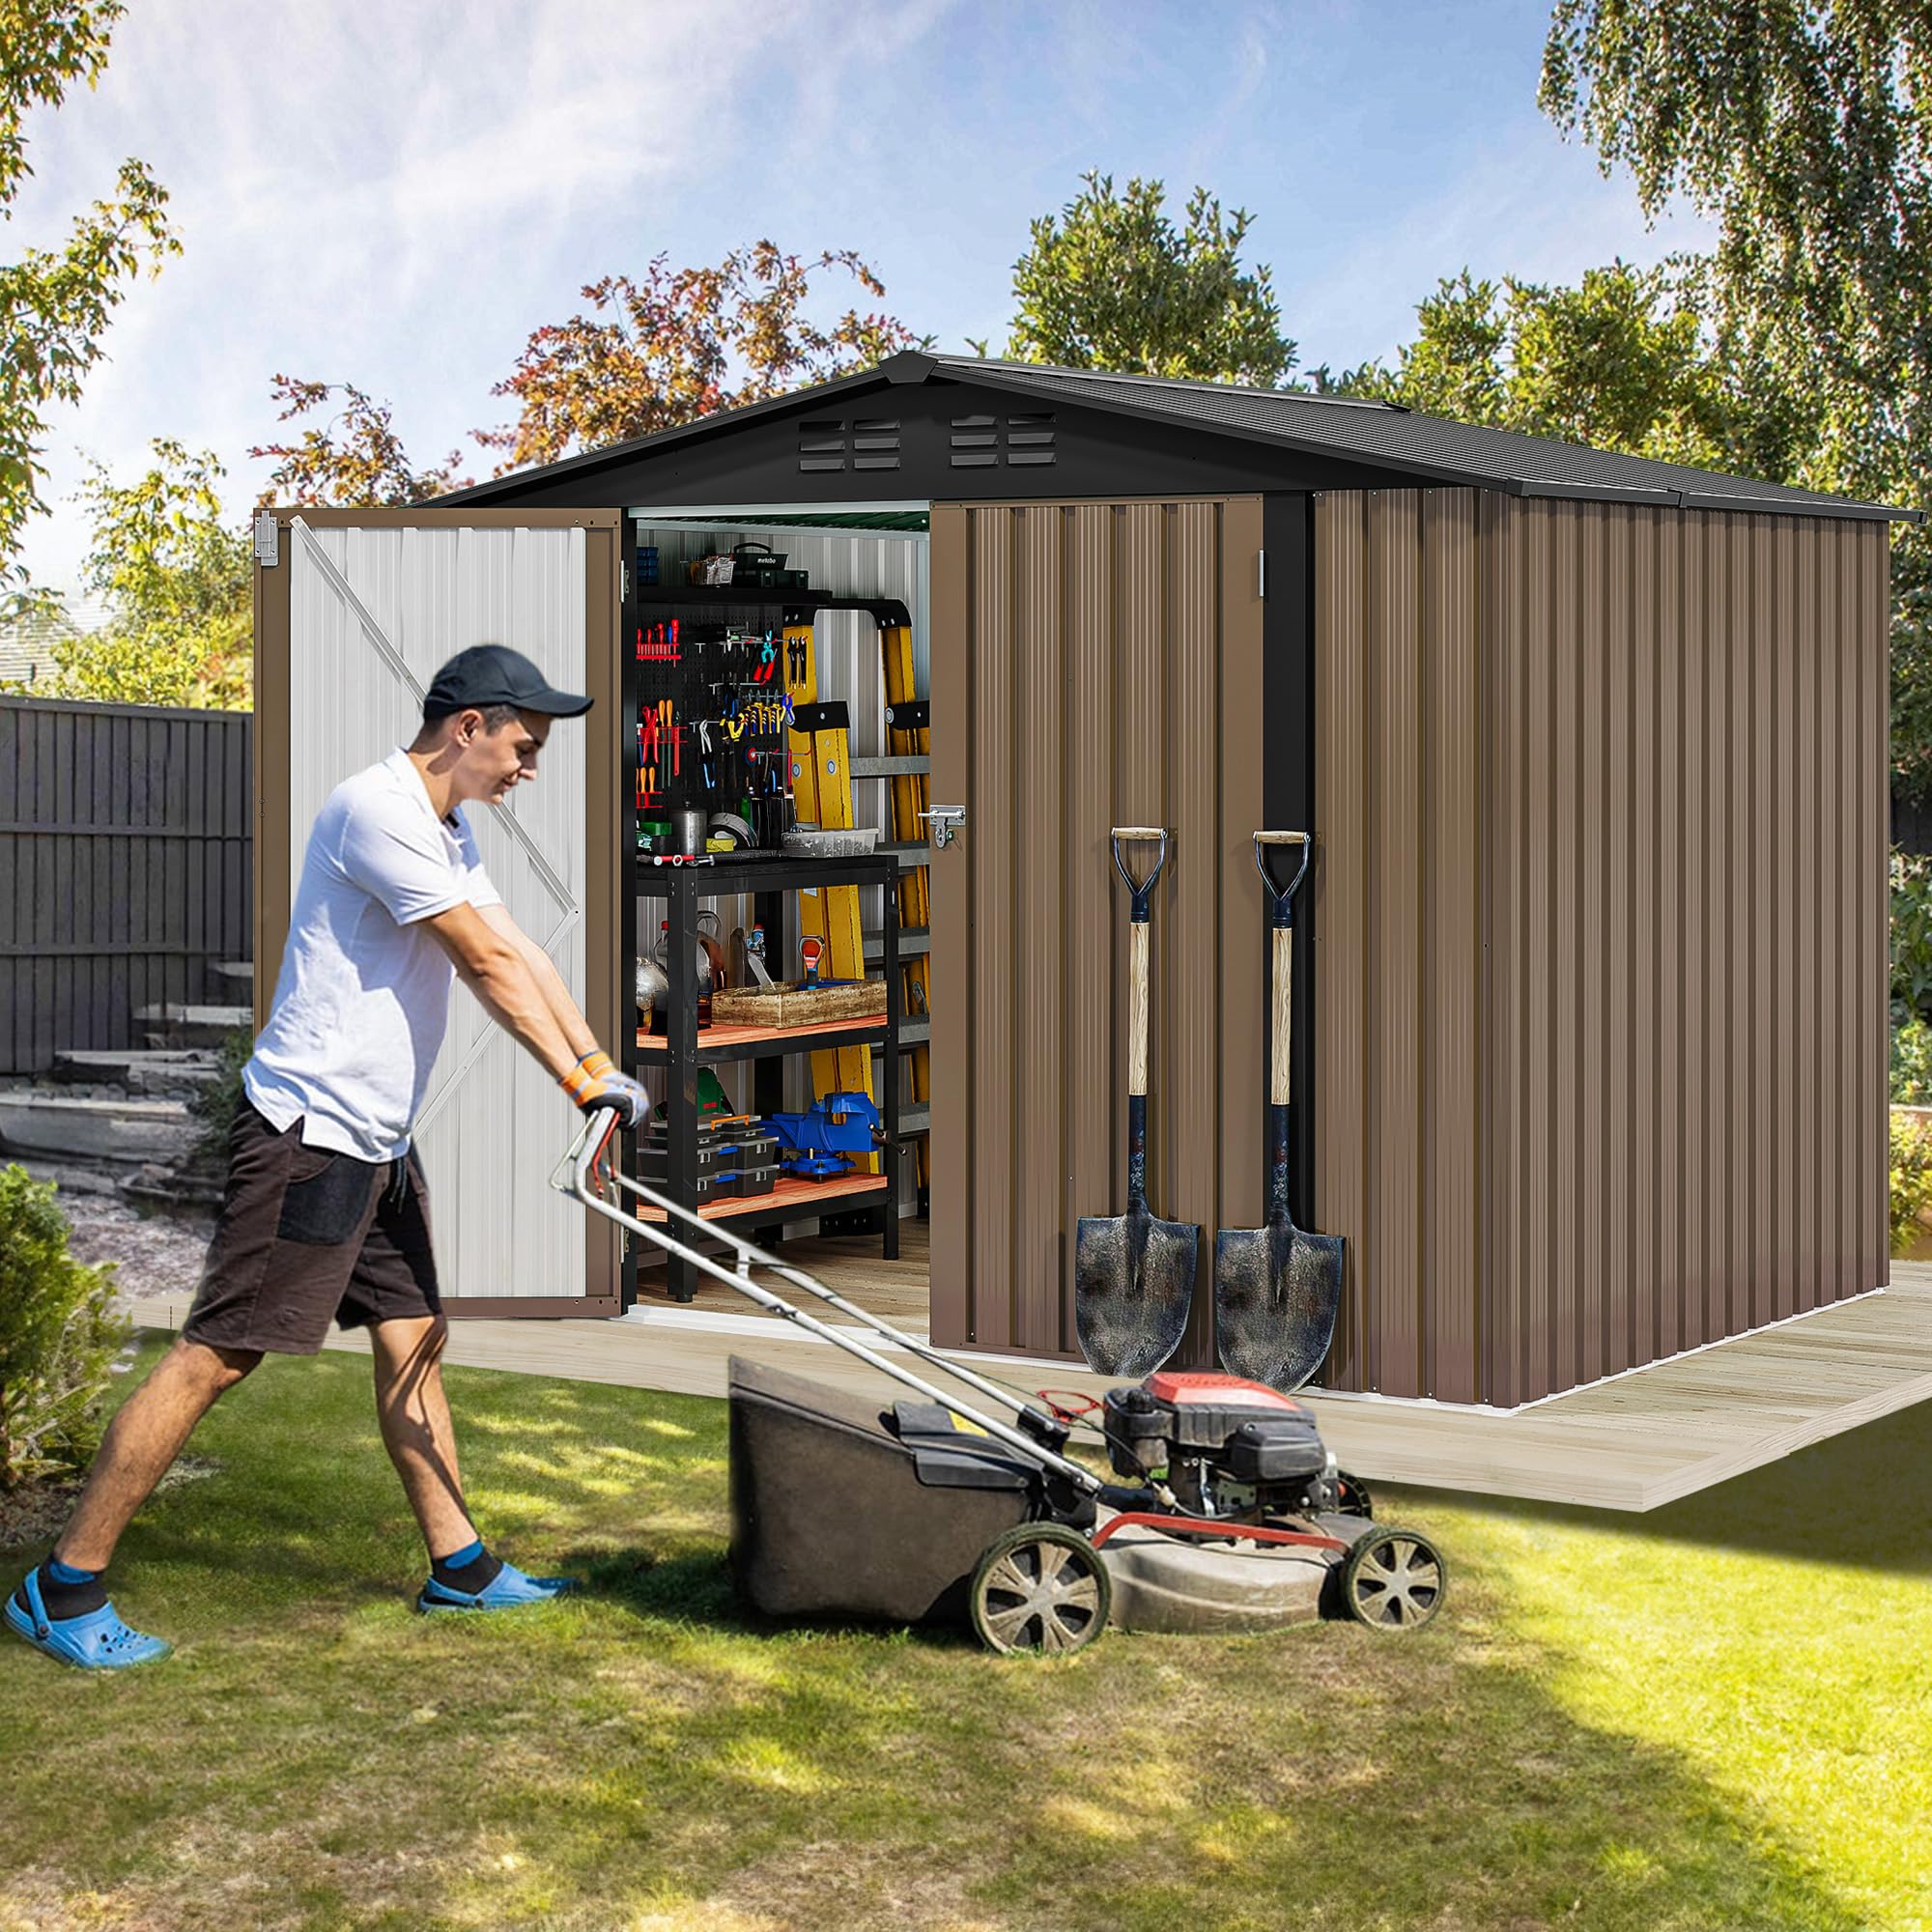

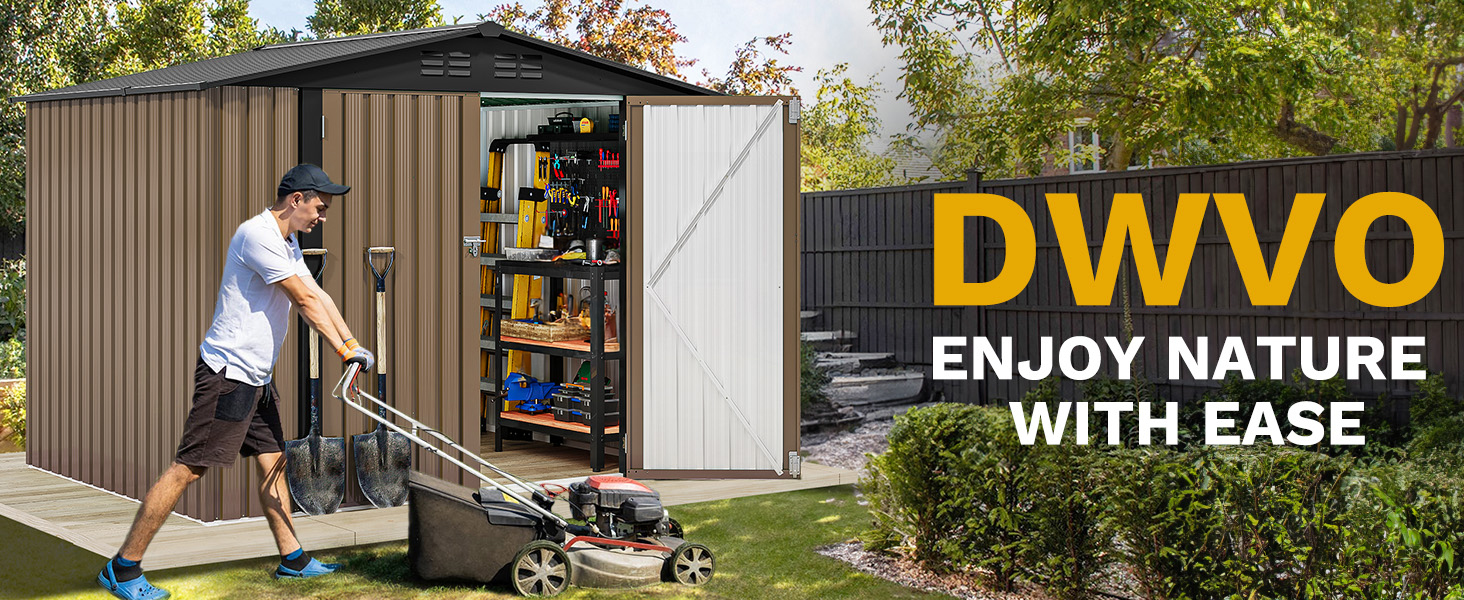
🏡 Elevate your backyard game with storage that works as hard as you do!
The DWVO 8'x6' Large Metal Outdoor Storage Shed combines rugged 0.25mm galvanized steel construction with smart ventilation and waterproof design to protect your outdoor gear. Featuring lockable double sliding doors and a spacious interior, it’s ideal for storing bicycles, garden tools, and lawn equipment. Though assembly requires patience and some handyman skills, its modular design and clear instructions make it a practical solution for organized outdoor living.


| ASIN | B0FBRMSR2S |
| Assembly Required | Yes |
| Base Material | Alloy Steel |
| Best Sellers Rank | #174,279 in Patio, Lawn & Garden ( See Top 100 in Patio, Lawn & Garden ) #435 in Storage Sheds |
| Brand | DWVO |
| Color | Brown |
| Customer Reviews | 2.9 2.9 out of 5 stars (226) |
| Door Style | Sliding Doors |
| Frame Material | Alloy Steel |
| Item Weight | 66.9 pounds |
| Item model number | MADWVqH0gJ |
| Manufacturer | DWVO |
| Material | Metal |
| Product Dimensions | 63.2"D x 88.6"W x 72.4"H |
| Style | Modern |
| Top Material Type | Metal |
| UPC | 199449438847 |
| Water Resistance Level | Waterproof |
M**L
Expert level difficulty, trashy materials, Trash directions
Do not think you are going to accomplish putting this together if you are a DIYer. You need a skilled builder/handyman to improvise these terrible directions. I just spent 10 hours putting this together and I do this for a living. I'm really good at what I do and the doors still were all crooked and wouldn't shut without force and some cave man magic. Screws and holes do not line up. You will need a good metal drill bit a socket for the nuts and two different size Philips bits. They did not drill half the holes so you will have to do that yourself using builders intuition, force and lining things up yourself on a flat surface and metal drill bit. I made a perfectly level surface with self leveling cement and holes and things still did not line up. Get 2 pairs of rubber dipped cloth gloves. I went through a really good pair by half way. Do not use the provided gloves I immediately got a metal splinter using them. I spent 4-5 hours just removing this pointless plastic on every piece of metal. It's tedious and if you want to save money on your handyman this is the part you can do yourself. It'll cut cost in half. It does not come off easy and is the most time consuming part of the project. When you do the corner metal sheets, screw in placer screws in the end hole so you can find a good place to make your own hole on the corners and then screw it. Pretty much pre drill every hole if you don't feel.loke stabbing your fingers a thousand times. The screws are trash. The screw plastic washers are also trash. I doubt they will hold back water. I used silicone caulk to make the holes waterproof along with the provided trash plastic washers. The holes don't line up on the roof so silicone caulk covers what the washers don't. Nothing lined up a lot of force is necessary. Put the roof pieces up and do not screw them in because the directions do not show where the roof is supposed to line up then once you find where it's supposed to line up then you can remove them and screw both sides and do screws and nuts on each piece as you go. Do not try to use washers on the doors the screws are not big enough and the doors are the hardest part. The directions are not readable here at the end. Good luck! I do not recommend this product it's a hassle and you could probably build one cheaper yourself with raw materials. You pretty much are going to be doing that with the crappy provided materials
A**E
Good shed overall, lengthy assembly process.
It took us a few days to set it up, with 3-4 guys working on it. But, overall it is a good shed. Mine does not leak when it rains. The blueprints/instructions are lengthy, and I would not call them really easy, but All the parts and the screws and hardware are all labeled , if you take it one step at a time it'll all come together. It's just the right size for my stuff, although I did notice that the hasp on there for a lock, it would be easy to unscrew it from the outside. So I just got a different hasp for my lock. Aside from that, is a good sturdy shed, and I like it!
M**S
Don't Do It
Anyone considering this shed should reconsider and look at other options. I wanted a shed for my permanent camp site and the price point is what sold me. After hauling it to the site I became concerned just by looking over the subpar instruction pamphlet and when sorting parts I realized that six frame pieces where missing. I was able to get a stick of 3/4" inch aluminum square tubing and fabricated functioning pieces using the drawings. But then the real fun began. There are no given dimensions in the instructions. The pieces don't fit correctly because the starter piece wasn't placed right. The holes don't line up and if you aren't building on a truly level surface the entire frame gets pitched out of square. Peeling the protective film from the tin was a joyless experience. 19 hours from start to finish s job that should've taken 4 at best. If you buy this shed do yourself a favor. Build the frame and immediately skip to building and hanging the doors. This is the last step by instruction but when I got to that point the doors overlapped good 1.5 inches. The only remedy was undoing all the tin on the front side so the door posts could be moved. When you follow the instructions putting the hinge posts in happens around step 7. There's no measurement or dimension so you're just guessing placement from the drawing. Just buy a different shed.
C**3
Seriously Lacking Easy to Follow Instructions
The unit is what I expected based on its description, so I got what I paid for. However, the instructions to put the shed together was sorely lacking in my opinion. It took me hours longer to complete this task than it should have. Many of the pieces for sections of the shed look the same, but there are subtle differences that are not clearly identified in the instructions (e.g., the position of a piece--front or back of the shed--which impacts where screw holes line up, the orientation of certain pieces up or down, flipped over or not, etc., & the fact that with some sections multiple pieces have to be put together with one screw). After the first 'not so obvious mistake' I had to take time to layout & orient parts in different positions to see what works for the next section I had to join with it. I didn't find out until the doors were going on (the next to last task) that a rod's position needed to be swapped from left side to ride side (still at the front of the shed) to align the slots for the door locks properly, so only one door locks like it should. Unfortunately, the part that impacted the door was on before I started laying out & orienting the pieces. However, I wasn't about to go through removing a bunch of parts 'again' to correct it. Instead, I compensated by moving the lock position on one of the doors. Again, once the shed was put together it was solid & satisfied my desire to have it, but you need to be willing to spend much time ensuring parts are not only going in the correct spots, but that they're oriented correctly as well. Unless the instructions have improved since my experience a couple of months ago, you'll have to take steps yourself to ensure what you're putting together in step C will line up for step E.
M**.
Better of going to lowes or home depot
Just bite the bullet and spend more money at Lowes or Home Depot. Huge pain to put together and the hole rarely line up correctly. Flimsy panels as well
Trustpilot
1 month ago
1 month ago